 57
Ugreen NASync iDX6011 Pro Review
UGOS Pro & what's new »The setup
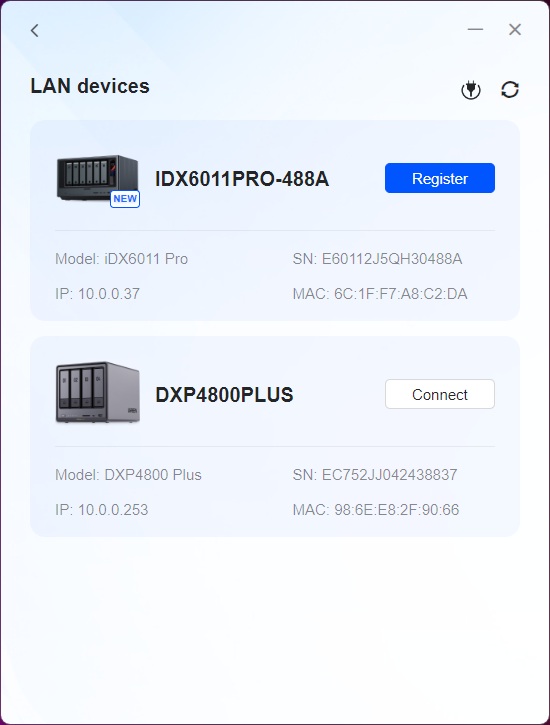
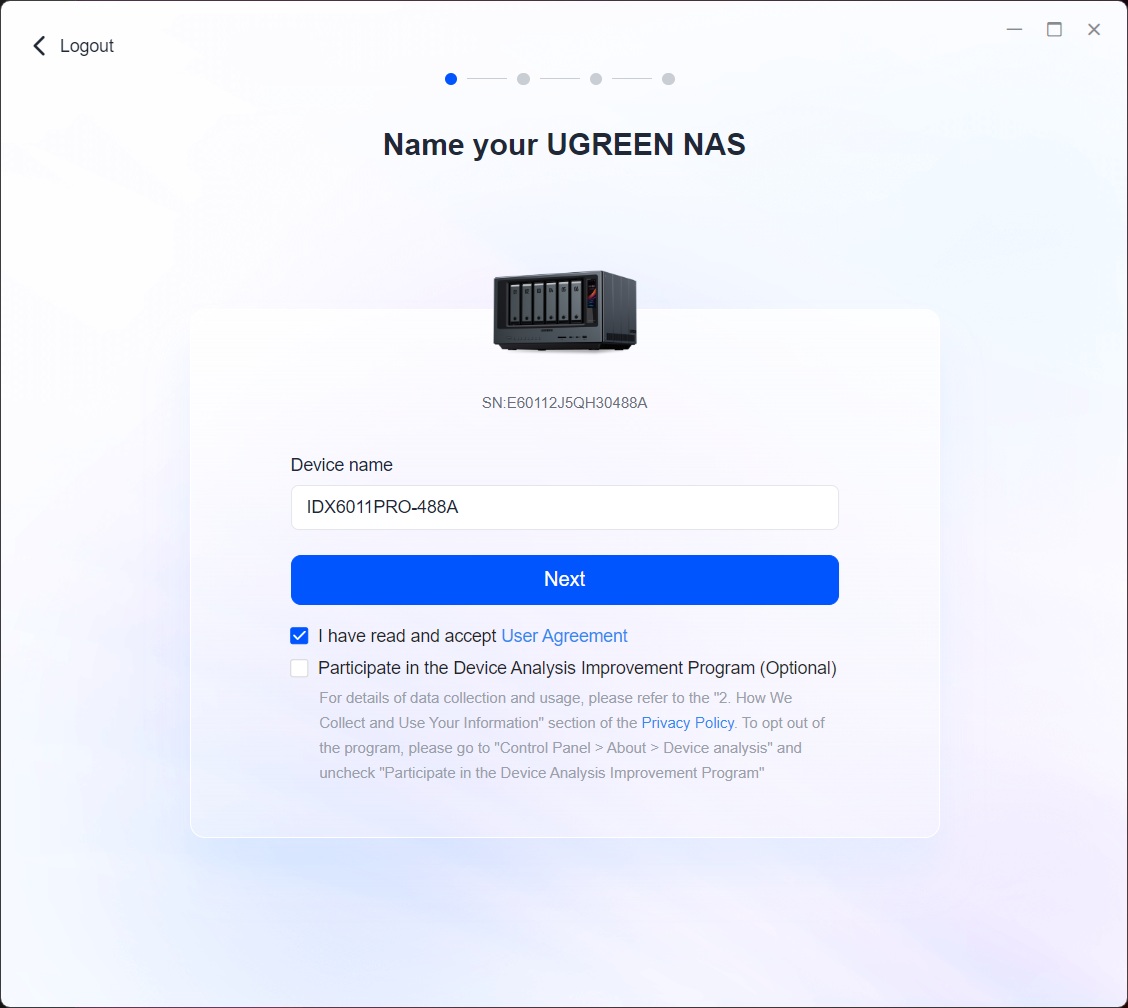
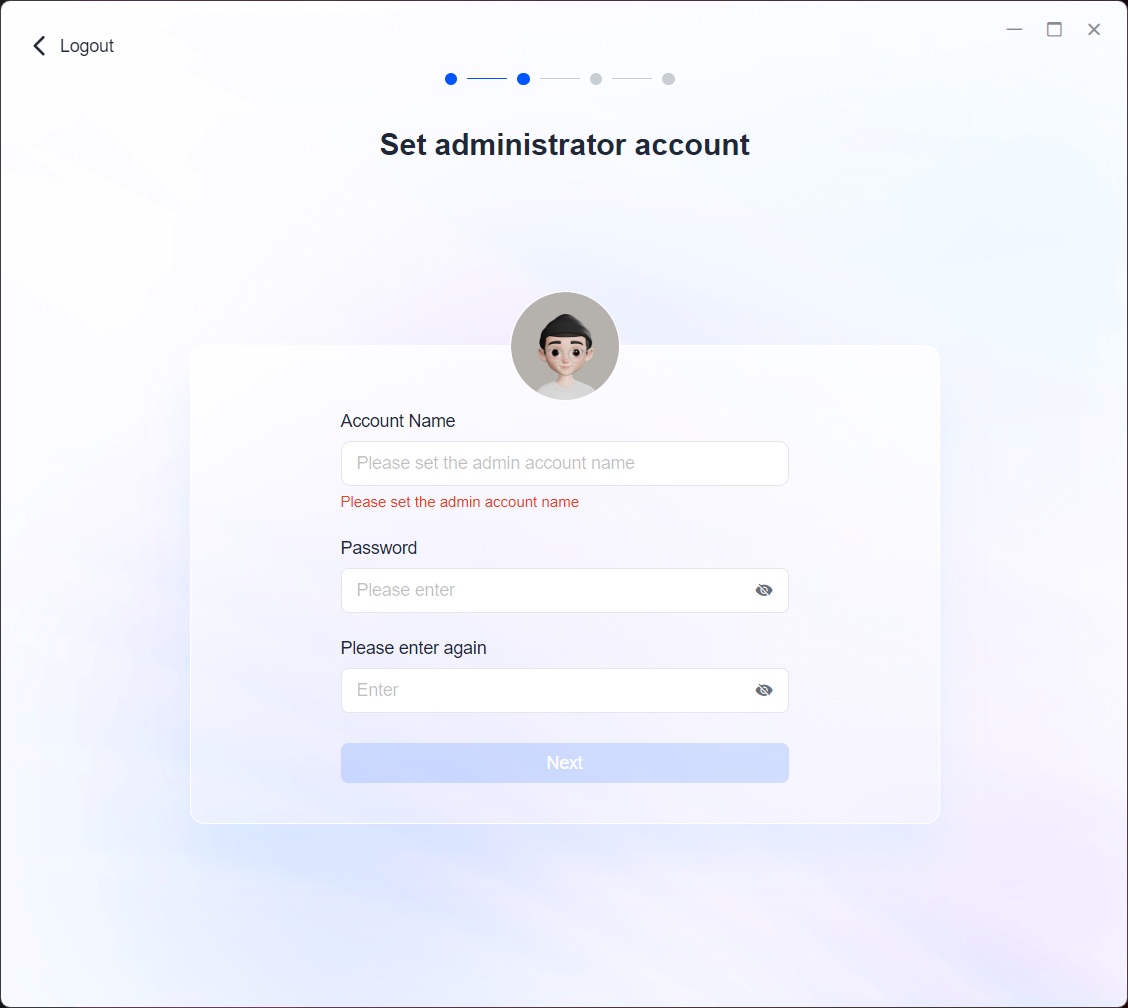
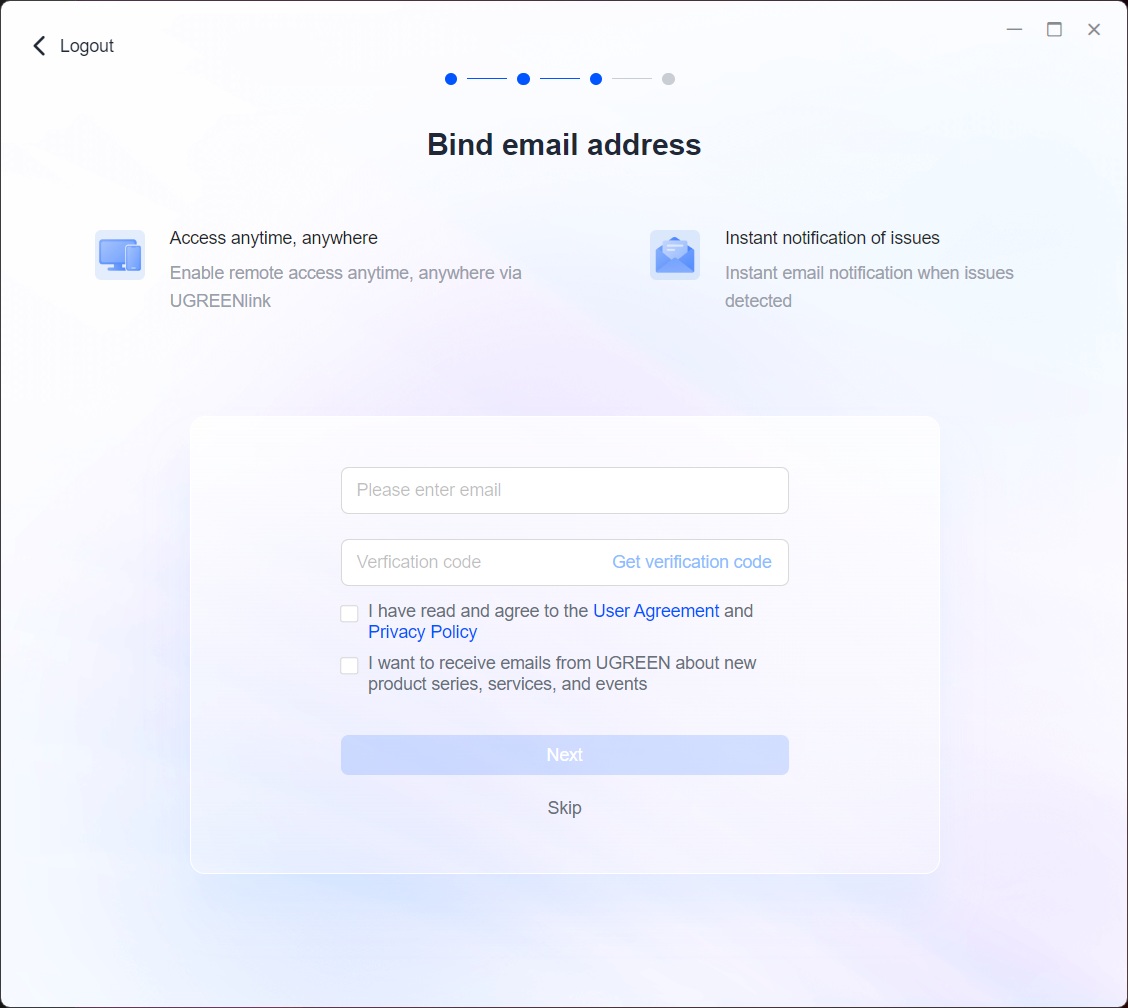
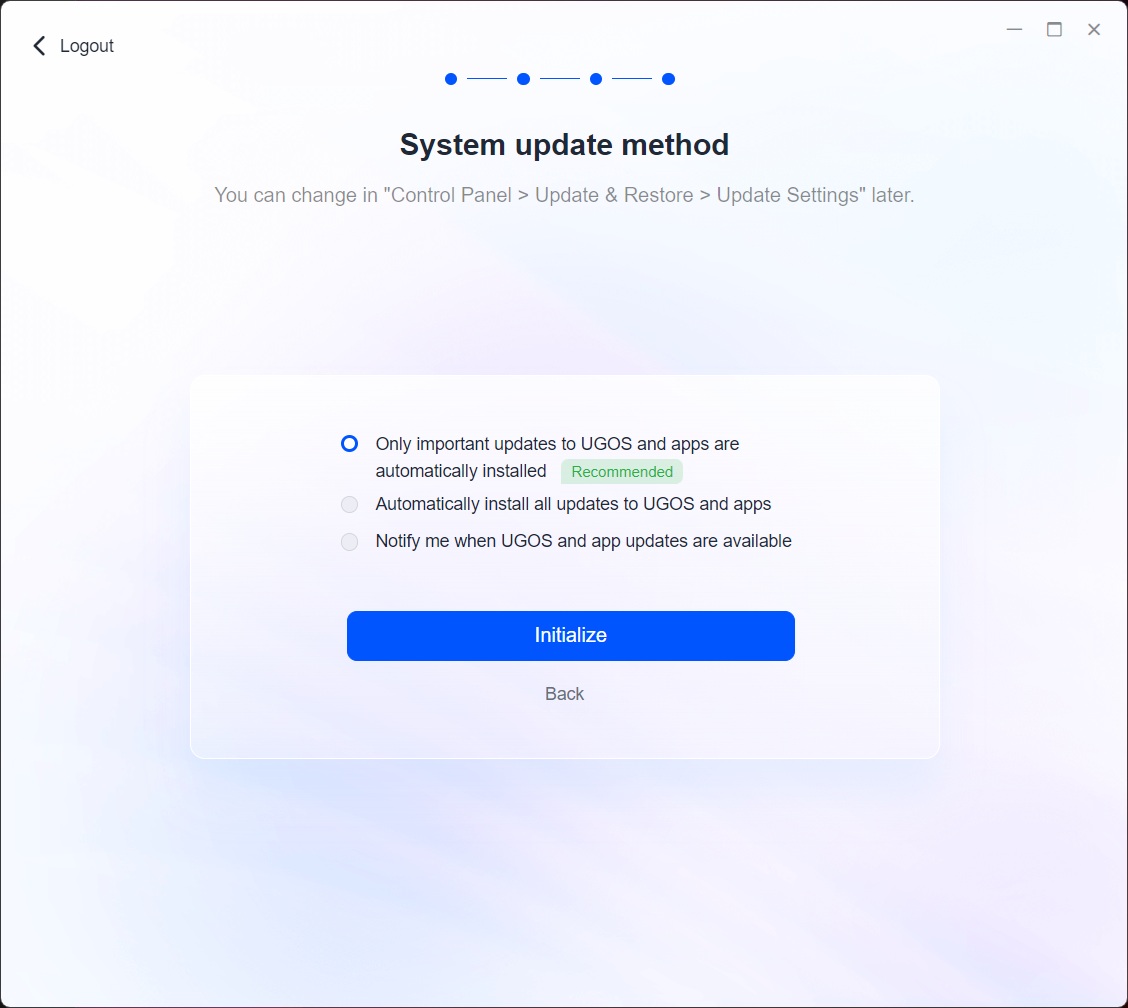

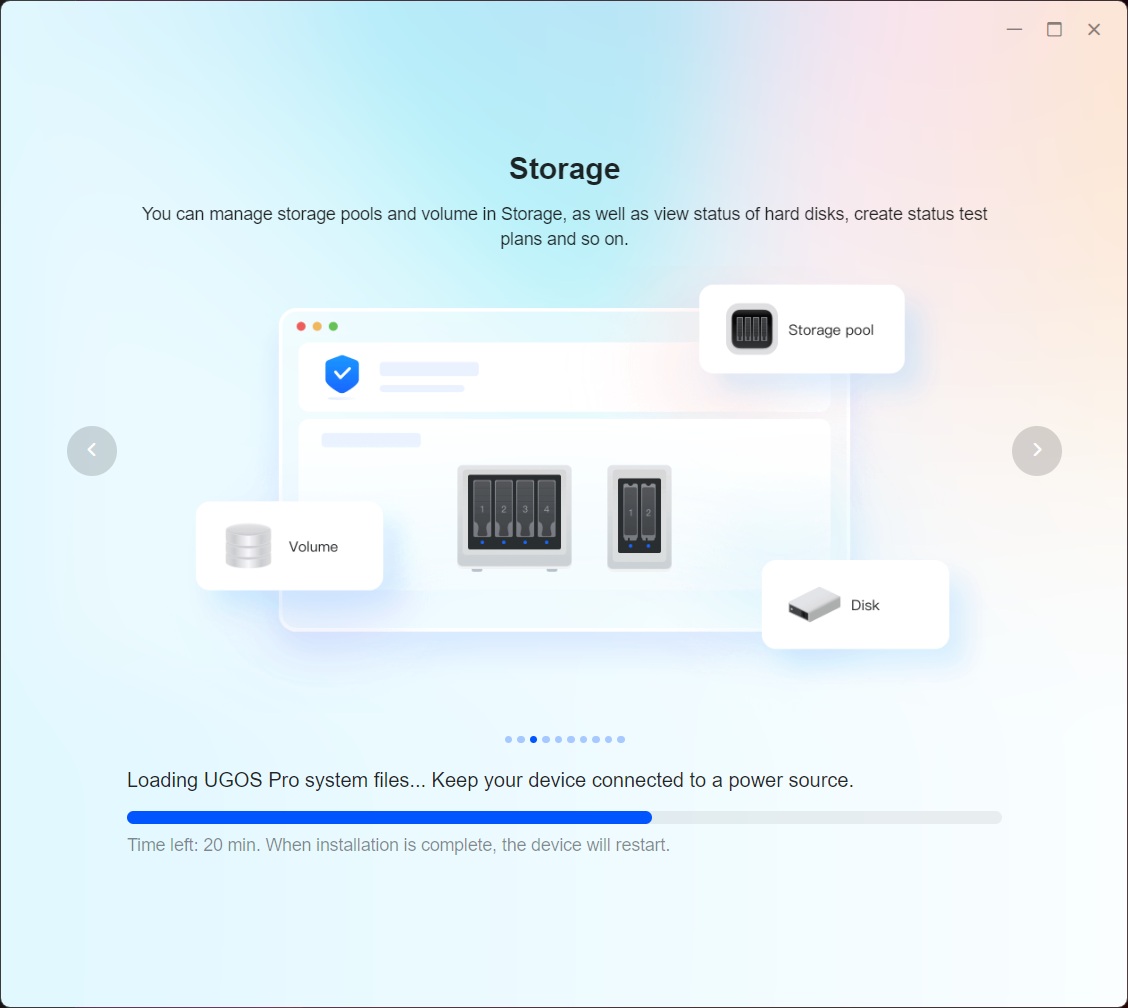
When we reviewed the NASync DXP4800 Plus, it shipped with an unfinished OS and that's not the case with the NASync iDX6011 Pro, however, some features are clearly not polished as yet, but we'll go more into that later in the review. The setup process was identical to the NASync DH2300 and once again we used the Ugreen NAS app to set things up, as it features an integrated browser that lets you perform the entire setup process in it. This makes the setup a little bit easier, as there's no need to use a web browser that sometimes loses connection with the NAS during a reboot. We like how well Ugreen has integrated the entire setup process, and this is something its competitors really should learn from.

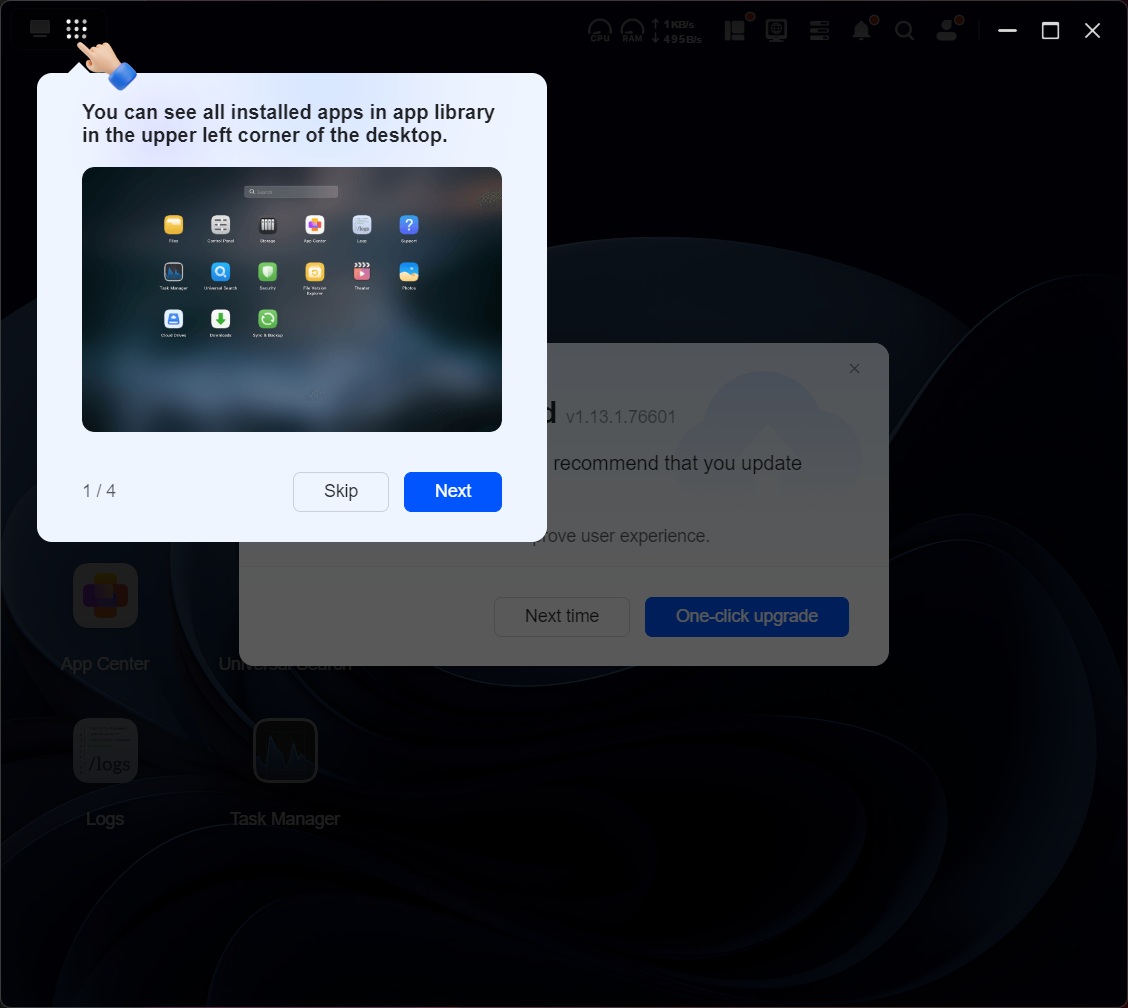
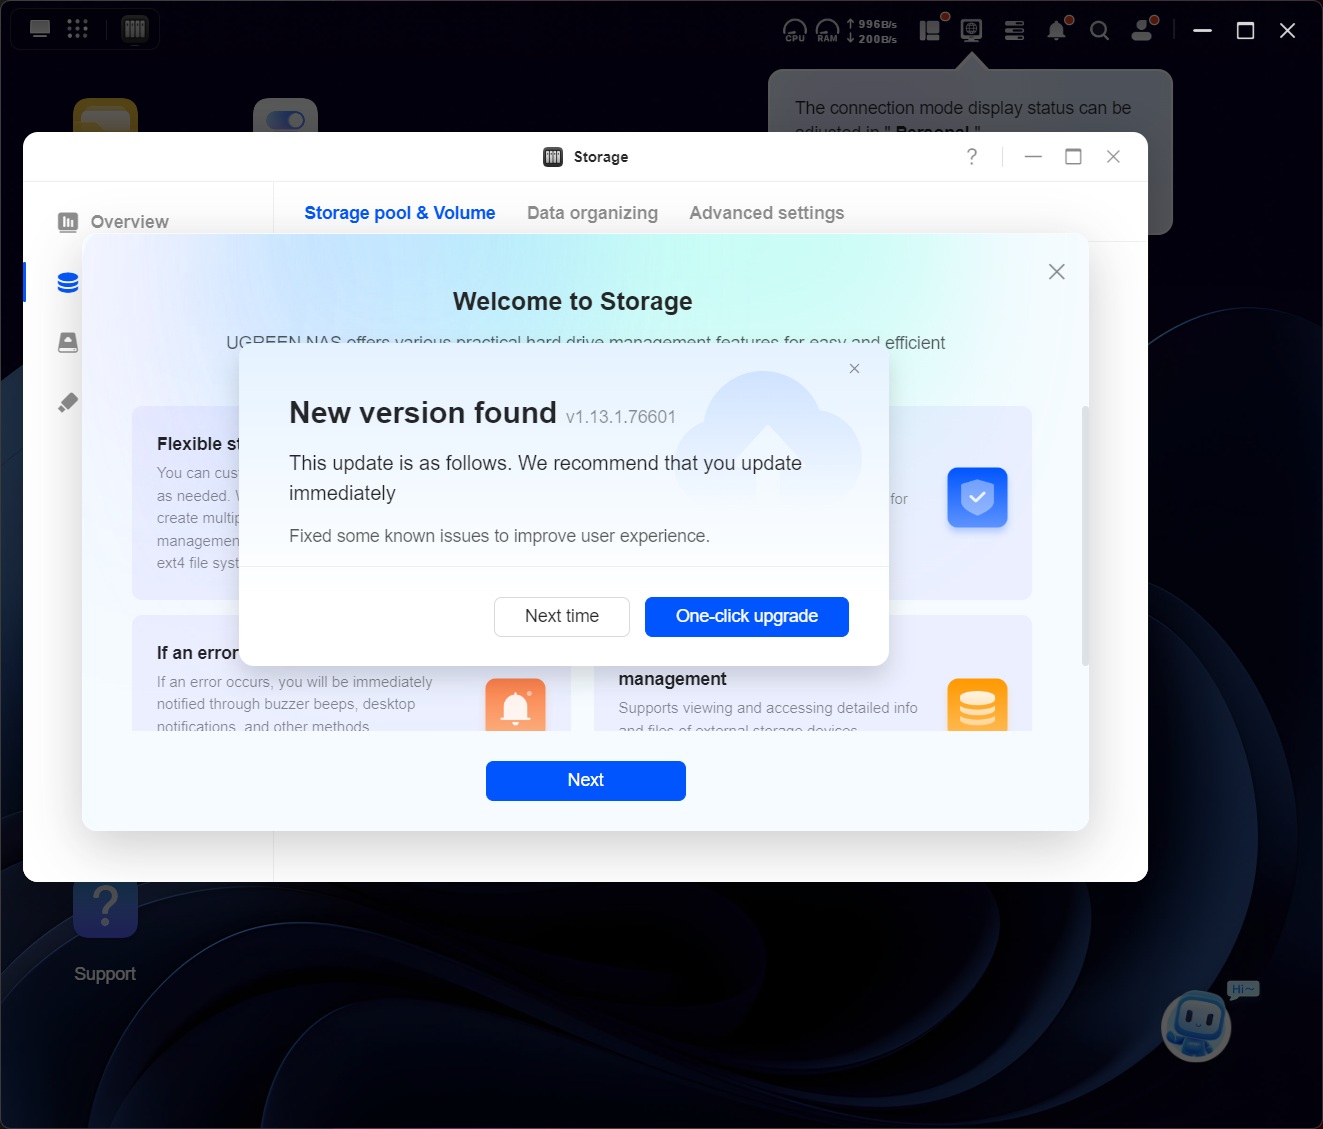
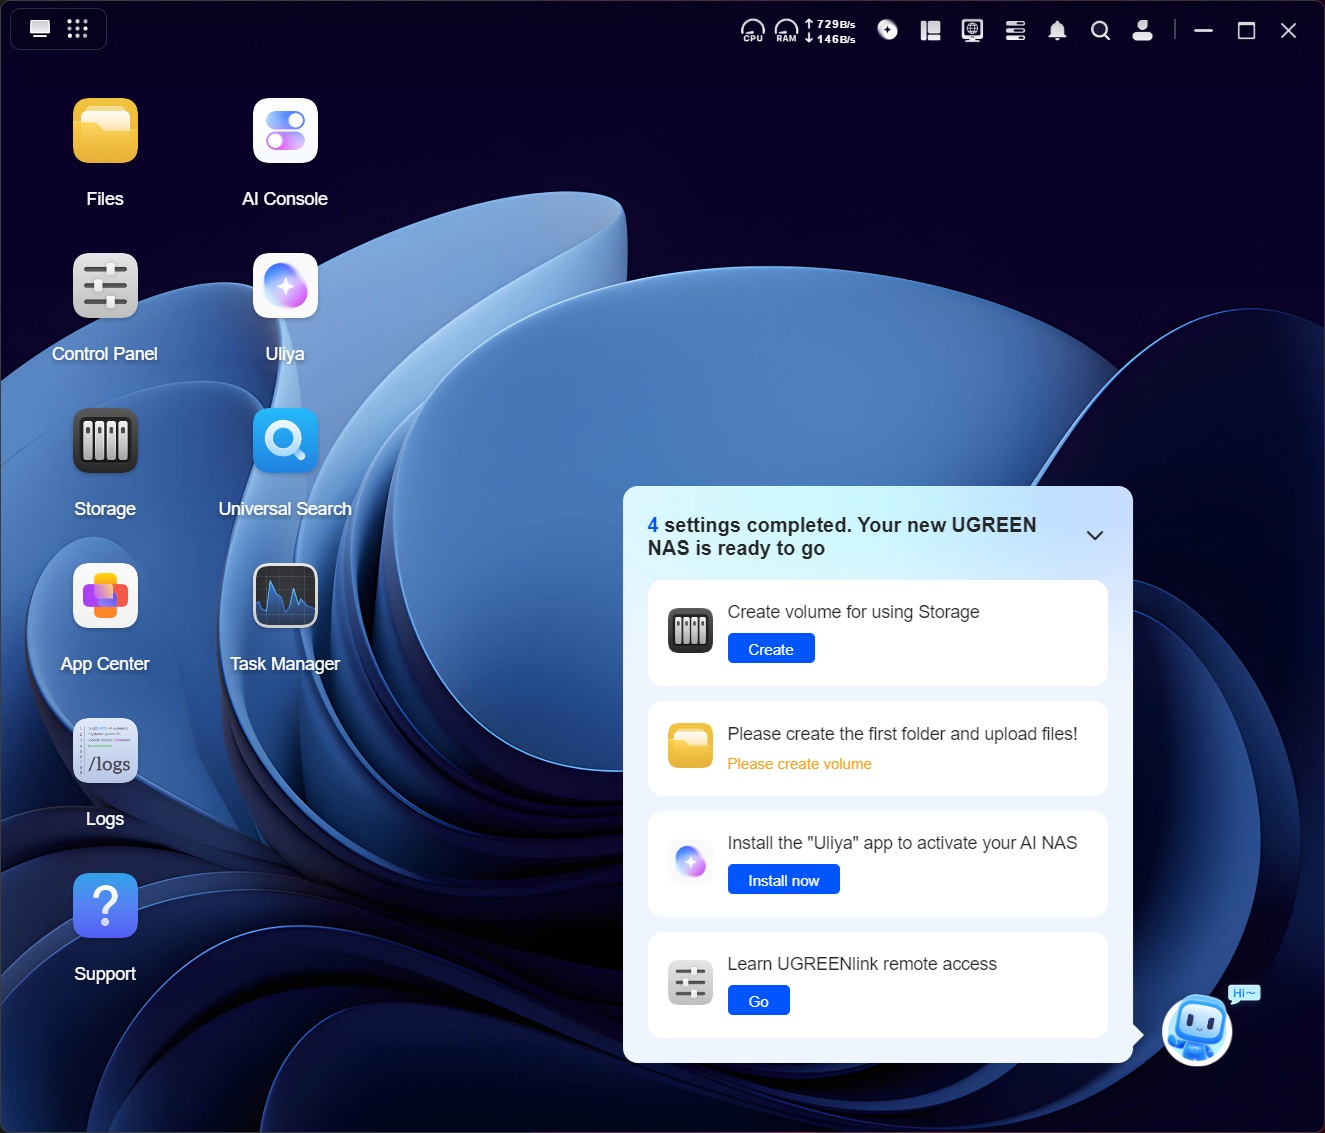
What we're less keen on is the mess that greets you once the setup process has finished, but this seems to be a common issue with a lot of NAS OSes where you get a bit of information overload thrown in your face. Yes, it's nice to have a quick wizard that walks you through the interface, if you're a first time user, but this should really be a selectable option during the setup process. The fact that a ton of popups and other windows appear behind the wizard makes everything feel messy and once you've clicked yourself through the wizard, you're greeted by a million different options that you apparently should do all at once. This, if anything, is going to be frustrating for first-time users of a product like this and really needs to be trimmed back. We'd also like to see Ugreen add the software update part to the setup, rather than as another step after the initial setup. Finally, Ugreen's little "bot" in the lower right-hand side corner is another annoying "helper" that might once again be useful for first-time users, but everyone else will just be annoyed by it, as it can't simply be closed unless you've performed the steps it forces you to do. These kinds of things are just frustrating and should be possible to bypass if nothing else.
Storage setup
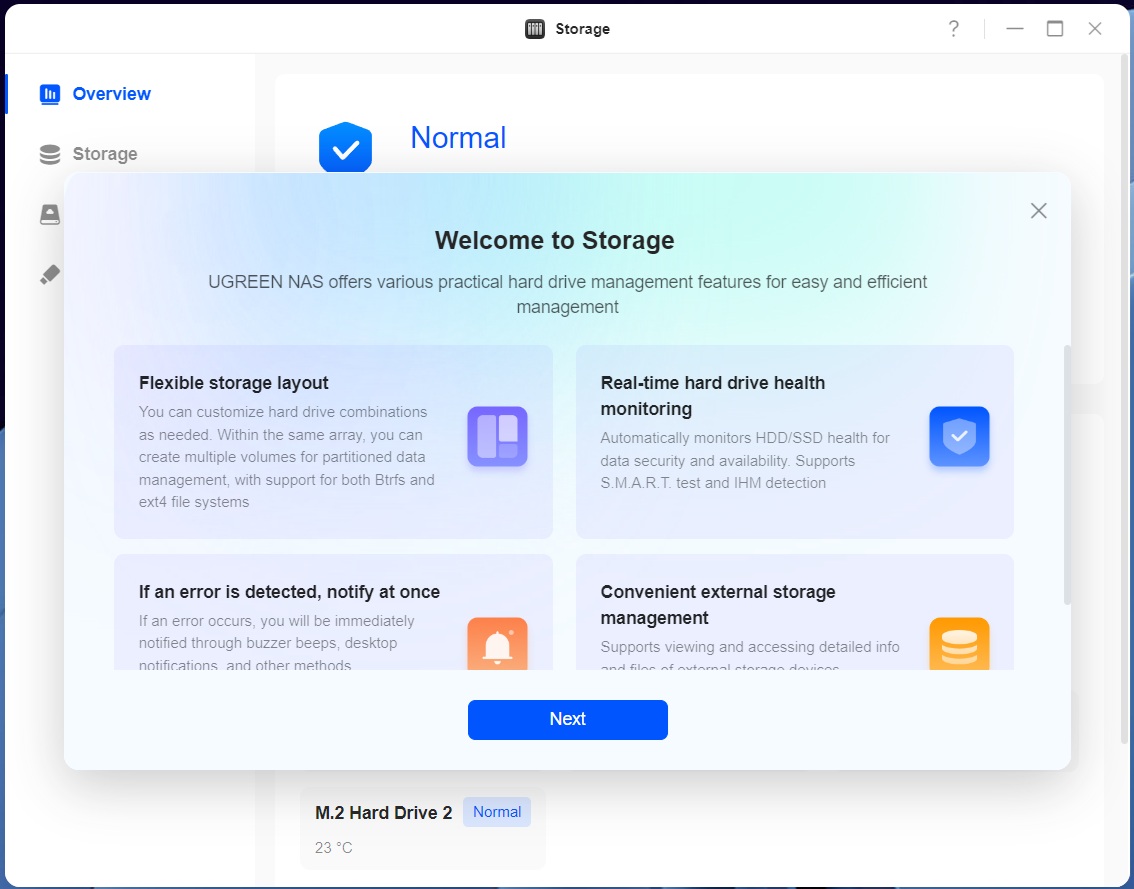
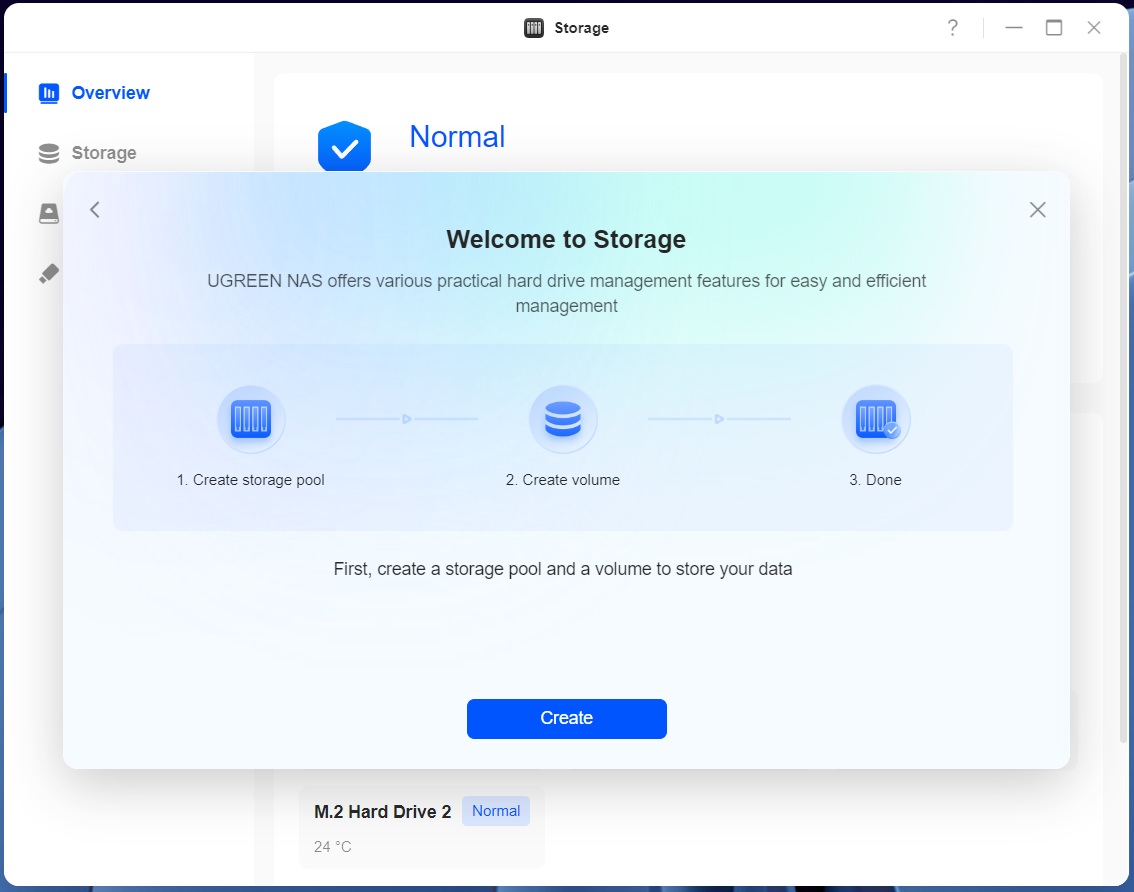
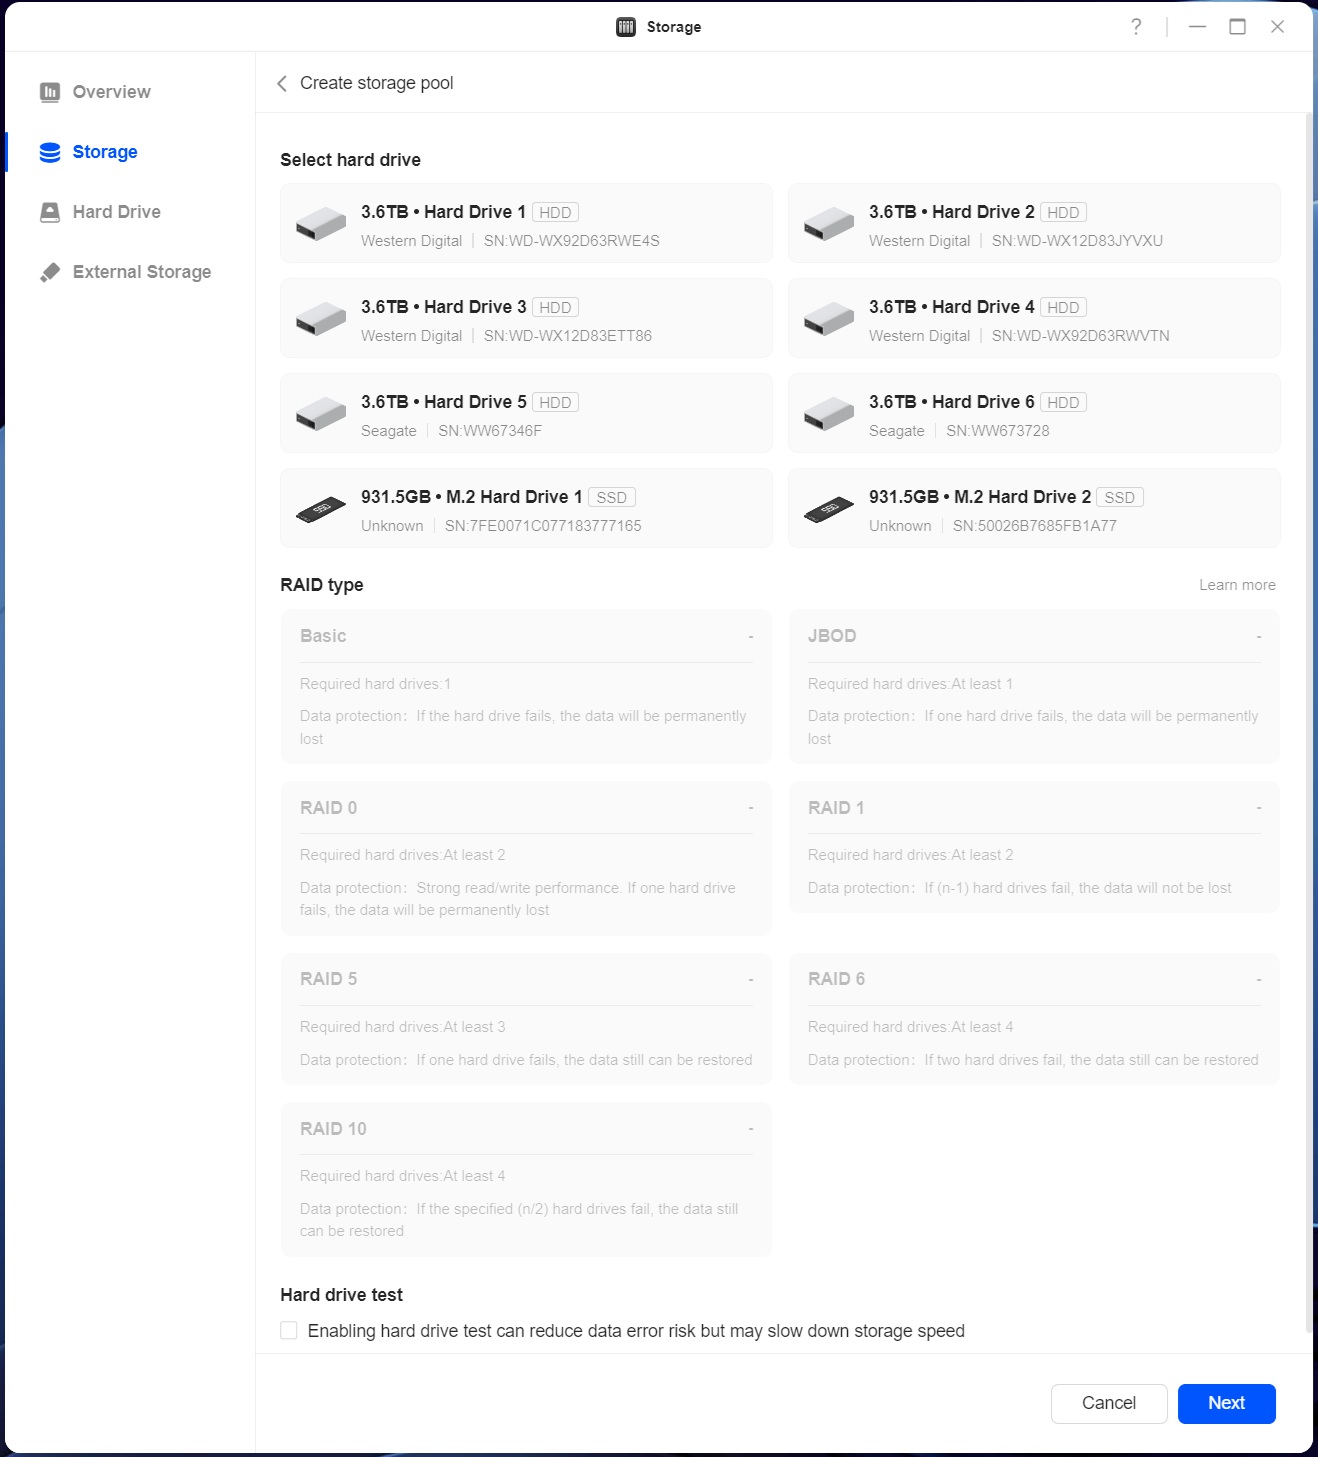
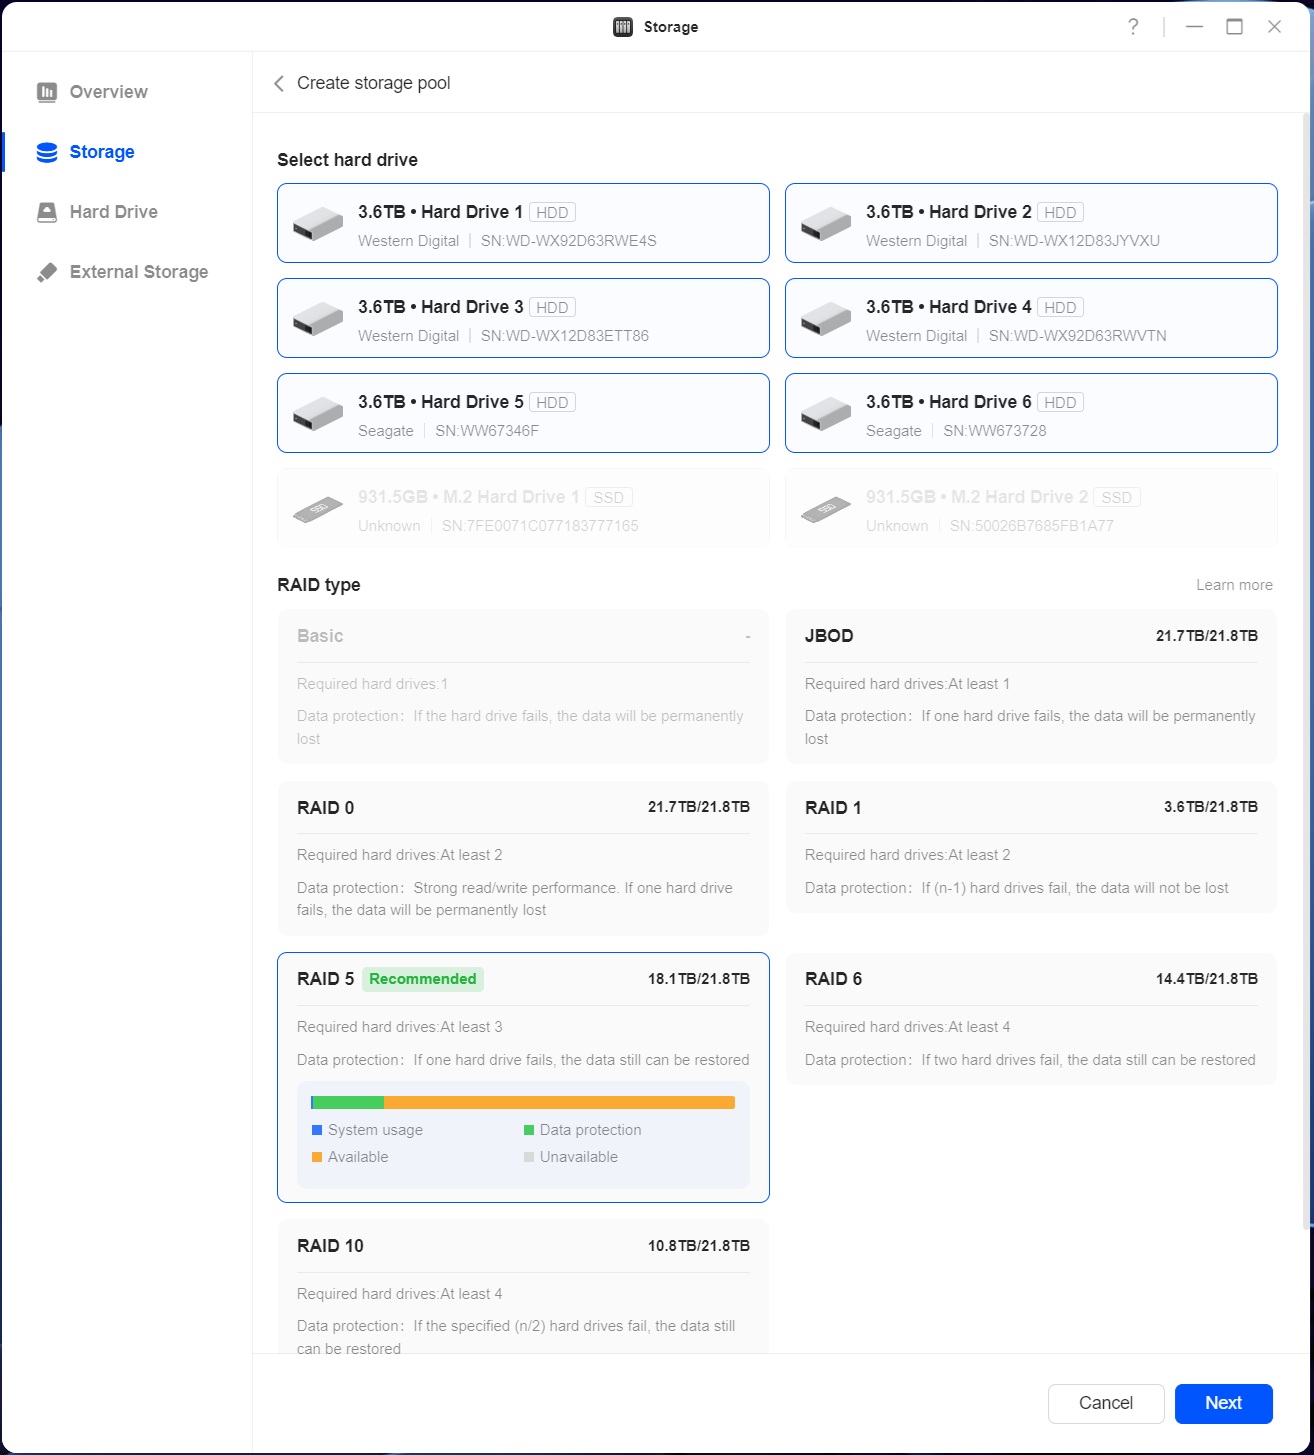
Once the basic setup is done, you're prompted by Ugreen's bot to "Create volume for using Storage," which brings us to the storage setup. This again hasn't changed since we reviewed the DH2300, but as you can see above, we have been given a lot more options in terms of the RAID configurations we can use. The interface has improved a lot since our review of the NASync DXP4800 Plus and you now get a nice overview of all the storage devices installed, alongside some pretty clear information about what the different RAID modes deliver both in terms of storage capacity and data protection in case of a drive failure. The only thing really missing is support for more advanced file systems, we know some of you would want to see support for ZFS, but support for something like MergerFS and SnapRAID would also be nice additions we'd like to see in the future.
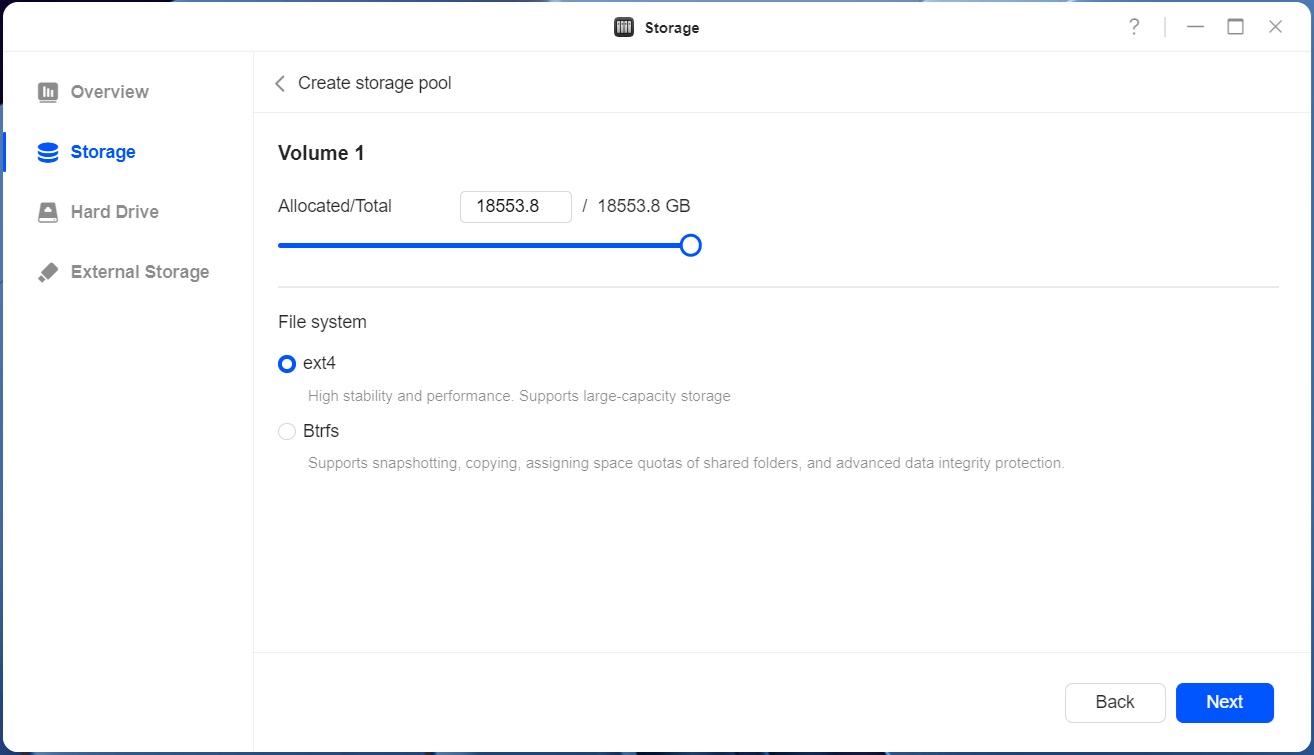
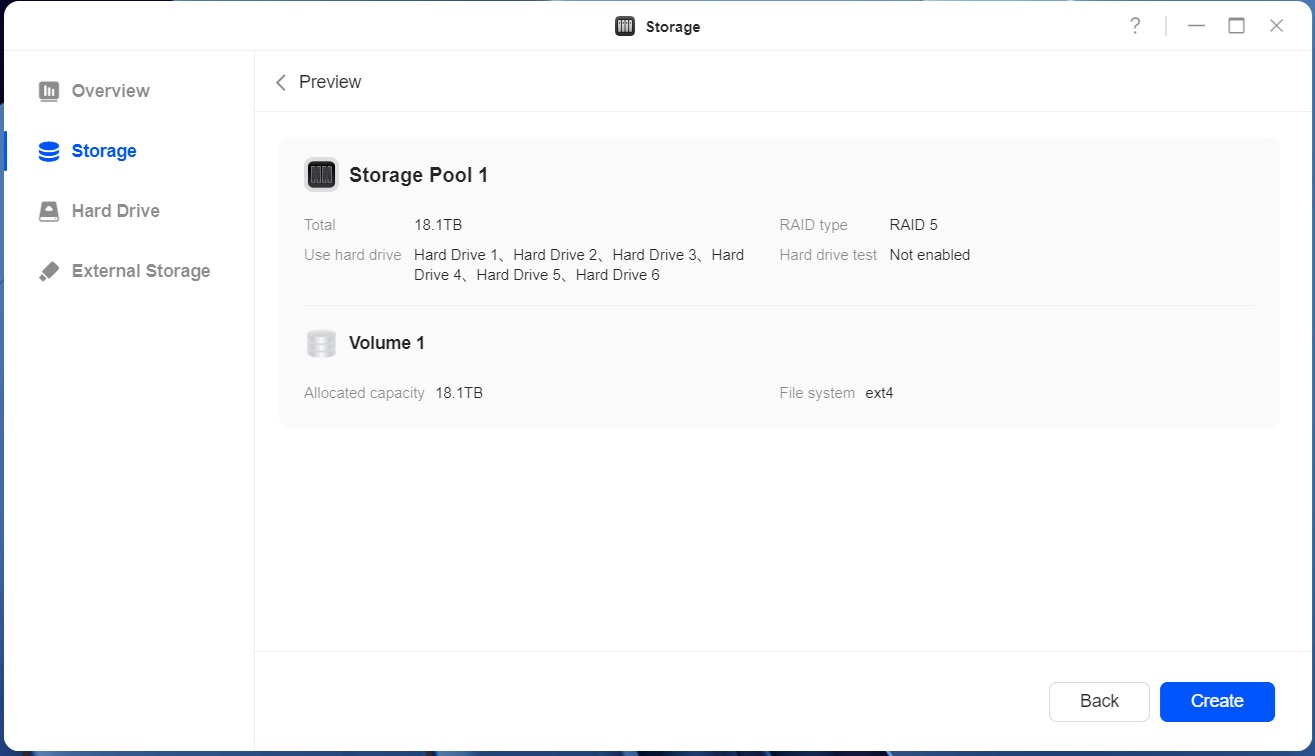
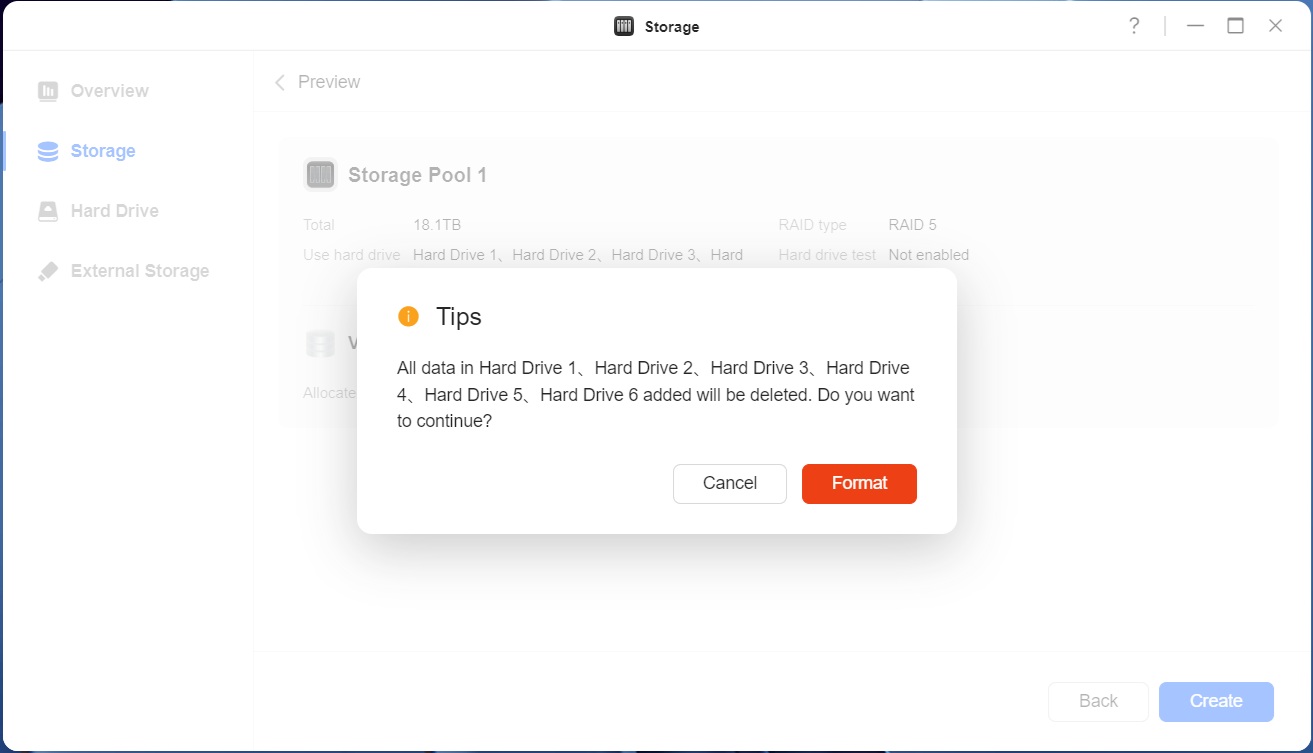
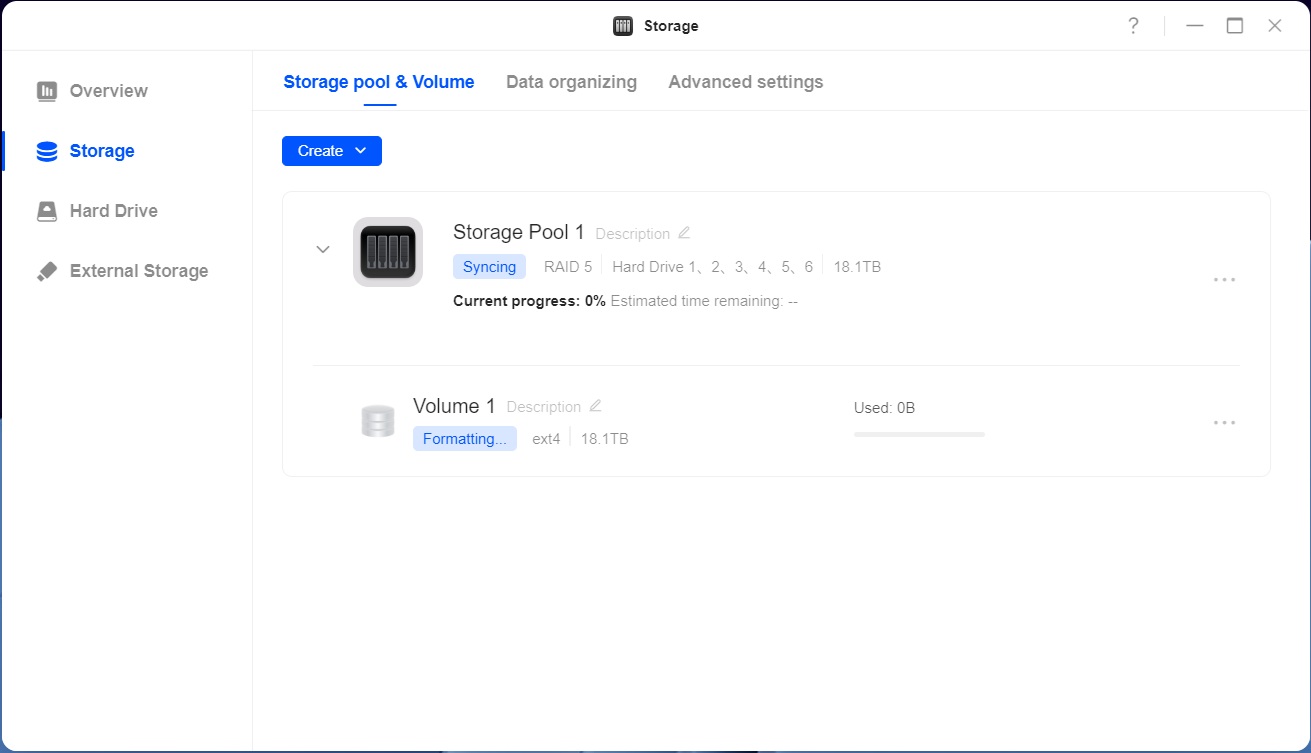
Once you've selected the drives and the RAID mode you want to use, the next thing to choose is the file system, where we've moved to ext4 instead of Btrfs, based on feedback from earlier reviews as most readers here seem to prefer ext4, although we can't say we've seen any real-world performance improvements in doing so. We know some of you would want to see support for ZFS, but it doesn't seem to be something that's on the roadmap for now. The formatting is pretty quick, but the syncing of the RAID array is as slow as ever and with more drives, it took a good 16 hours to finish.
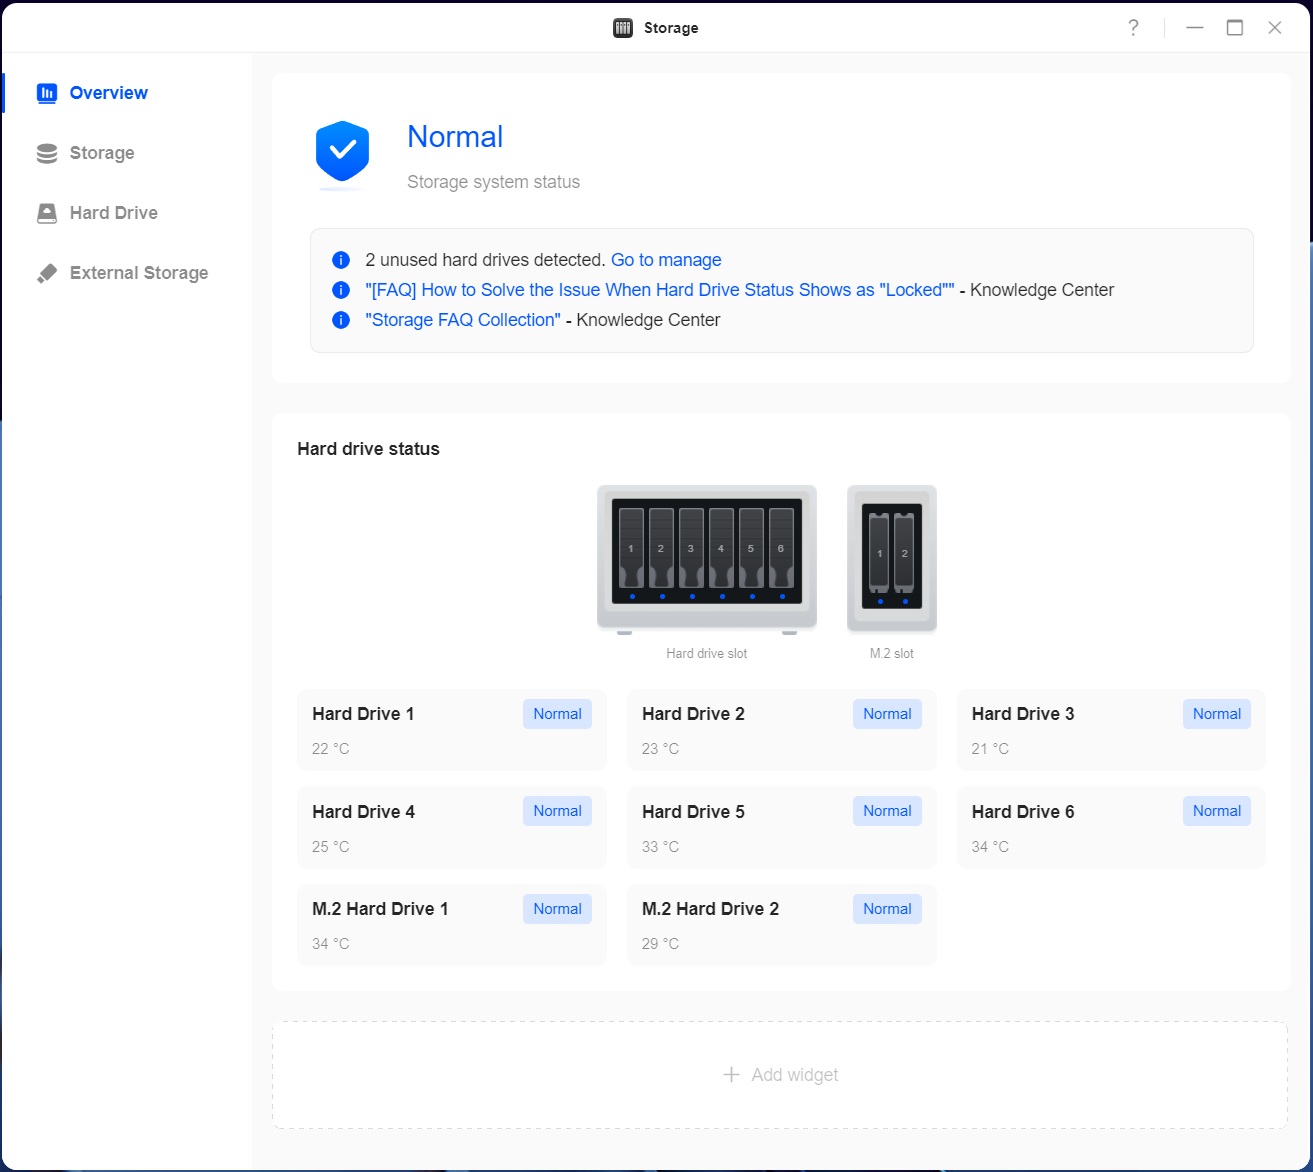
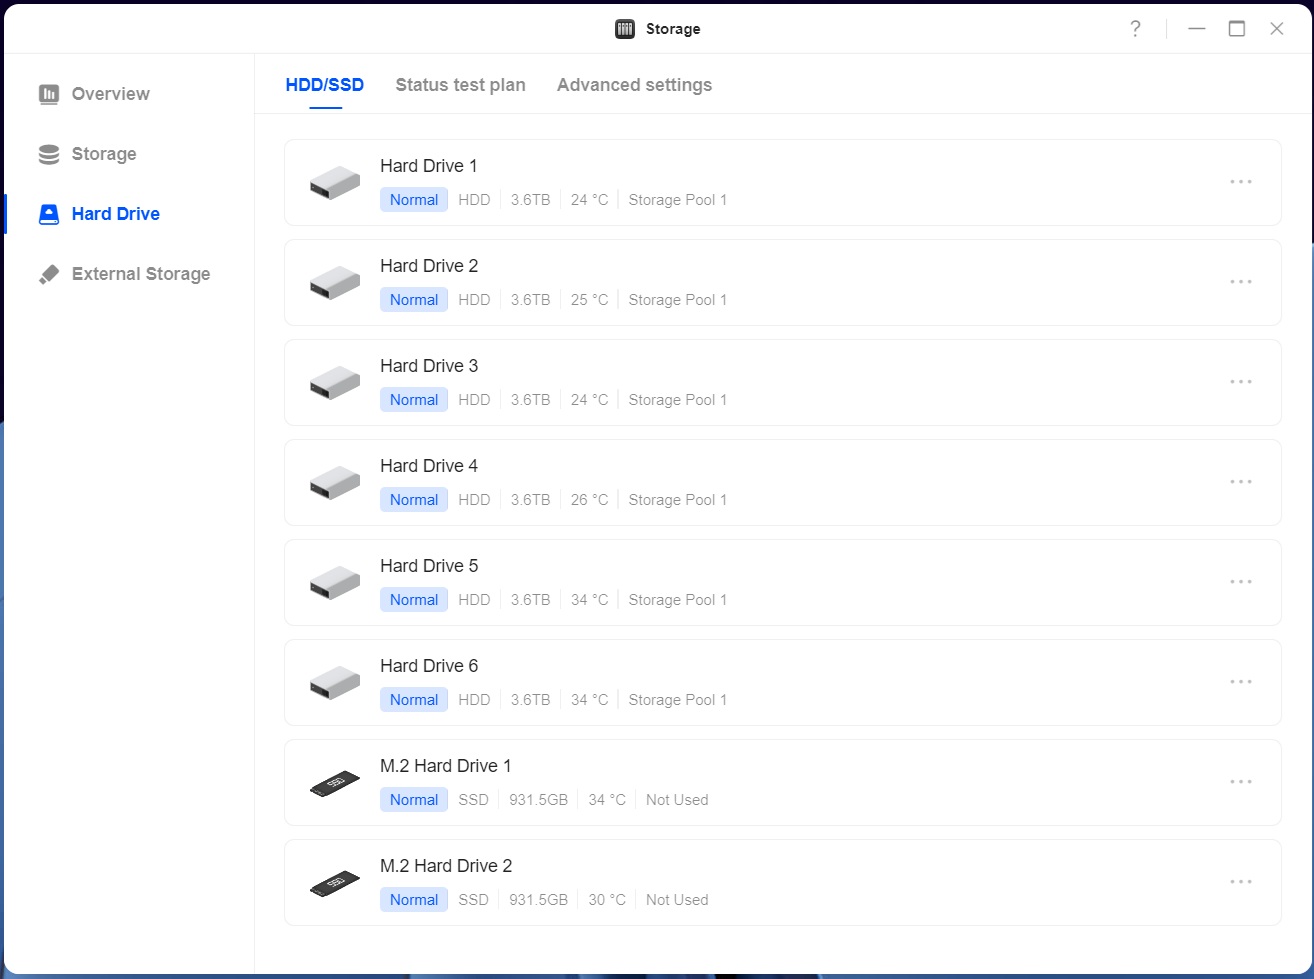
Once done, you get a nice overview of your drives with temperatures reported for each of the drives. It seems like the Seagate drives are running a good bit hotter than the WD drives, but this might also have something to do with the fan placement in the chassis, but in theory drive one and six should be the hottest ones, which isn't the case. While on the subject of temperatures, the SSDs don't get much in terms of fresh air from the fans, but there's plenty of open space around them and we didn't have any issues with them running too hot during testing.
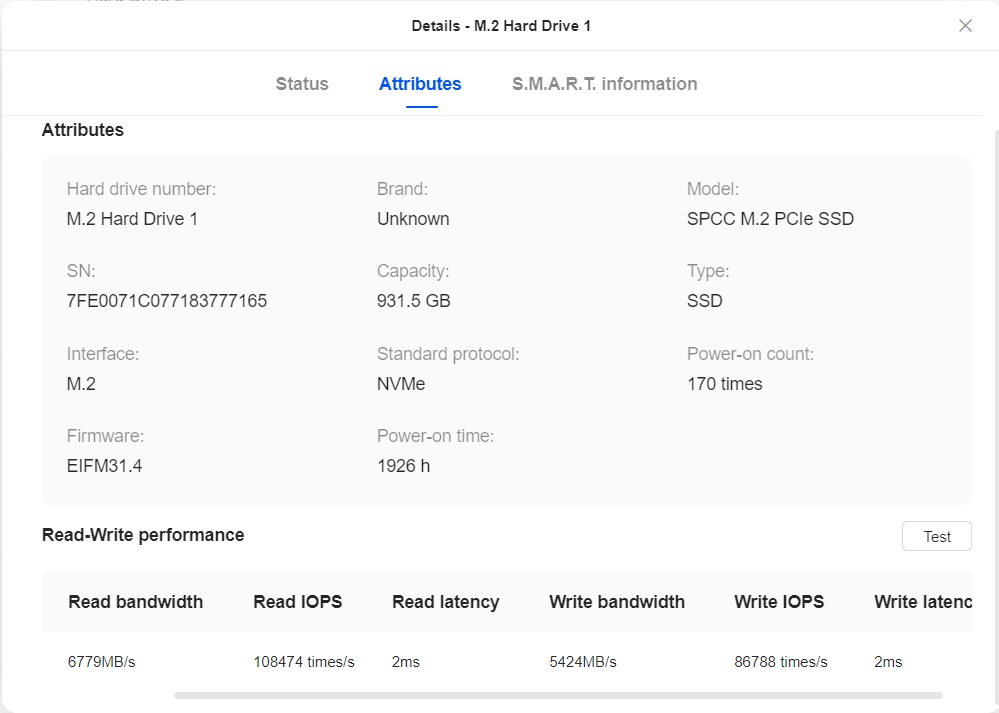
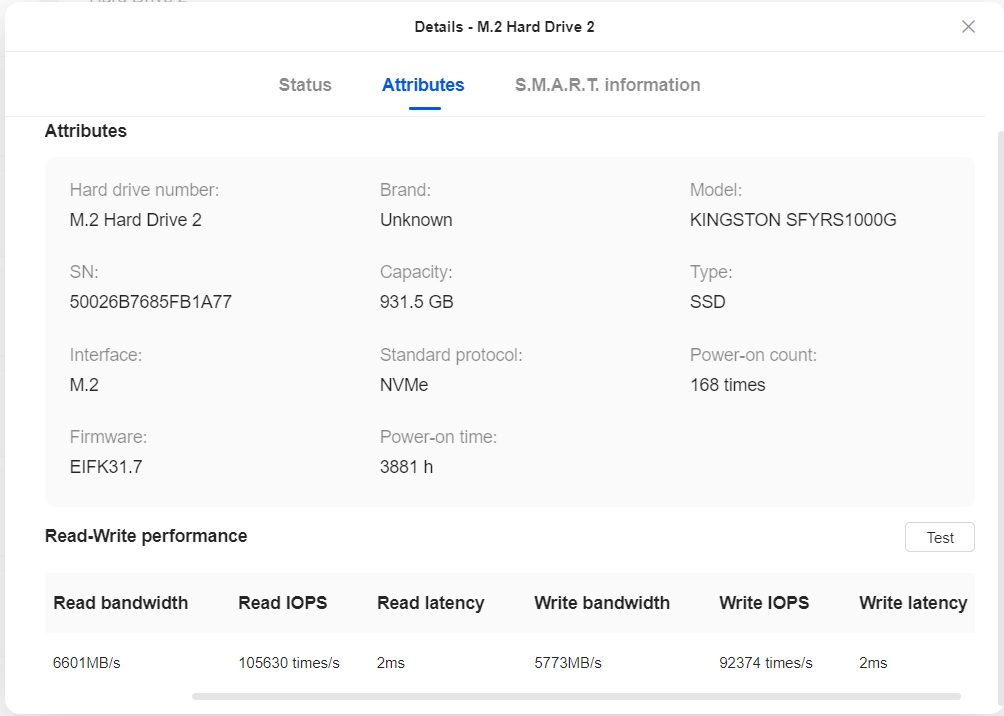
Another new feature when it comes to the drive side of things is the ability to run a quick benchmark on you drives and as you can see above, both drives are operating at PCIe 4.0 speeds. This test can unfortunately only be run on unformatted drives, which makes it somewhat useless for diagnostics purposes.
Disk Configuration
Below is the output from the lsblk command on Linux, where nvme1n1 is the OS drive.NAME MAJ:MIN RM SIZE RO TYPE MOUNTPOINTS
loop0 7:0 0 755.1M 0 loop /rootfs/base
loop1 7:1 0 68.6M 0 loop /rootfs/kernel
loop2 7:2 0 25.3M 0 loop /rootfs/apt
loop3 7:3 0 113.4M 0 loop /rootfs/fw
loop4 7:4 0 4K 0 loop /rootfs/oem
sda 8:0 0 3.6T 0 disk
├─sda1 8:1 0 15.3G 0 part
└─sda2 8:2 0 3.6T 0 part
└─md1 9:1 0 18.1T 0 raid5
└─ug_001814_1772196325_pool1-volume1 253:0 0 18.1T 0 lvm /volume1
sdb 8:16 0 3.6T 0 disk
├─sdb1 8:17 0 15.3G 0 part
└─sdb2 8:18 0 3.6T 0 part
└─md1 9:1 0 18.1T 0 raid5
└─ug_001814_1772196325_pool1-volume1 253:0 0 18.1T 0 lvm /volume1
sdc 8:32 0 3.6T 0 disk
├─sdc1 8:33 0 15.3G 0 part
└─sdc2 8:34 0 3.6T 0 part
└─md1 9:1 0 18.1T 0 raid5
└─ug_001814_1772196325_pool1-volume1 253:0 0 18.1T 0 lvm /volume1
sdd 8:48 0 3.6T 0 disk
├─sdd1 8:49 0 15.3G 0 part
└─sdd2 8:50 0 3.6T 0 part
└─md1 9:1 0 18.1T 0 raid5
└─ug_001814_1772196325_pool1-volume1 253:0 0 18.1T 0 lvm /volume1
sde 8:64 0 3.6T 0 disk
├─sde1 8:65 0 15.3G 0 part
└─sde2 8:66 0 3.6T 0 part
└─md1 9:1 0 18.1T 0 raid5
└─ug_001814_1772196325_pool1-volume1 253:0 0 18.1T 0 lvm /volume1
sdf 8:80 0 3.6T 0 disk
├─sdf1 8:81 0 15.3G 0 part
└─sdf2 8:82 0 3.6T 0 part
└─md1 9:1 0 18.1T 0 raid5
└─ug_001814_1772196325_pool1-volume1 253:0 0 18.1T 0 lvm /volume1
zram0 252:0 0 7.8G 0 disk [SWAP]
zram1 252:1 0 7.8G 0 disk [SWAP]
zram2 252:2 0 7.8G 0 disk [SWAP]
zram3 252:3 0 7.8G 0 disk [SWAP]
nvme0n1 259:0 0 931.5G 0 disk
├─nvme0n1p1 259:1 0 15.3G 0 part
└─nvme0n1p2 259:15 0 916.3G 0 part
nvme2n1 259:3 0 931.5G 0 disk
└─nvme2n1p1 259:14 0 931.5G 0 part
nvme1n1 259:5 0 119.2G 0 disk
├─nvme1n1p1 259:6 0 256M 0 part /boot
├─nvme1n1p2 259:7 0 2G 0 part
├─nvme1n1p3 259:8 0 10M 0 part /mnt/factory
├─nvme1n1p4 259:9 0 2G 0 part /rootfs
├─nvme1n1p5 259:10 0 2G 0 part [SWAP]
├─nvme1n1p6 259:11 0 4G 0 part /ugreen
├─nvme1n1p7 259:12 0 109G 0 part /overlay
└─nvme1n1p128 259:13 0 239K 0 part
Nov 13th, 2026 23:02 CST
change timezone
Latest GPU Drivers
New Forum Posts
- no "PhysX" workable (9)
- What are you playing? (26215)
- Tell me about your favourite graphics card (32)
- AI generated images... (224)
- Crimson Desert (31)
- RenoDX HDR - how to view the differnce Before&After in game? (0)
- Displayport DP80 3M (10ft) cable that can achieve 80gbps stable? (5)
- I'll flash a ASUS ROG Strix RX480 O8G in Cause of Code 43, as a Newbie (1)
- Opinion on Monitor Replacement (6)
- TMOG - post your benchmark results here (16)
Popular Reviews
- AMD Zen 6 Technical Deep Dive
- Corsair HX1000i Shift Crystal Review
- NZXT C1200 Platinum Review
- Upcoming Hardware Launches 2027 (Updated Nov 2026)
- ASUS ROG Strix B850-I Gaming Wi-Fi7 W Review
- Montech King 95 3D PRO Review
- NZXT H7 RGB+ Review
- NZXT H5 Review
- Phantom Blade Zero Performance Benchmark Review - 35 GPUs Tested
- XPG NIMBUS PLUS Review - Mid-range Chair With Strong Competitors
TPU on YouTube
Controversial News Posts
- NVIDIA Co-Founder and CEO Jensen Huang Officially Resigns (380)
- OpenAI CEO Argues Home PCs Waste the World's Limited DRAM Supply (152)
- NVIDIA Launches Investigation Into Jensen Huang's Relationship With Suspected Chinese Spy (136)
- Intel "Raptor Lake Next" 16-Core and 20-Core CPUs Surface (130)
- Legendary Game Studio BioWare Shuts Down Following EA Layoffs (104)
- Dell CEO Says the Memory Shortage Will Get Worse in 2027 (95)
- NVIDIA GeForce RTX 50-Series Scheduled for up to $500 Price Hike This Week (89)
- Modder Fits RTX 5090 With Four 8-Pin Connectors, Halving Current per Wire (80)