 30
30
Fractal Design Define 7 Compact Review
Assembly & Finished Looks »A Closer Look - Inside

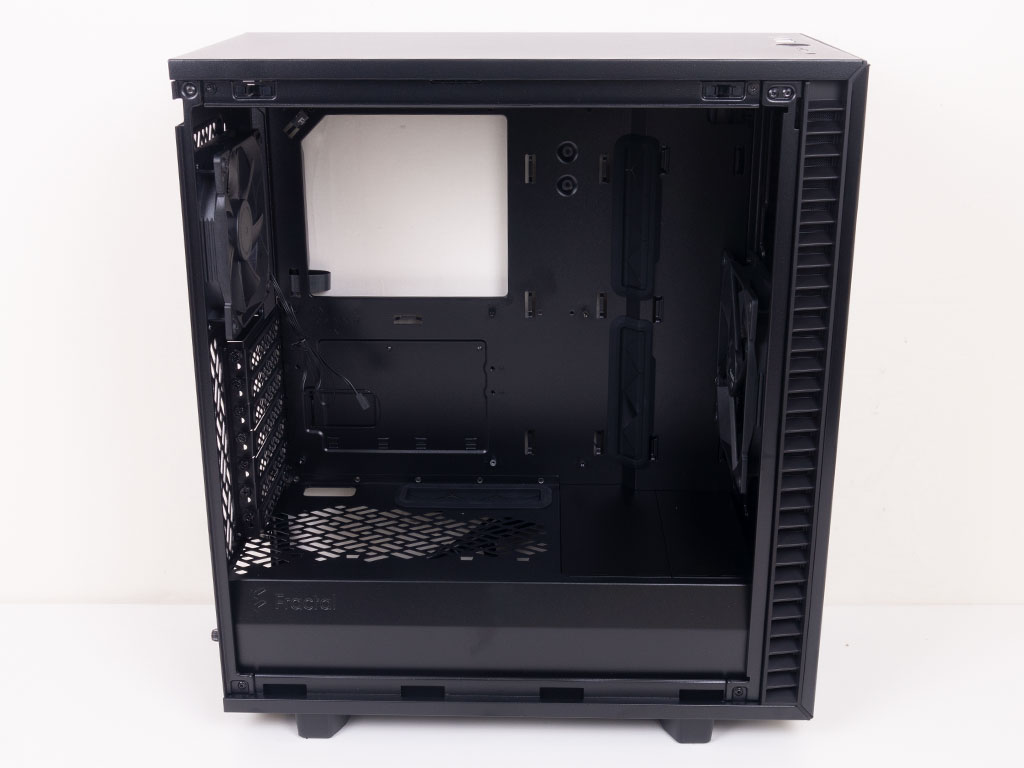

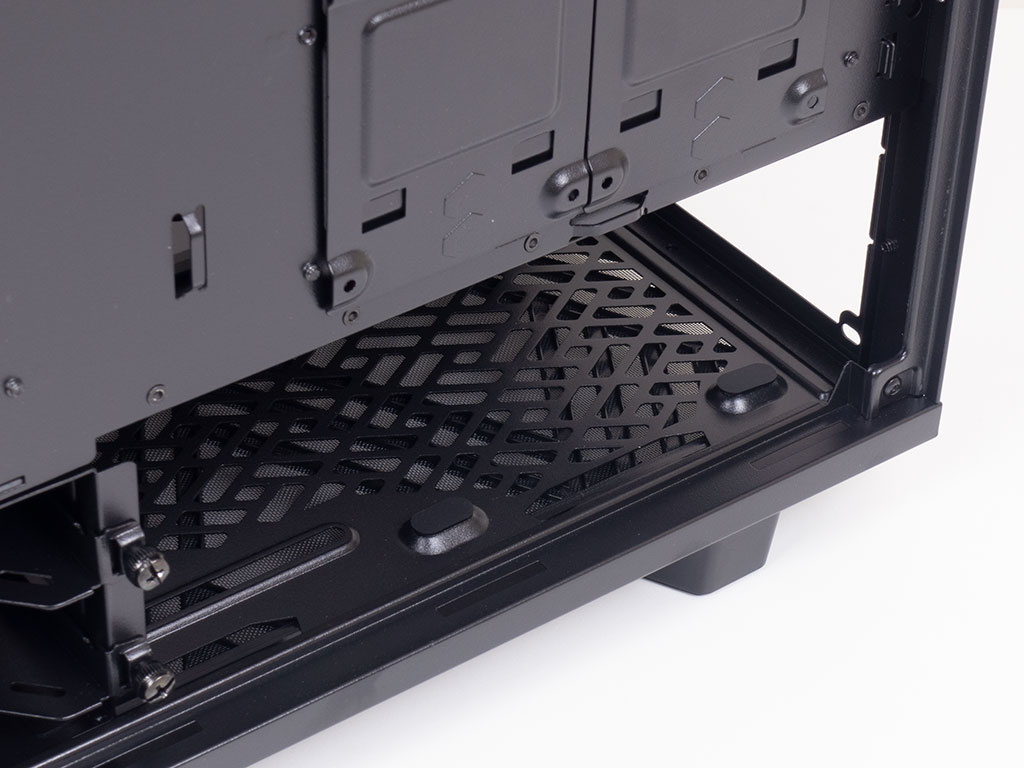
The solid side panel and solid top cover come lined with a sound dampening material, which we have seen in every chassis of this series thus far. For access to the interior, simply pull the tab of each panel off the Define 7 Compact. Fractal includes a metal shroud on the bottom that may also be used to place two SSD trays here if you like to show off your solid-state drives. Two plastic covers allow for any kind of liquid-cooling setup, even those requiring the full height of the chassis. Even though the case frame is noticeably shorter than with the original Define 7, it essentially looks the same, so Fractal is not cutting any corners in terms of design and functionality within the Define 7 Compact.
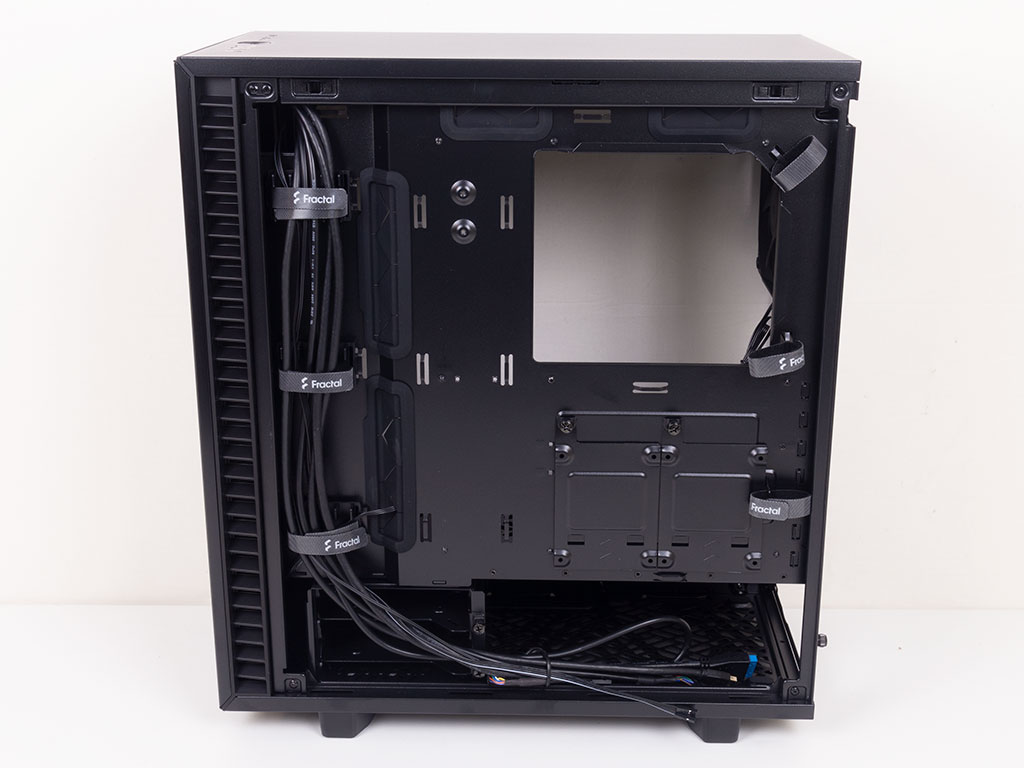

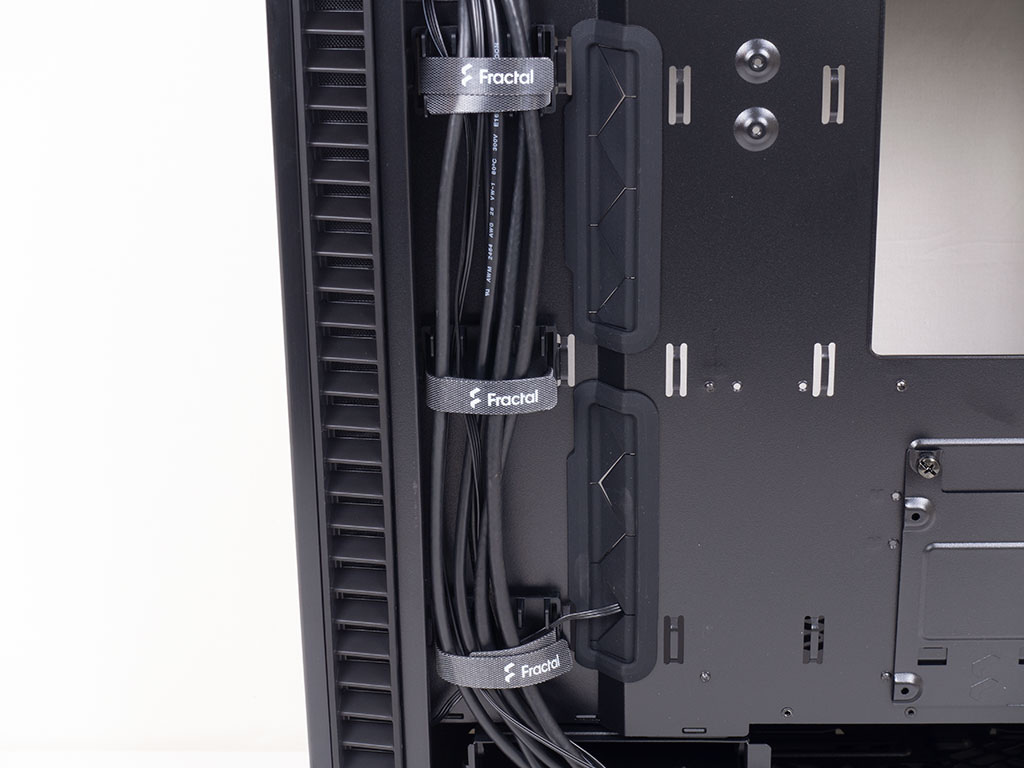
On the opposite side, things are a bit simpler when compared to the Define 7. There no longer is a plastic plate covering the opening underneath the shroud. Two dedicated metal 2.5" trays are underneath the large opening for the CPU cooler bracket, held in place by individual thumb screws for easy removal. Several plastic mounts come with Velcro strips for easy, clean cable channeling and management. This should result in a really clean look once your system is fully assembled, while allowing you to change your hardware configuration with ease down the line. Interestingly enough, Fractal decided not to include the Nexus+ 2, which was a unique selling point of the larger Define 7. I assume this is due to the fact that you simply cannot install as many fans within the Define 7 Compact, so it is not really needed.
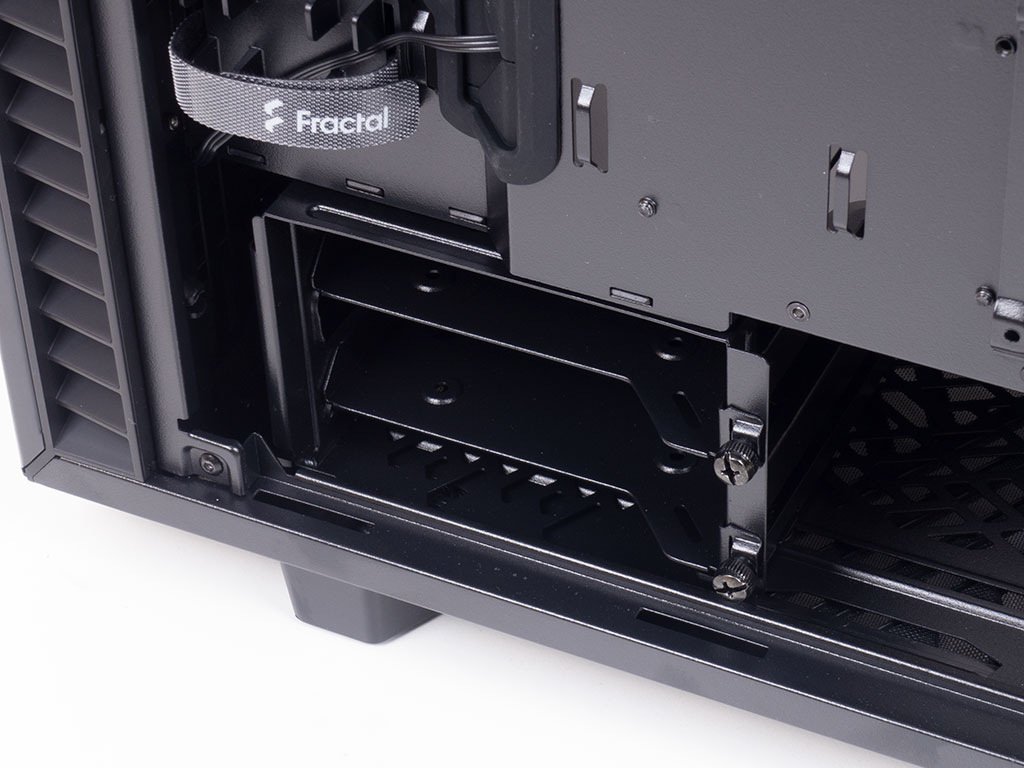

In the front, you will find two hard-drive trays in a removable cage underneath the shroud. Add the two 2.5" trays and you end up with four pretty down to earth placement possibilities for storage drives. For extreme cooling scenarios, you may also remove the cage and install a single 120 mm fan or radiator in its place on the floor of the chassis. Above that is the area dedicated to air intake or liquid cooling with, as mentioned before, the ability to place up to a 360 mm radiator here.


The PSU bay in the rear is quite spacious, so take your pick when it comes to the power supply. However, you will have to keep your choice of power supply quite compact if you install any active cooling underneath the shroud. The seven expansion slots in the main compartment are easy to access because of thumb screws, with the aforementioned 120 mm exhaust fan in the very top of the Define 7 Compact.

In the ceiling is where any fans or a radiator would be placed, with plenty of space to work around it.


Last but not least, all the cables within the Fractal Define 7 Compact are of the default variety and sleeved black.
Jul 31st, 2025 15:55 CDT
change timezone
Latest GPU Drivers
New Forum Posts
- I just bought an RX570 4Gb (20)
- 3D Printer Club (577)
- Choosing the right motherboard (21)
- Once more EDP OTHER (1)
- Suggestions for UI improvement (3)
- Image navigation in reviews/articles etc. (5)
- Free Games Thread (4823)
- Are UPS lithium LiFePO4 batteries finally as cheap as lead-acid? (57)
- Would Arctic Pro 12 Fans Improve Temps and Airflow? (2)
- XFX RX580 code 43 error (11)
Popular Reviews
- MSI Claw 8 AI+ A2VM Review
- Lenovo Legion 5i (15IRX10) Review - Feature-Rich and Wallet Friendly
- Herman Miller Logitech G Embody Review - No Pain, No Gain
- ASUS ROG Crosshair X870E Apex Review
- Orbital Pathfinder Review
- Lian Li O11 Dynamic Mini V2 Review
- Upcoming Hardware Launches 2025 (Updated May 2025)
- Noctua NF-A12x25 G2 PWM Fan Review
- Sapphire Radeon RX 9060 XT Pulse OC 16 GB Review - An Excellent Choice
- AMD Ryzen 7 9800X3D Review - The Best Gaming Processor
TPU on YouTube
Controversial News Posts
- AMD's Upcoming UDNA / RDNA 5 GPU Could Feature 96 CUs and 384-bit Memory Bus (137)
- AMD Radeon RX 9070 XT Gains 9% Performance at 1440p with Latest Driver, Beats RTX 5070 Ti (131)
- Intel "Nova Lake-S" Core Ultra 3, Ultra 5, Ultra 7, and Ultra 9 Core Configurations Surface (110)
- DDR6 Memory Arrives in 2027 with 8,800-17,600 MT/s Speeds (102)
- NVIDIA to Debut GeForce RTX 50-series SUPER GPUs by Christmas (98)
- AMD Sampling Next-Gen Ryzen Desktop "Medusa Ridge," Sees Incremental IPC Upgrade, New cIOD (97)
- Intel CEO Confirms SMT To Return to Future CPUs (95)
- NVIDIA Becomes First Company Ever to Hit $4 Trillion Market-Cap (94)