 11
QNAP TS-432X Review - Arm Based NAS
Initial Setup Continued »Initial Setup

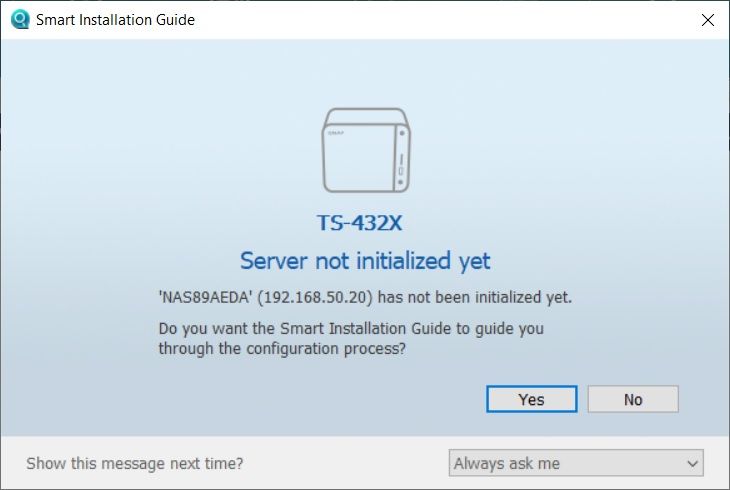
QNAP's Qfinder makes it easy to access your NAS from a PC, as it'll find it on your network and display its IP address and more details, and you can log in to your NAS via Qfinder. If your NAS hasn't been set up, you can start the setup process via Qfinder as well, which will take you to the setup wizard.
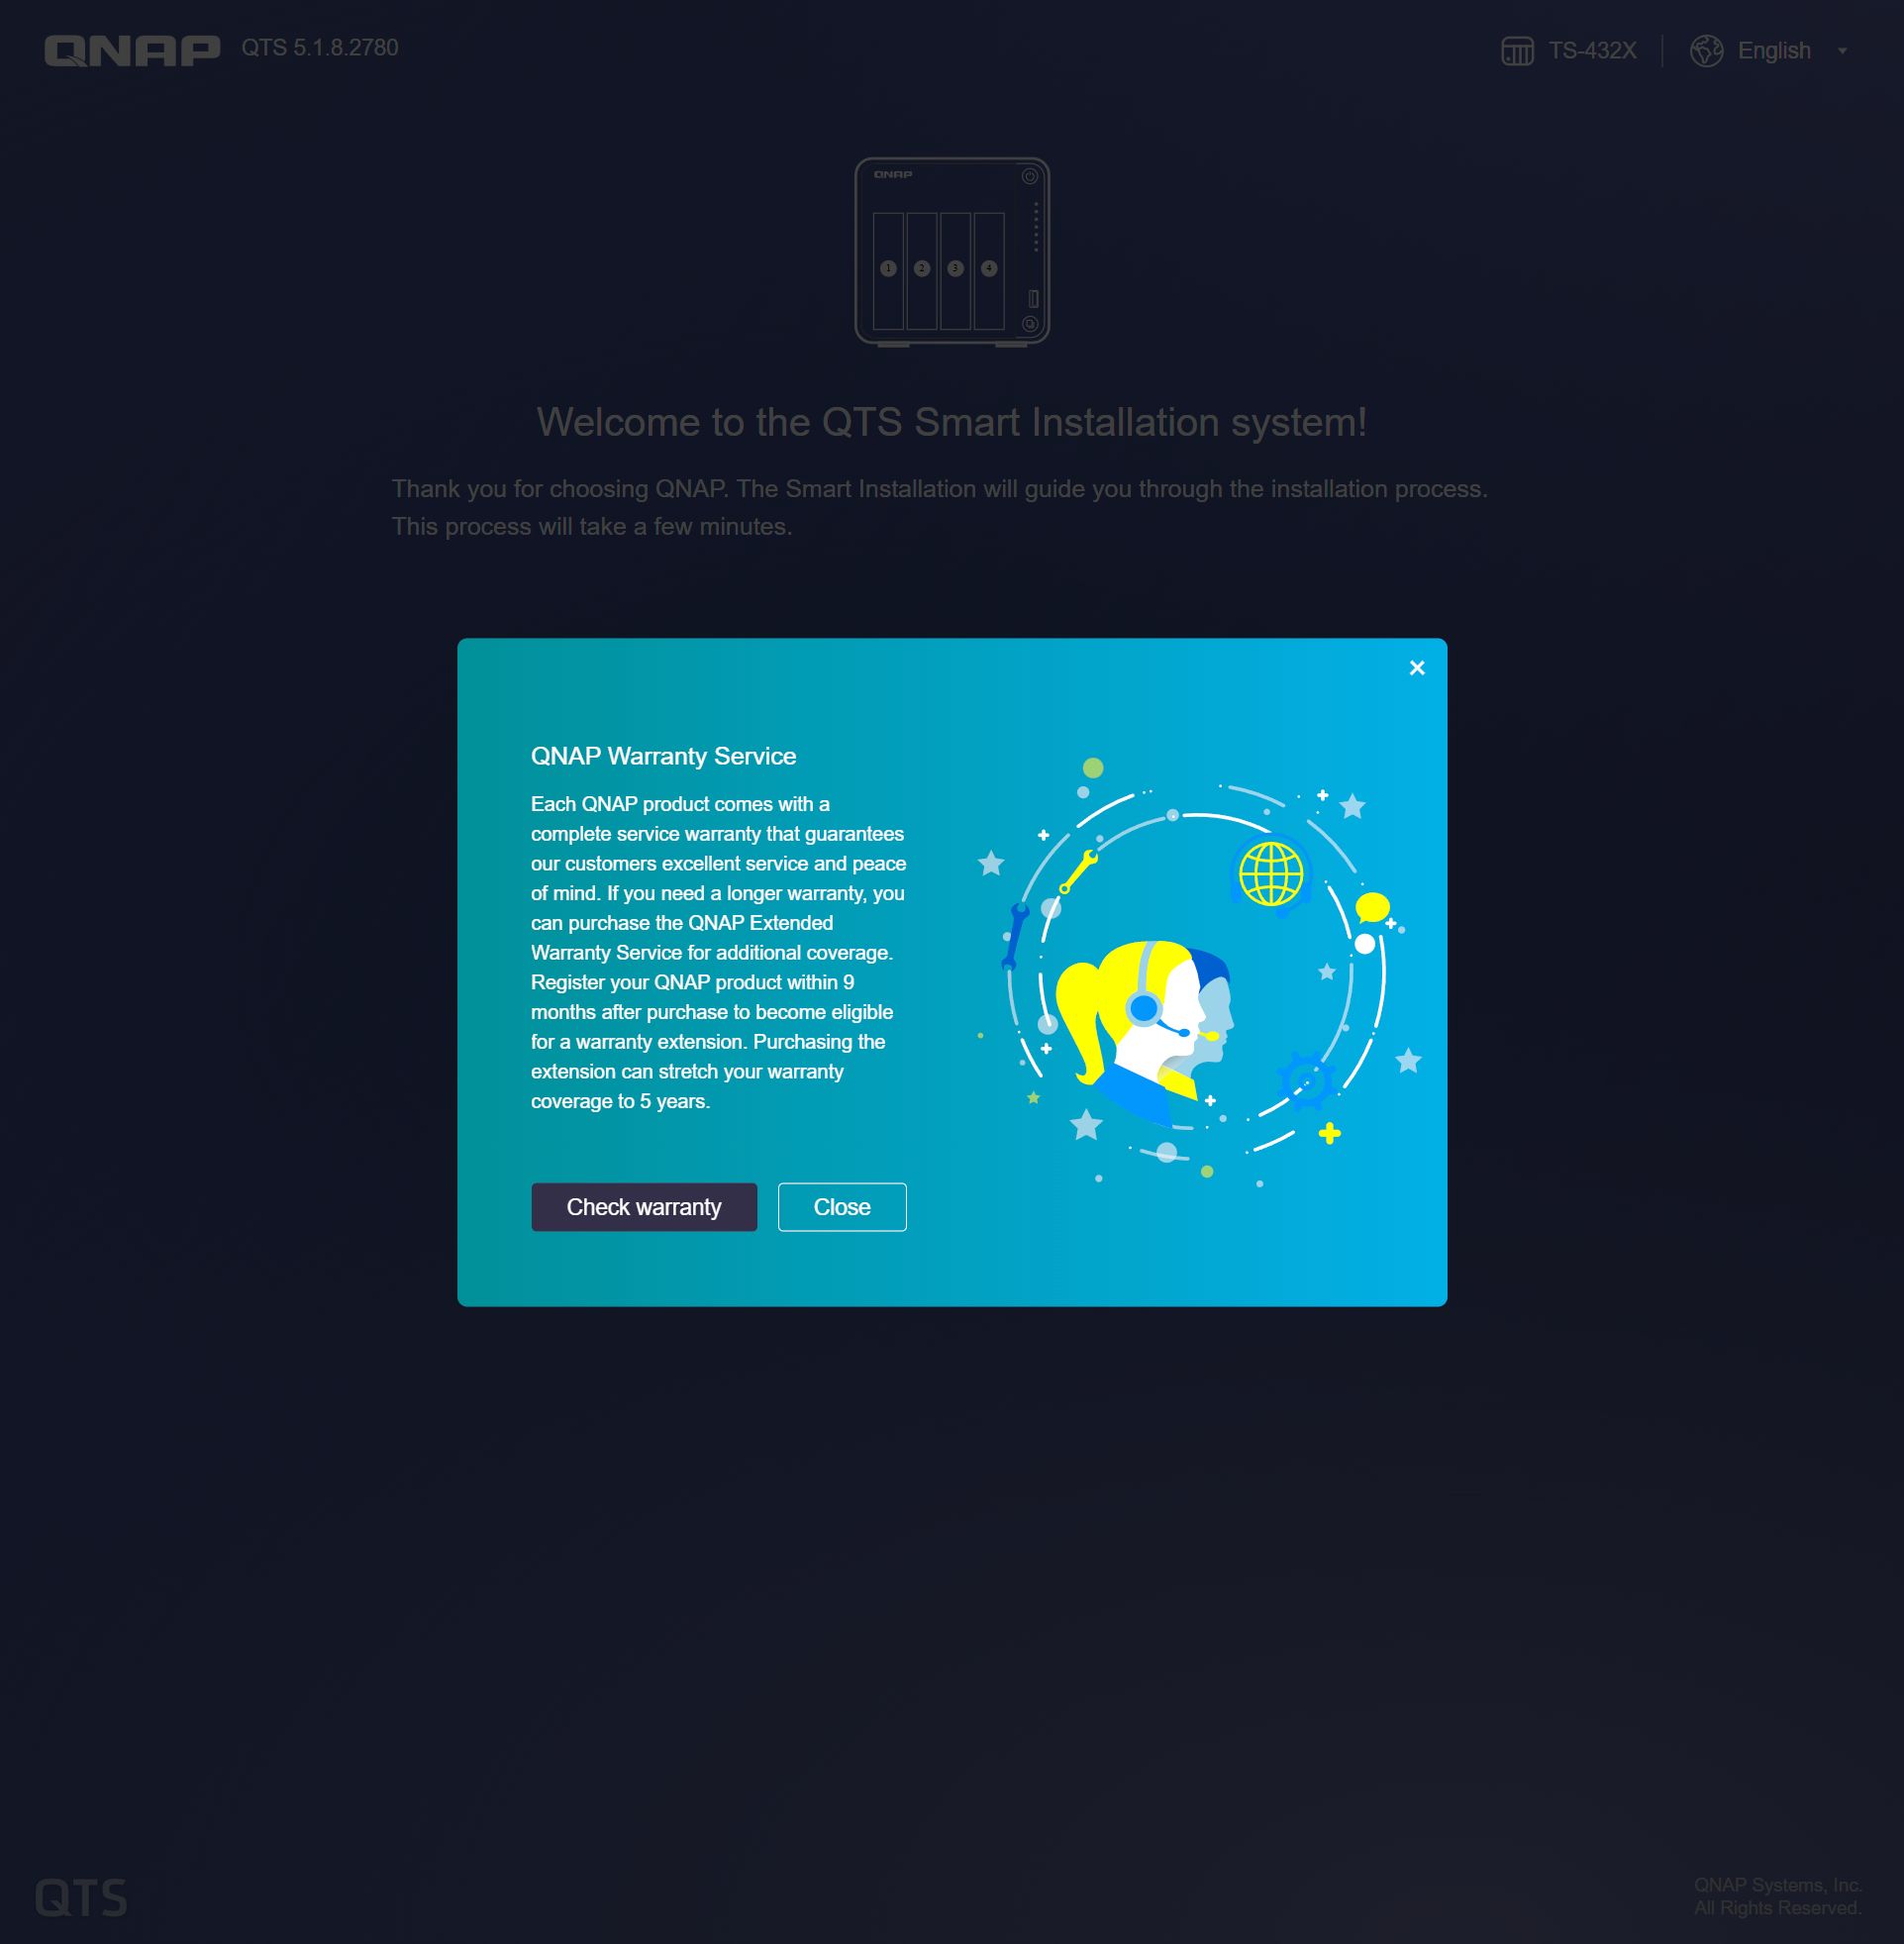
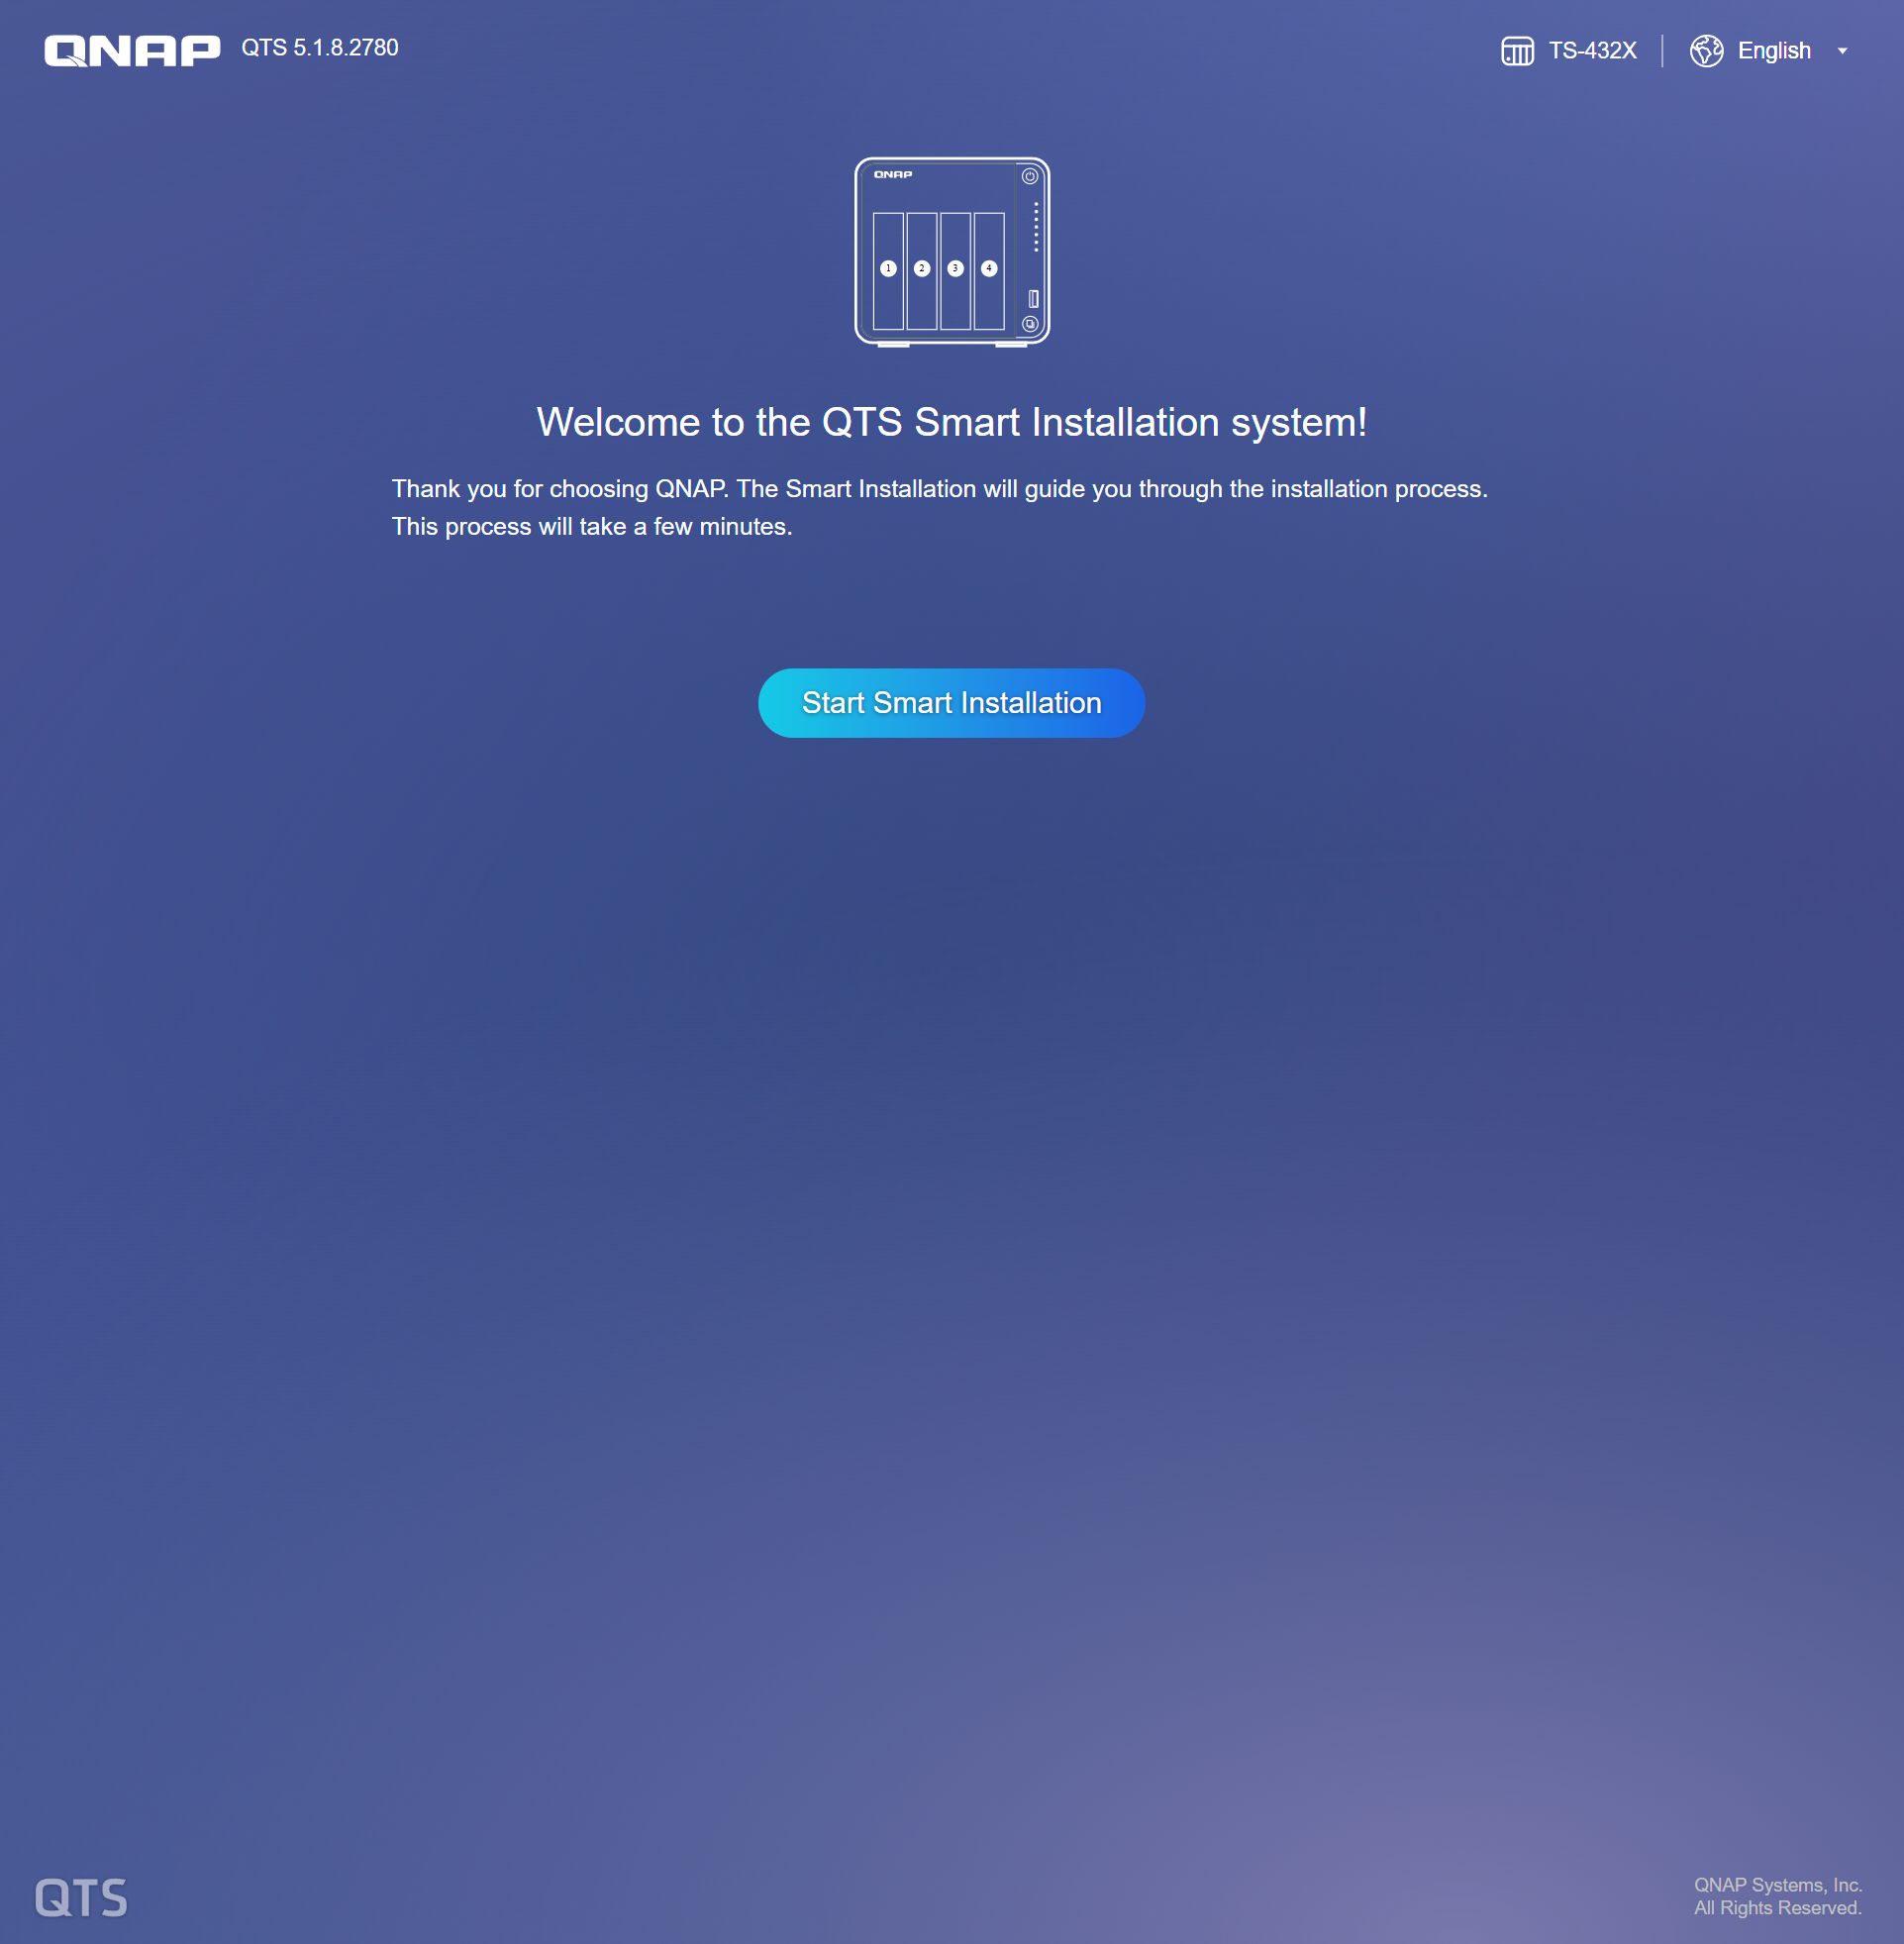
For whatever reason, QNAP has chosen to inform you about the product warranty as the first step of the software setup process, most likely to get you to buy an extended warranty. As you can see, the TS-432X came with an older version of QTS, which is the norm for most NAS devices, and as you'll see, the OS was updated during the setup process.
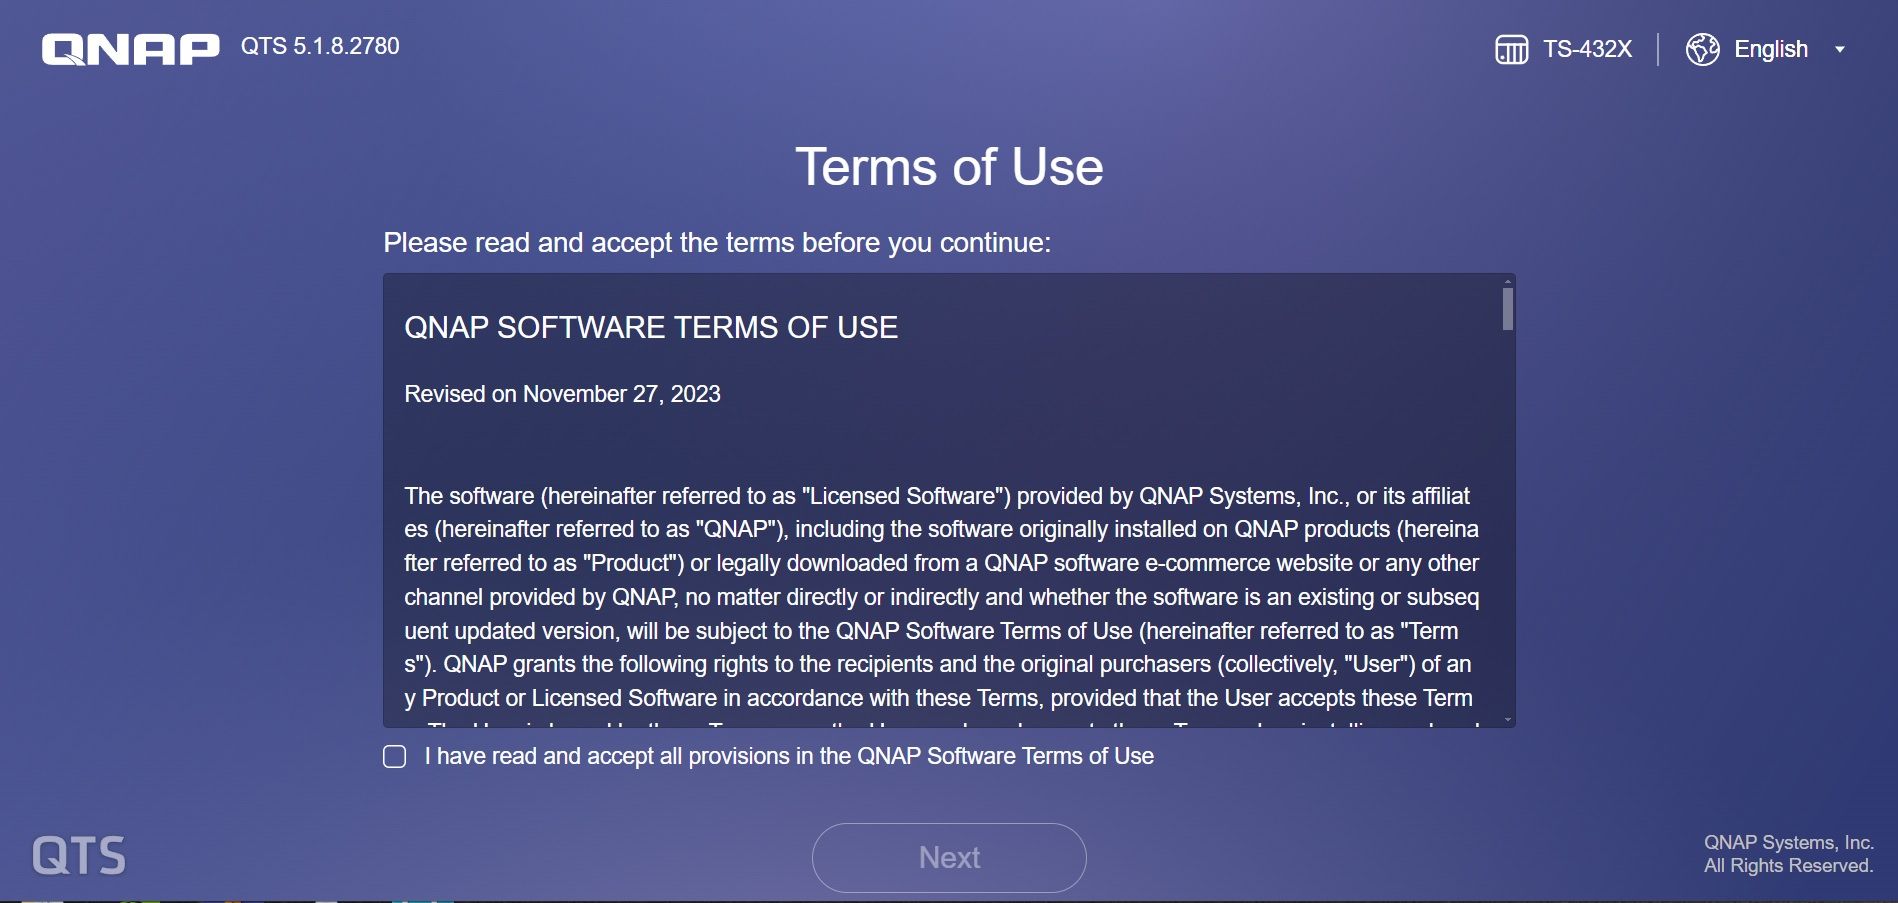
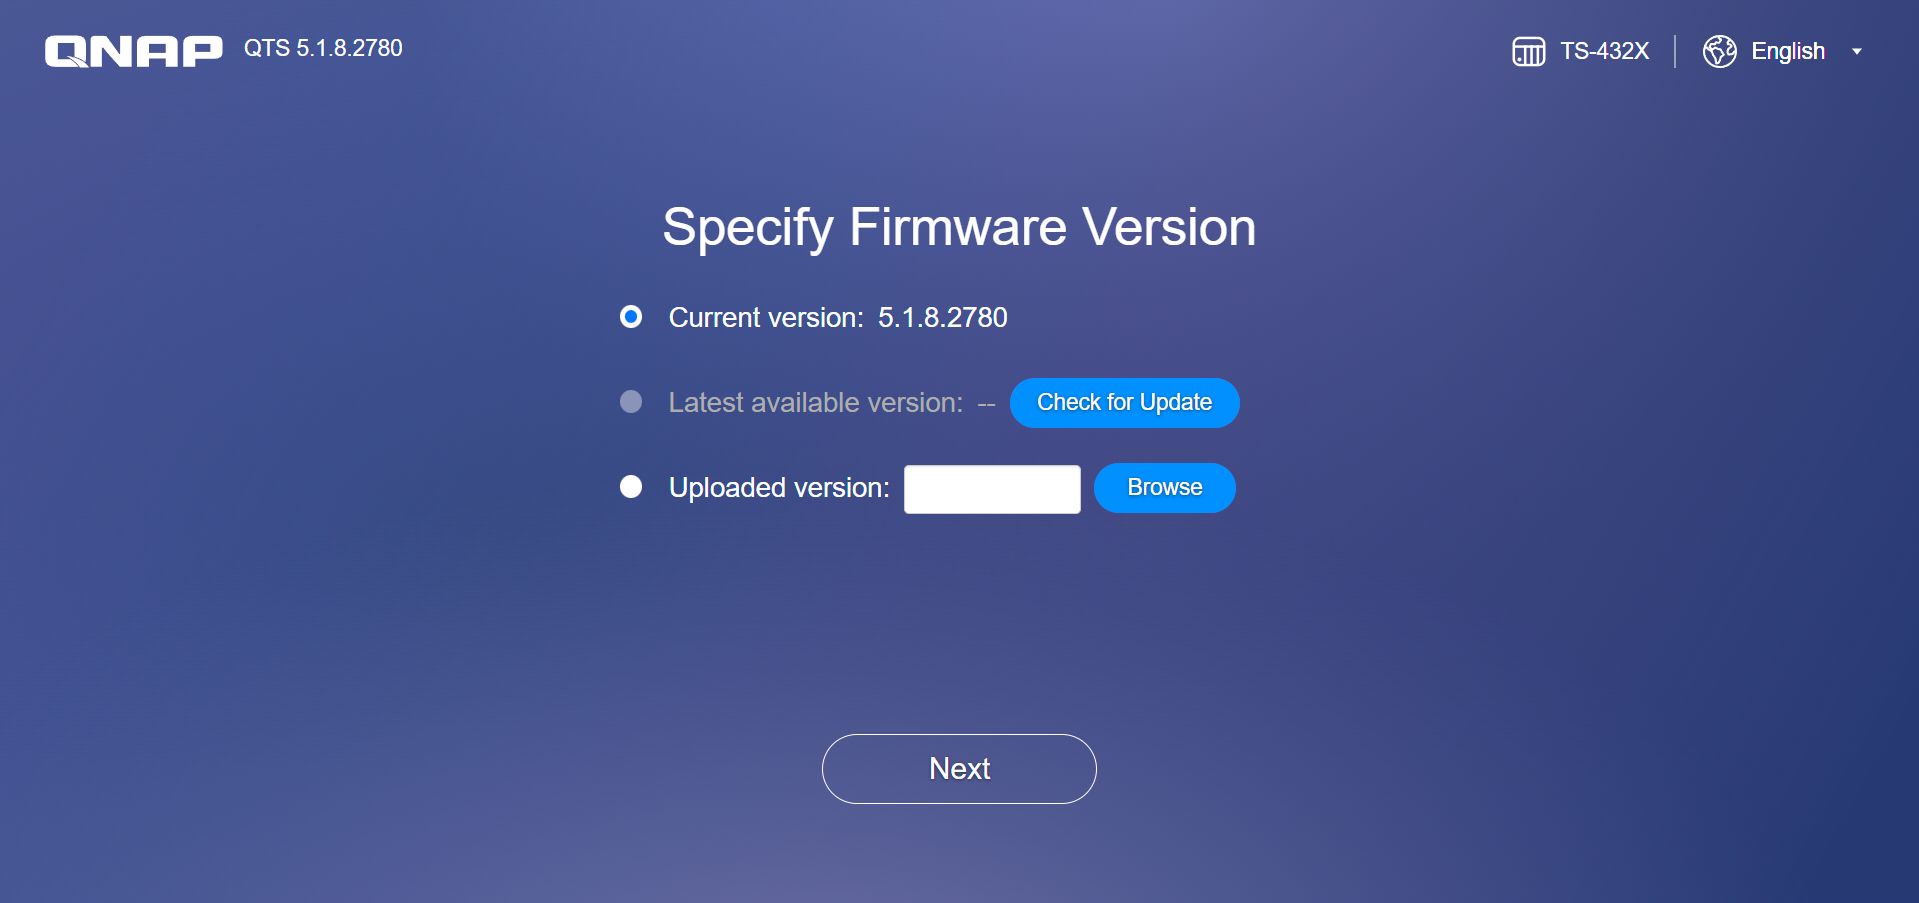
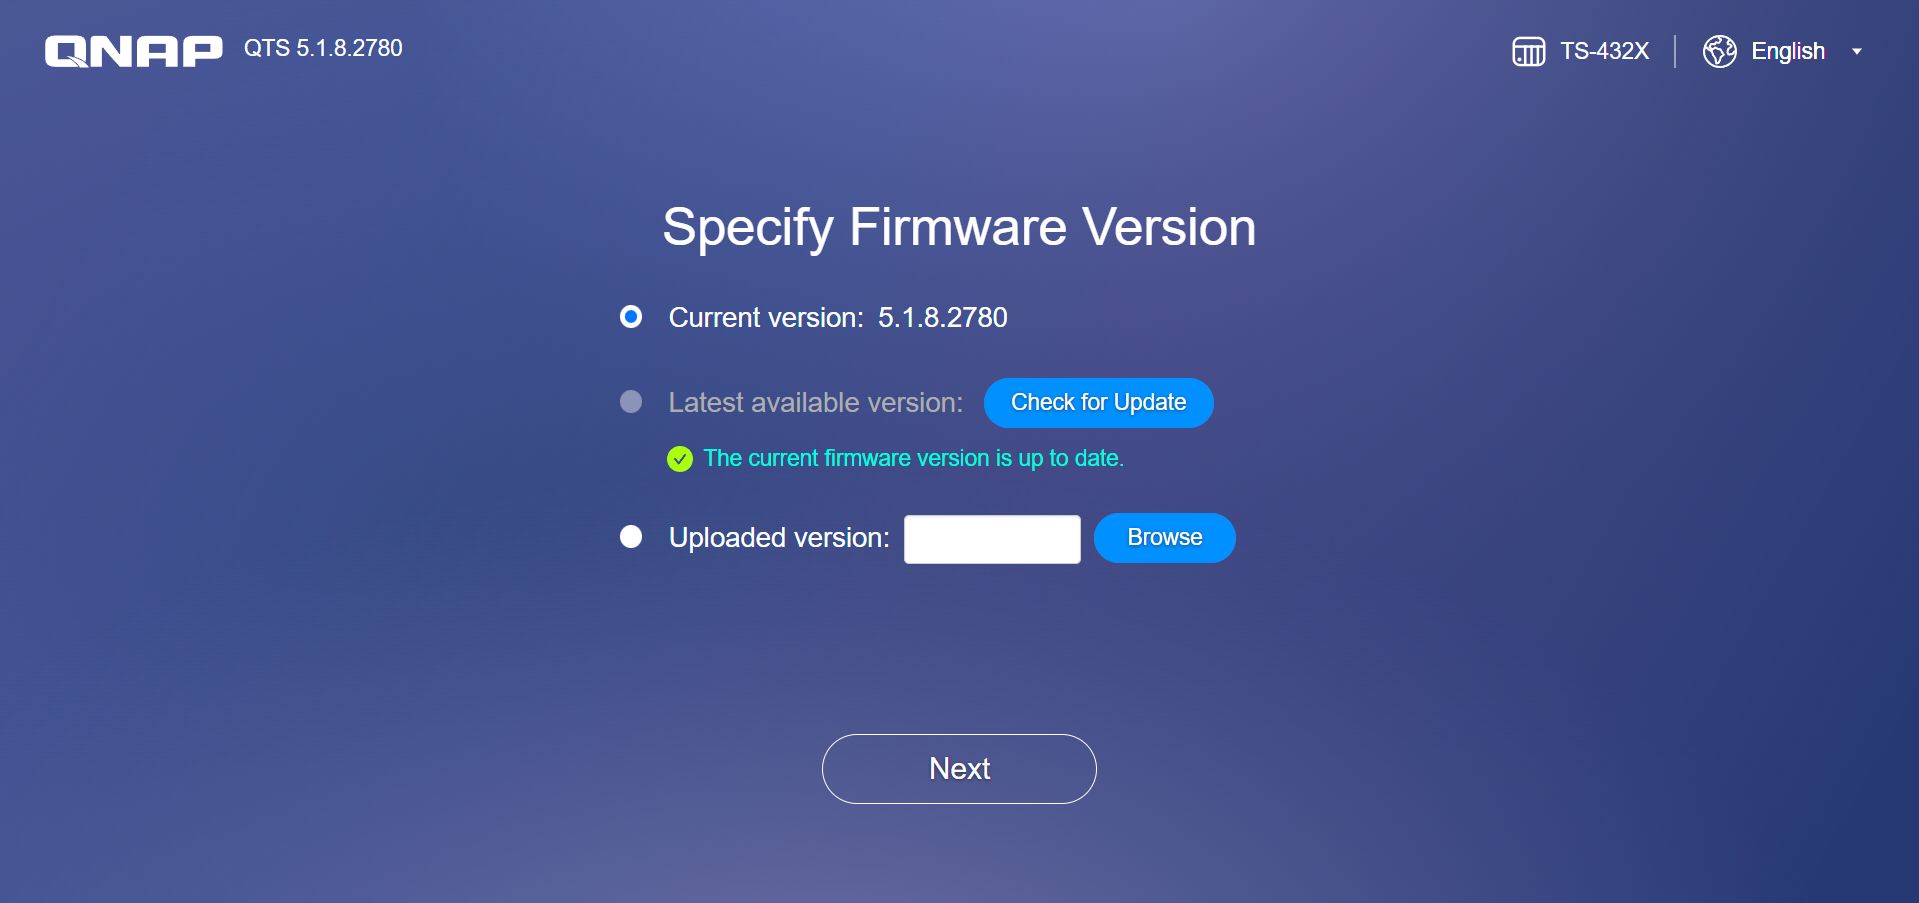
The next step included approving the terms of use, and then we get to where you have the option to either use the current software, install the latest version from QNAP's server, or to manually upload a version you want to use. We ended up having a glitch here, where we were informed that we were already using the latest firmware, which wasn't the case, and as such we had to manually install the latest OS version after the setup process was done.
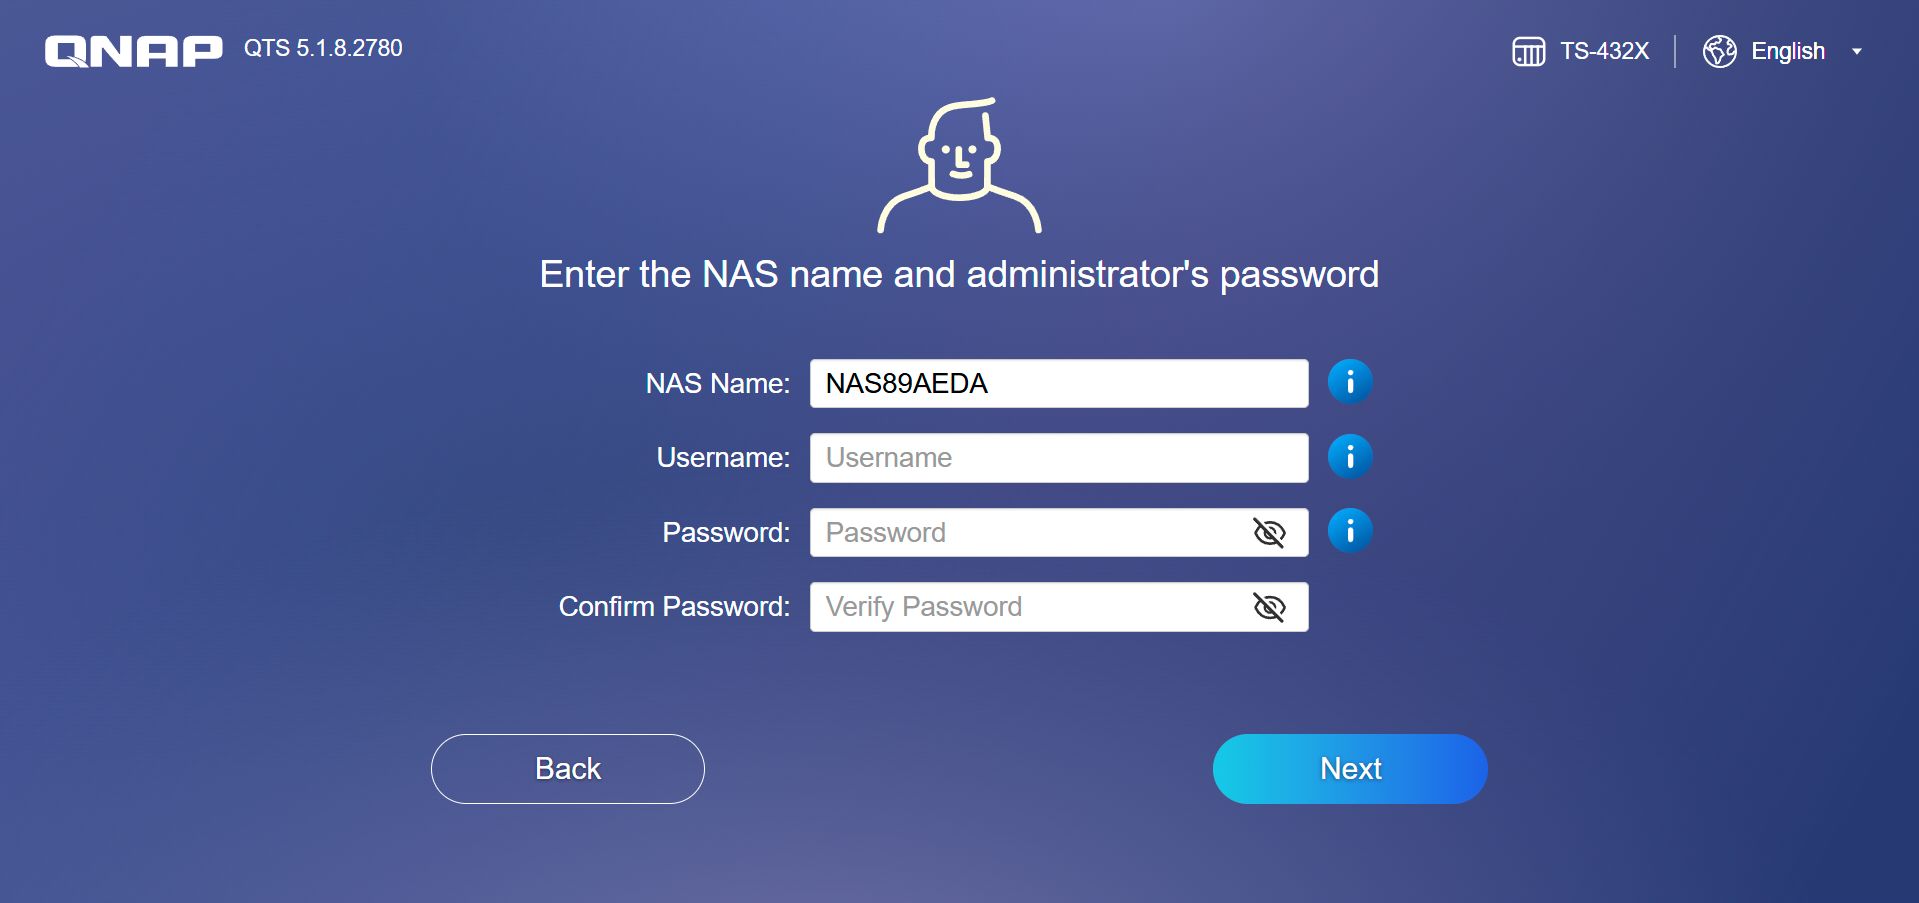
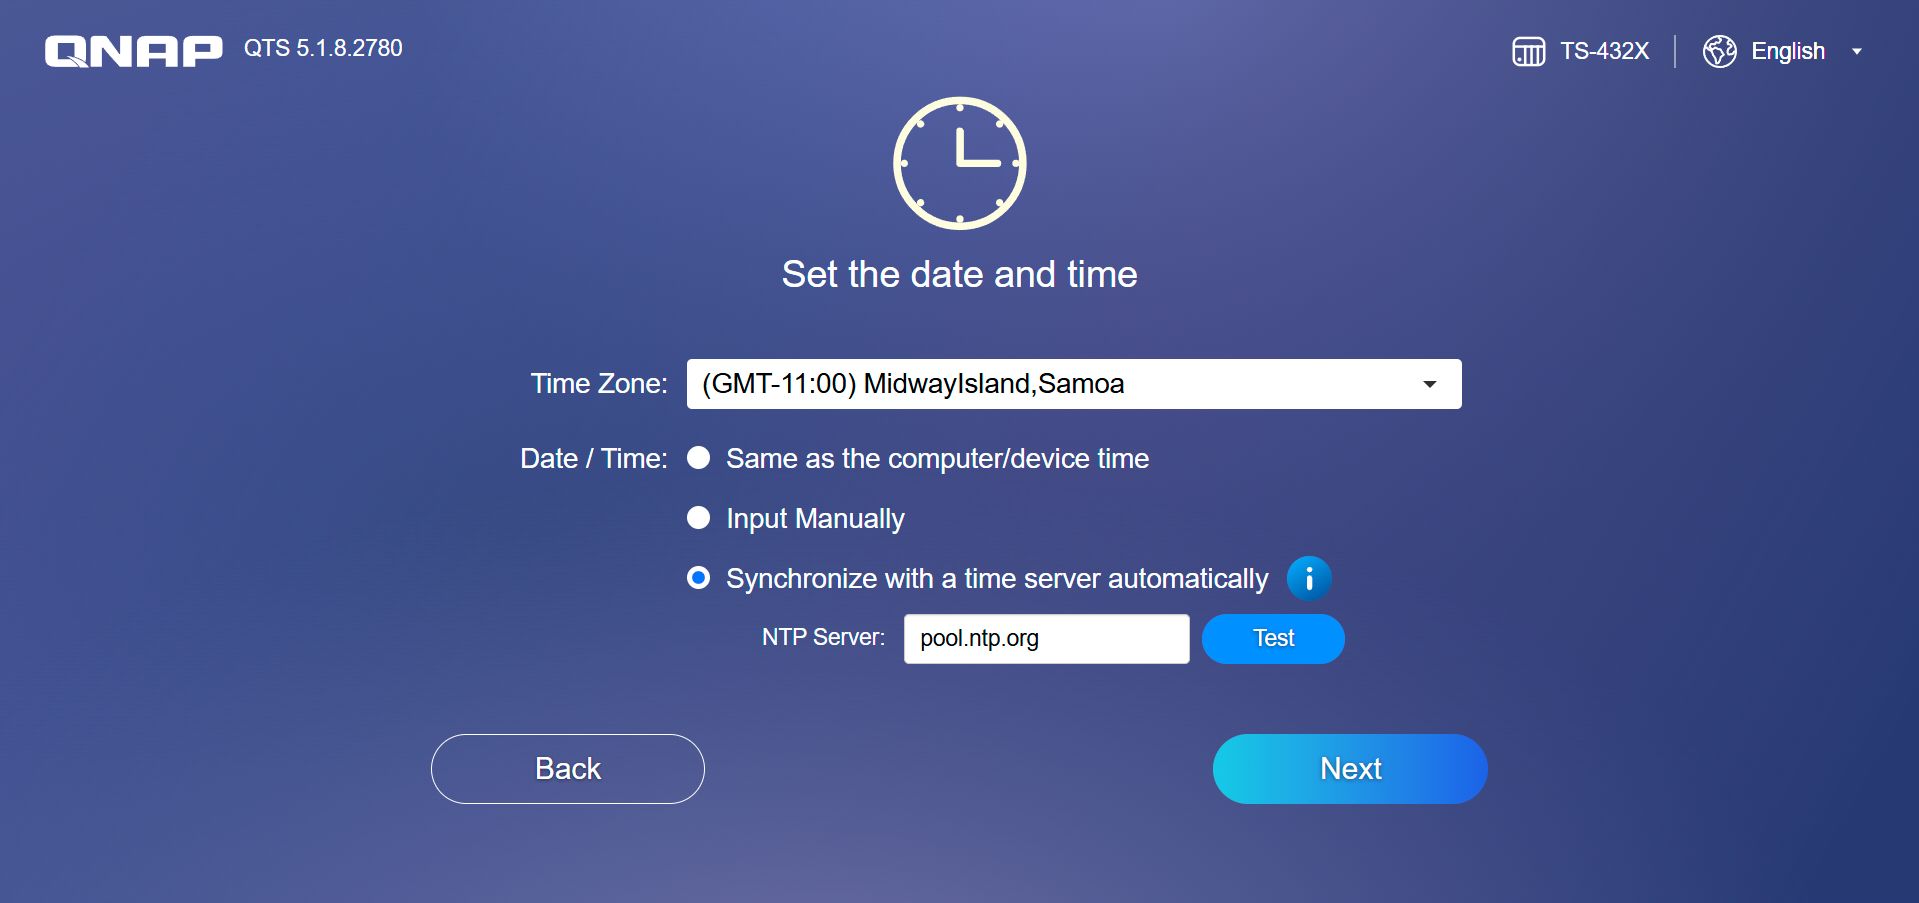
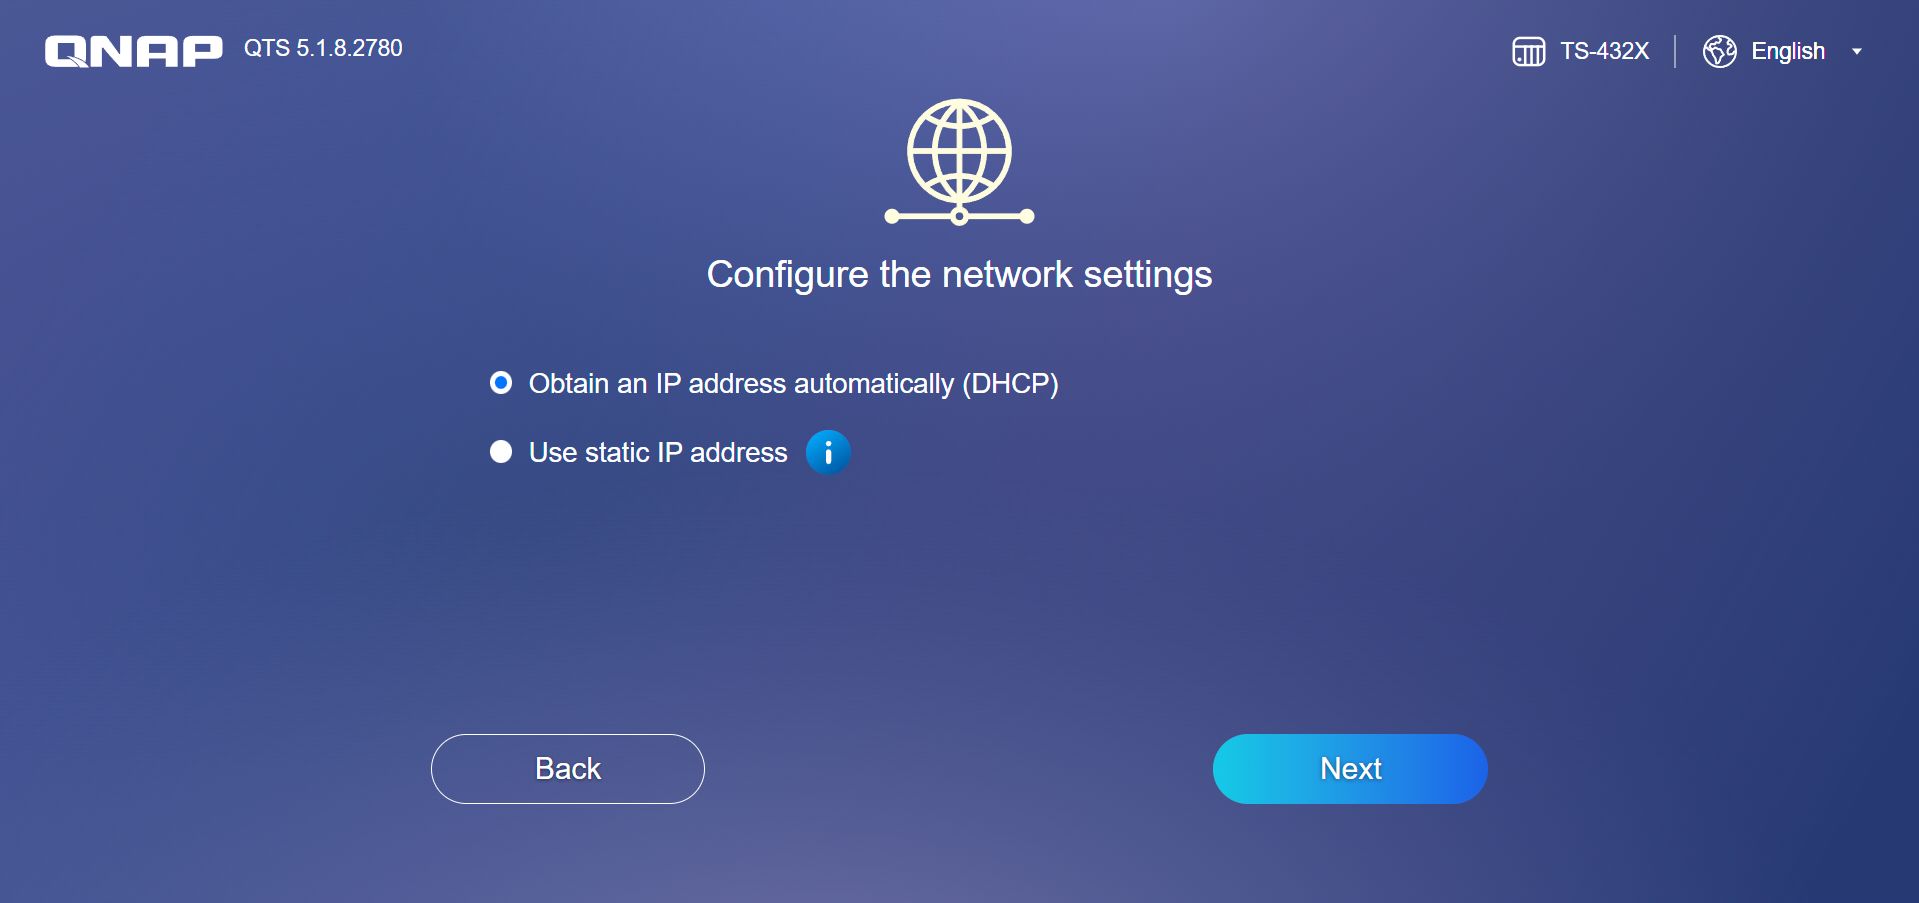
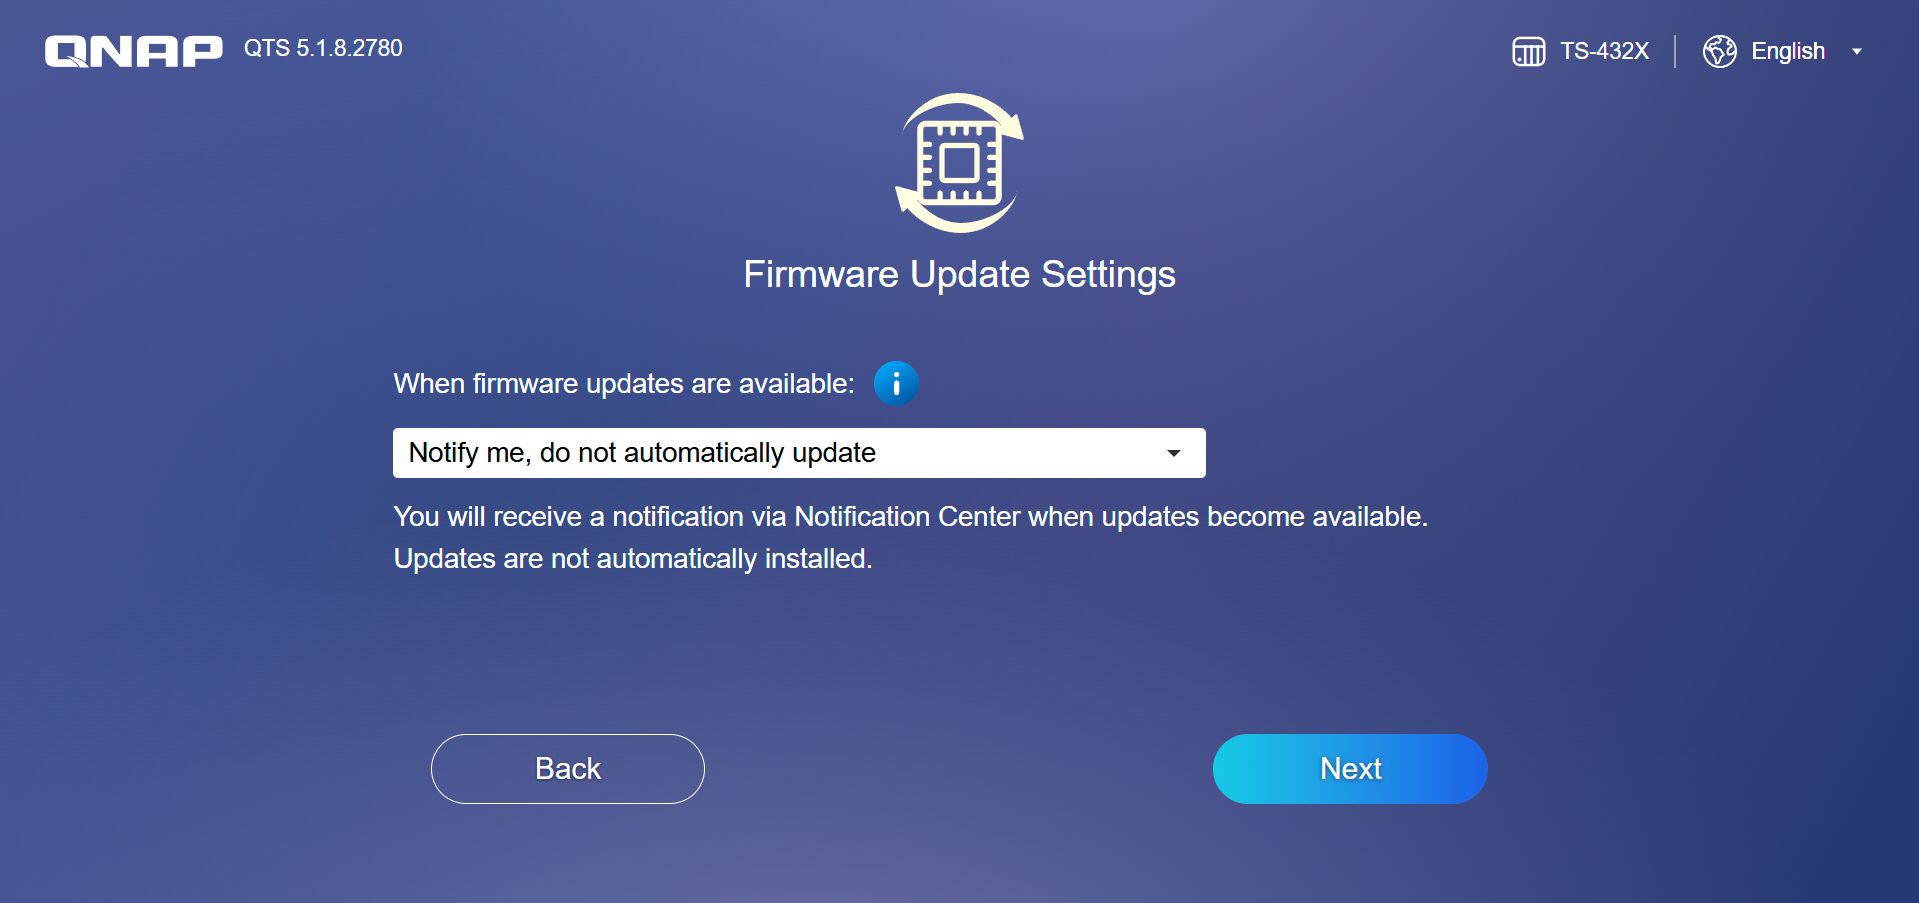
At this point you have to enter some admin credentials and name your NAS, in case you're not happy with the auto generated name. Then it's time to pick your time zone, which for some odd reason, defaults to Samoa, but your best option here is to synchronize with an NTP Server, as that way your NAS always keeps the correct time. This is followed by setting up the IP address, we'd suggest DHCP and then fix it in your router, rather than using an old-fashioned static IP address. The final configuration step involves how you want to deal with firmware/OS updates, and once you've picked your option here, you're done.
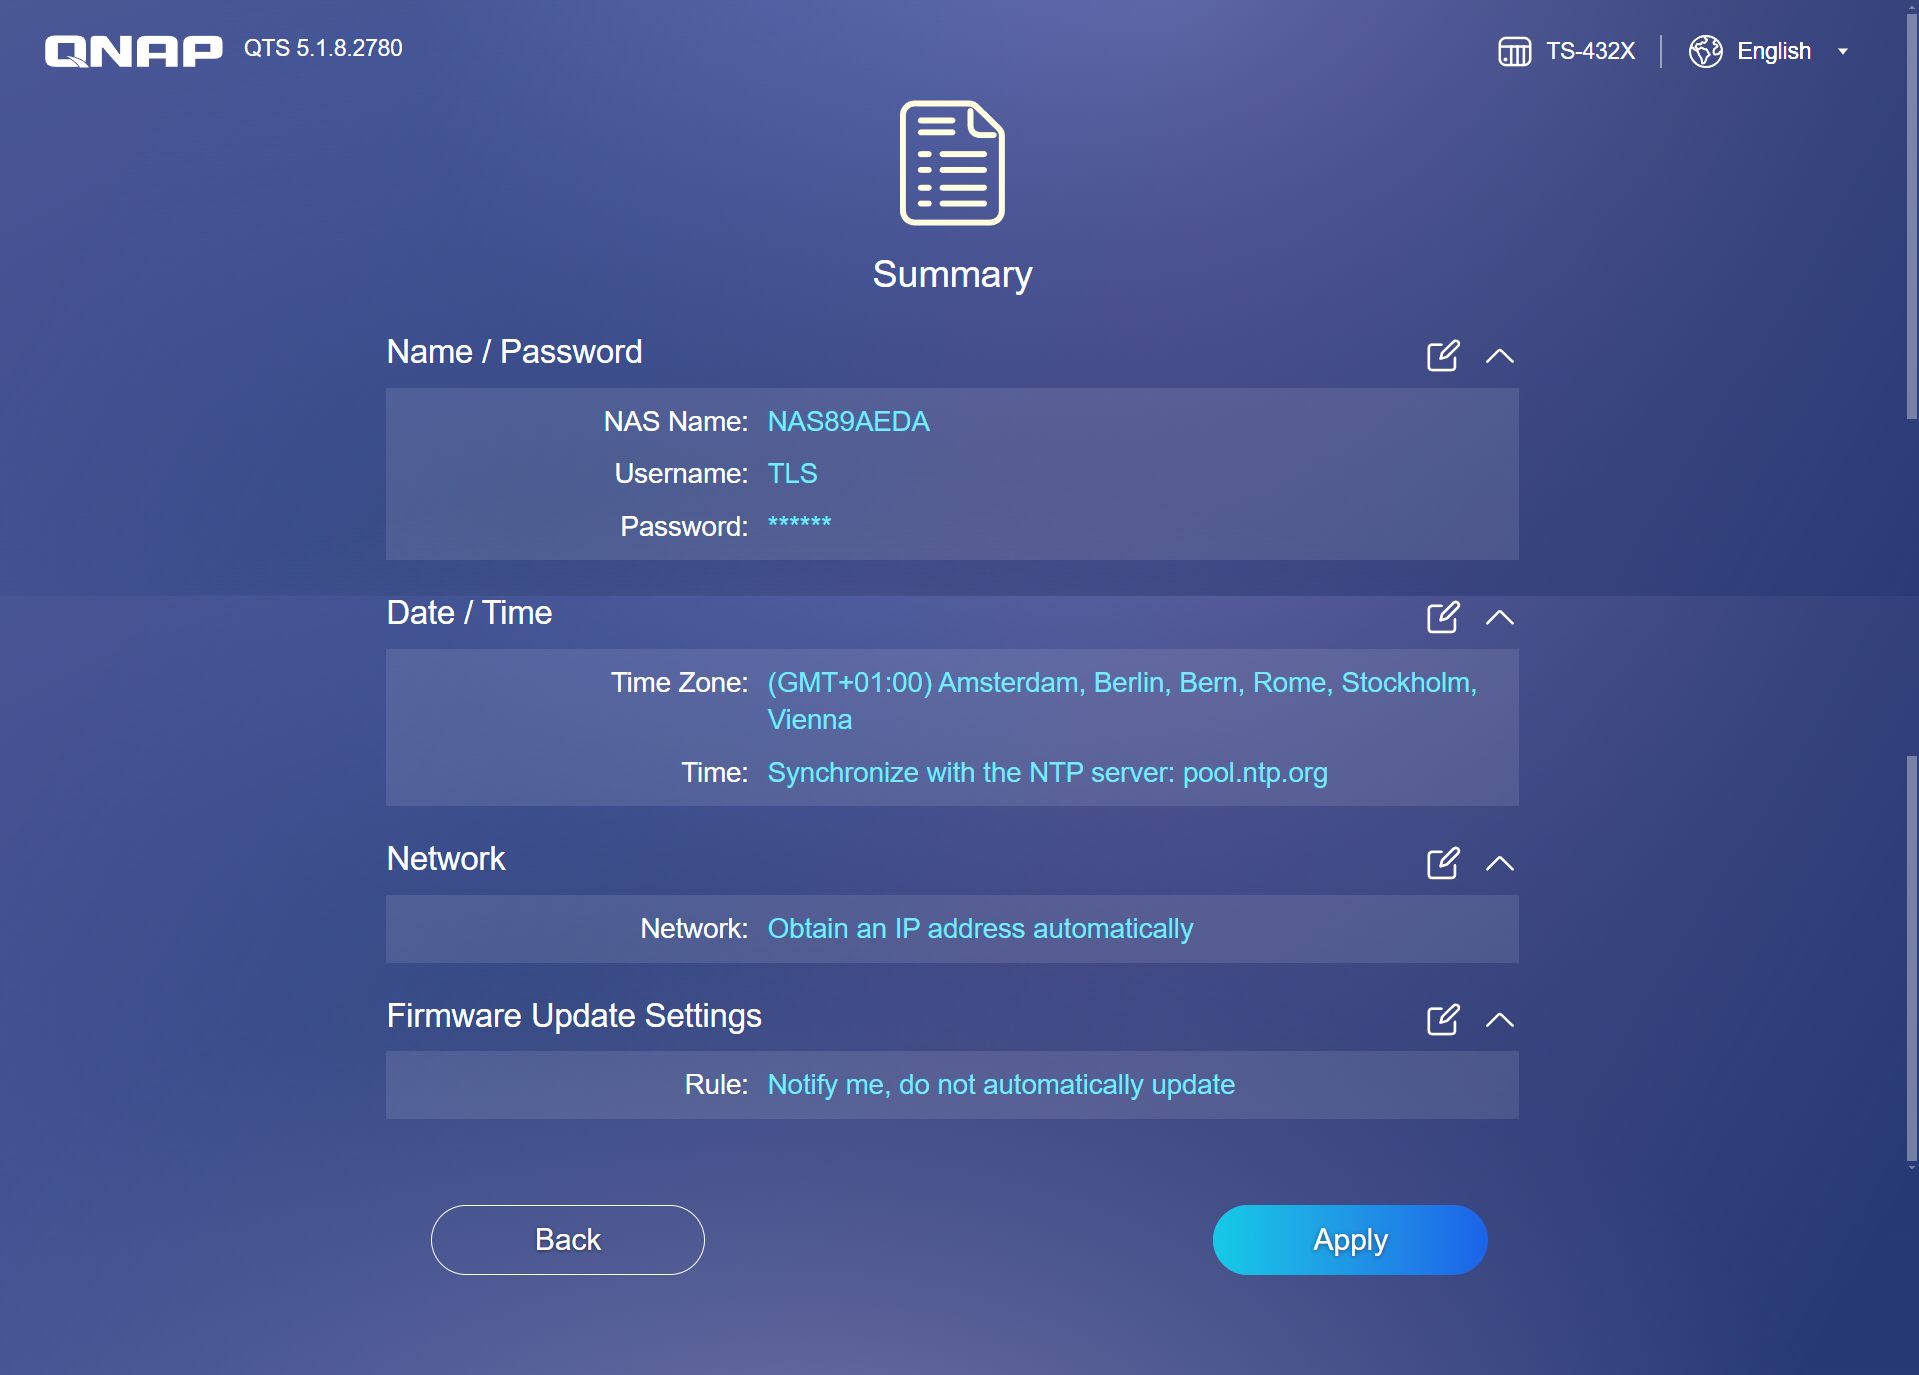
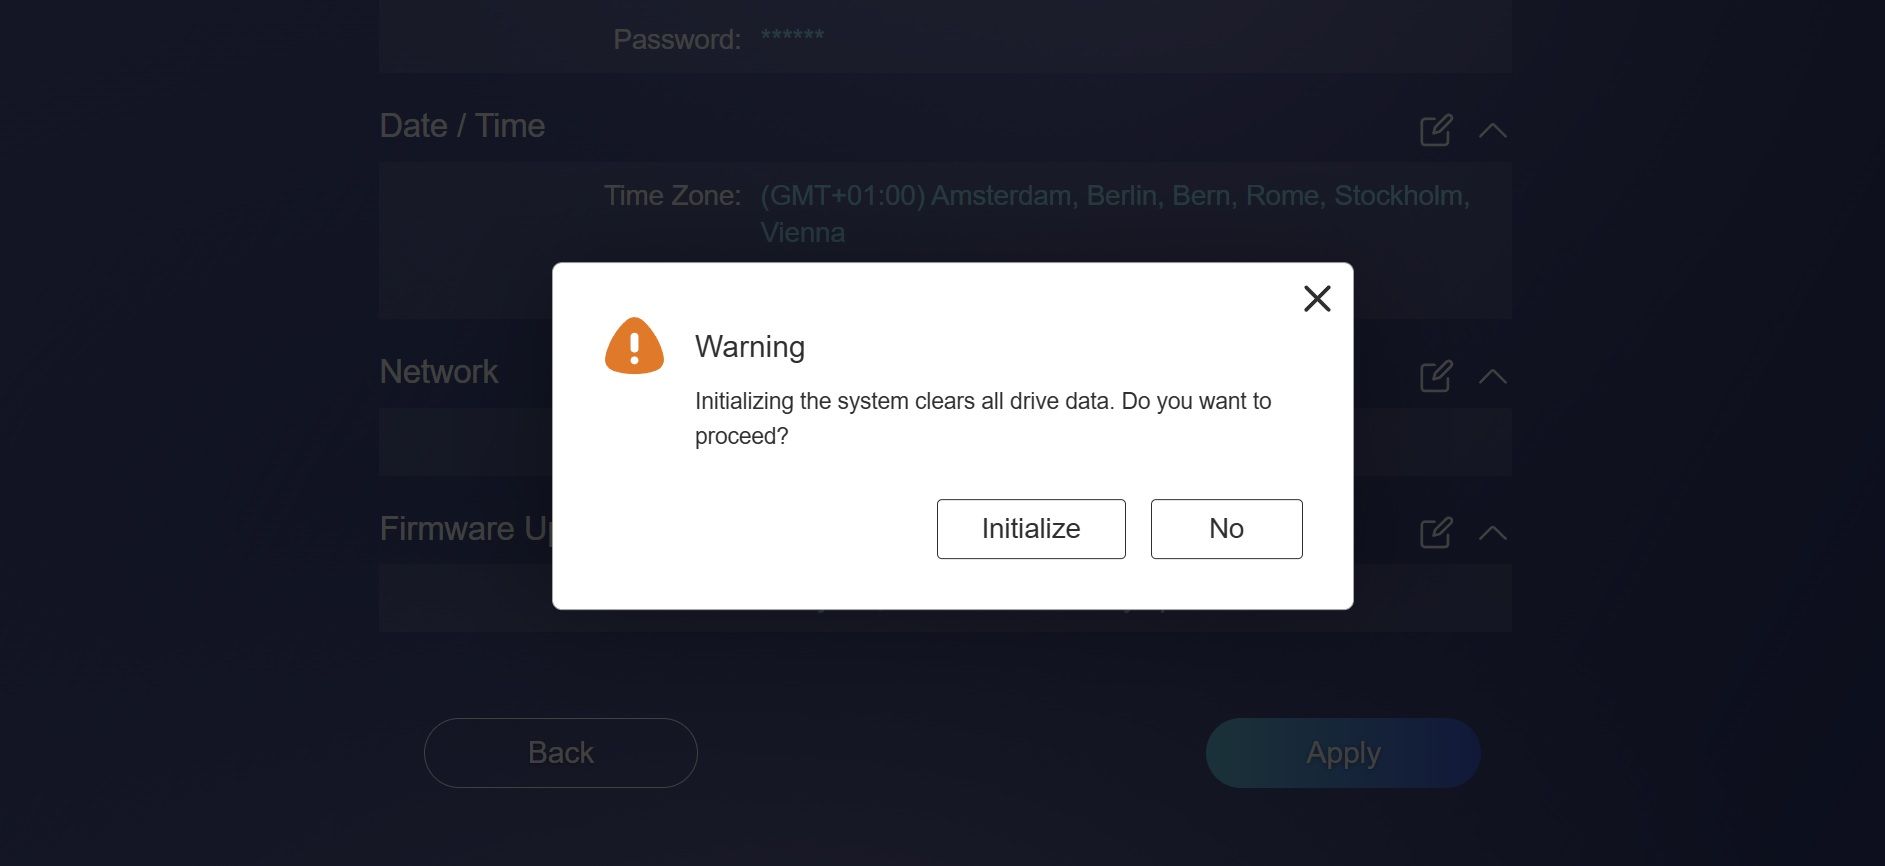
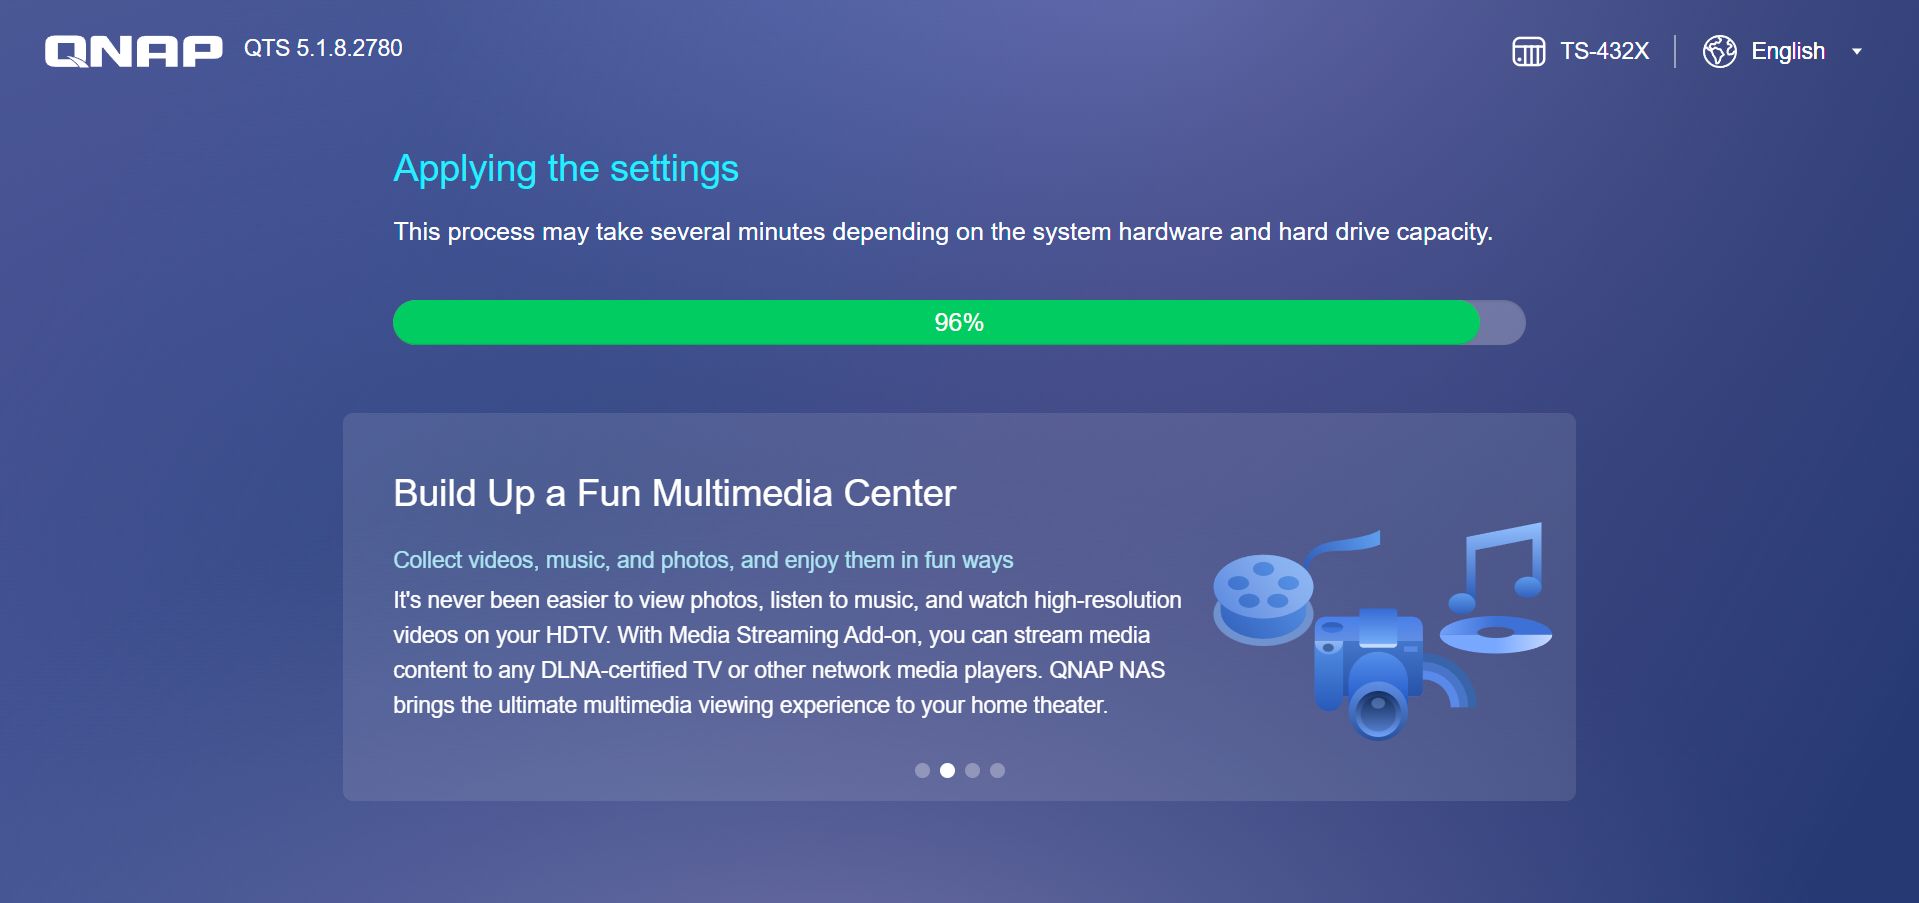
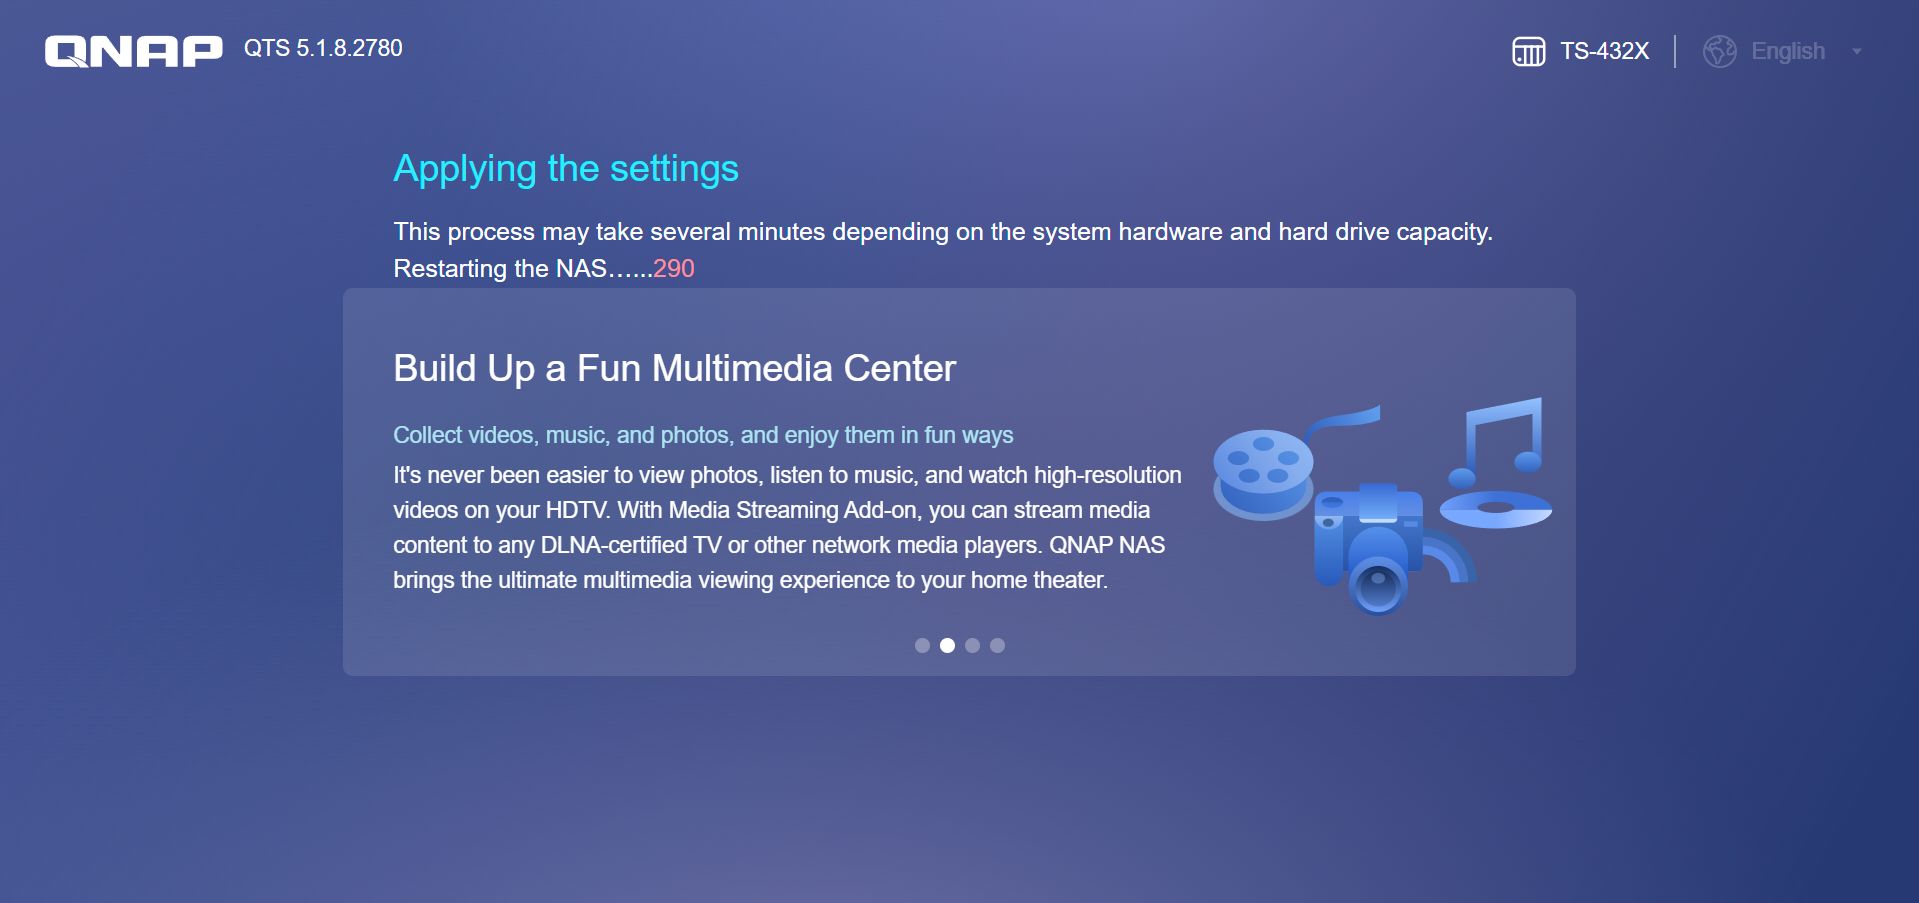
This is where you get a last chance to change any of the settings you made above and after hitting apply at this point, you get a final warning, asking if you're really, really sure you want to wipe all the data on your NAS, before the installation kicks off. The installation takes a while and once it's done, the NAS will reboot, which takes several minutes.
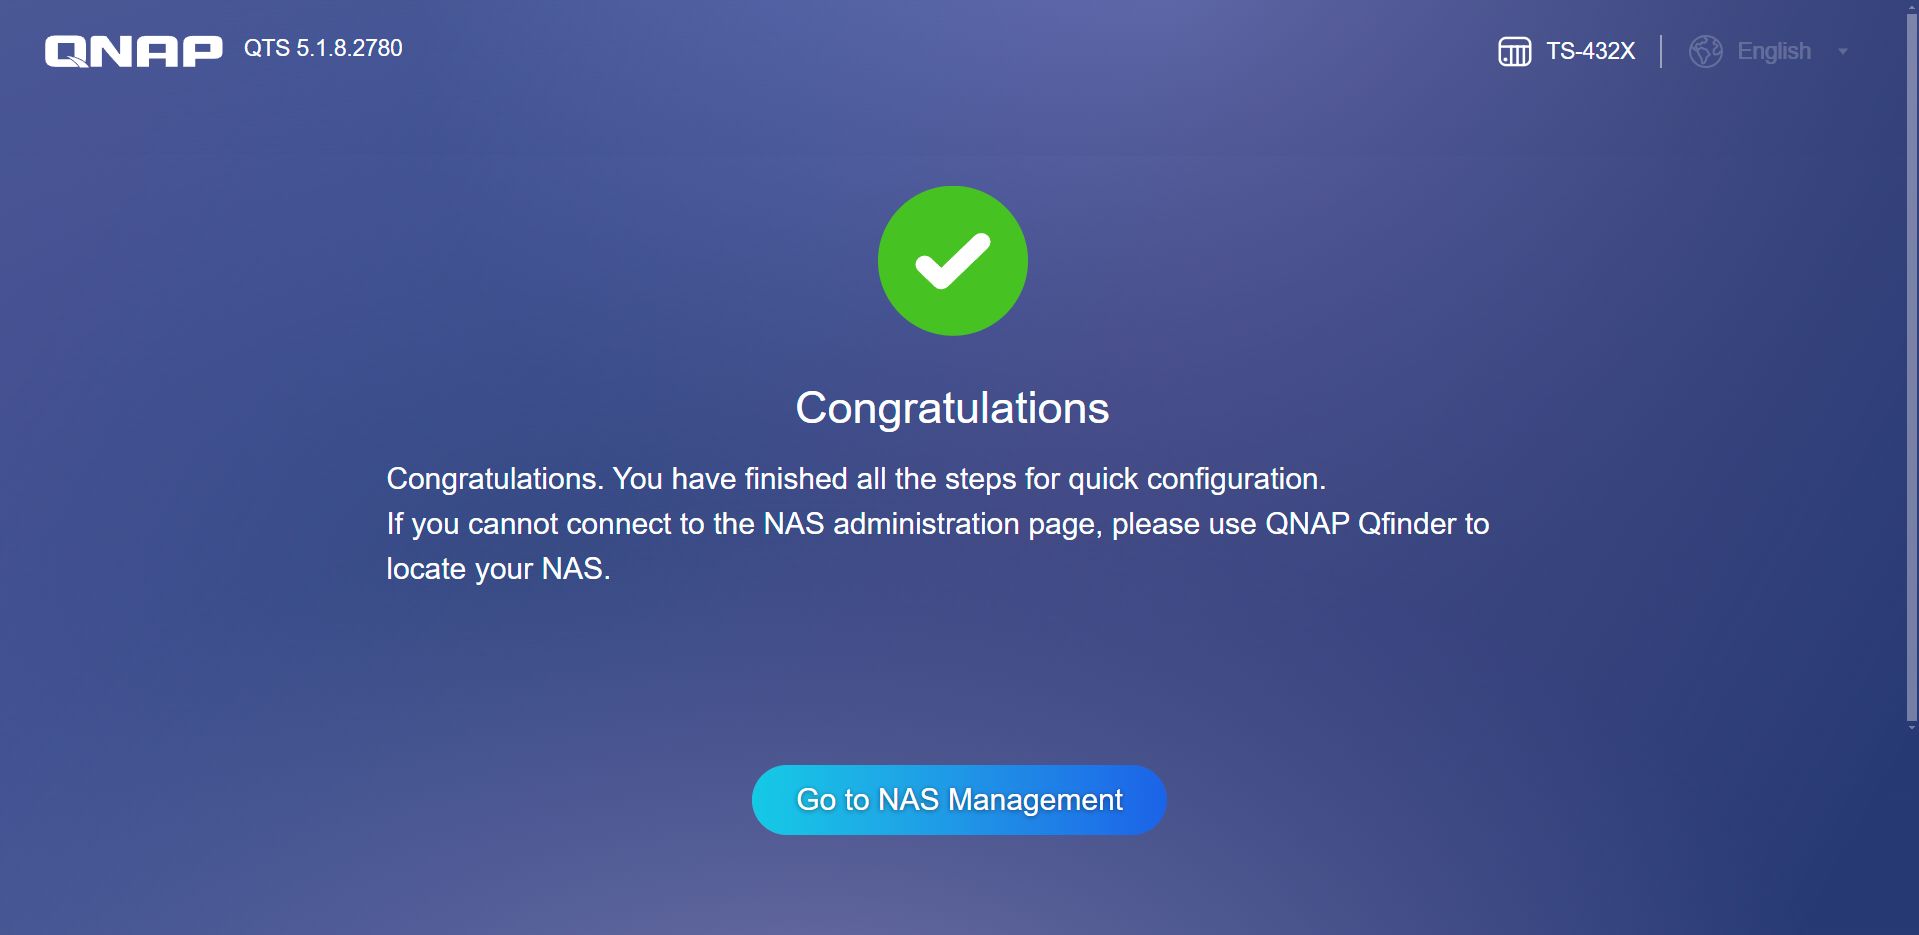
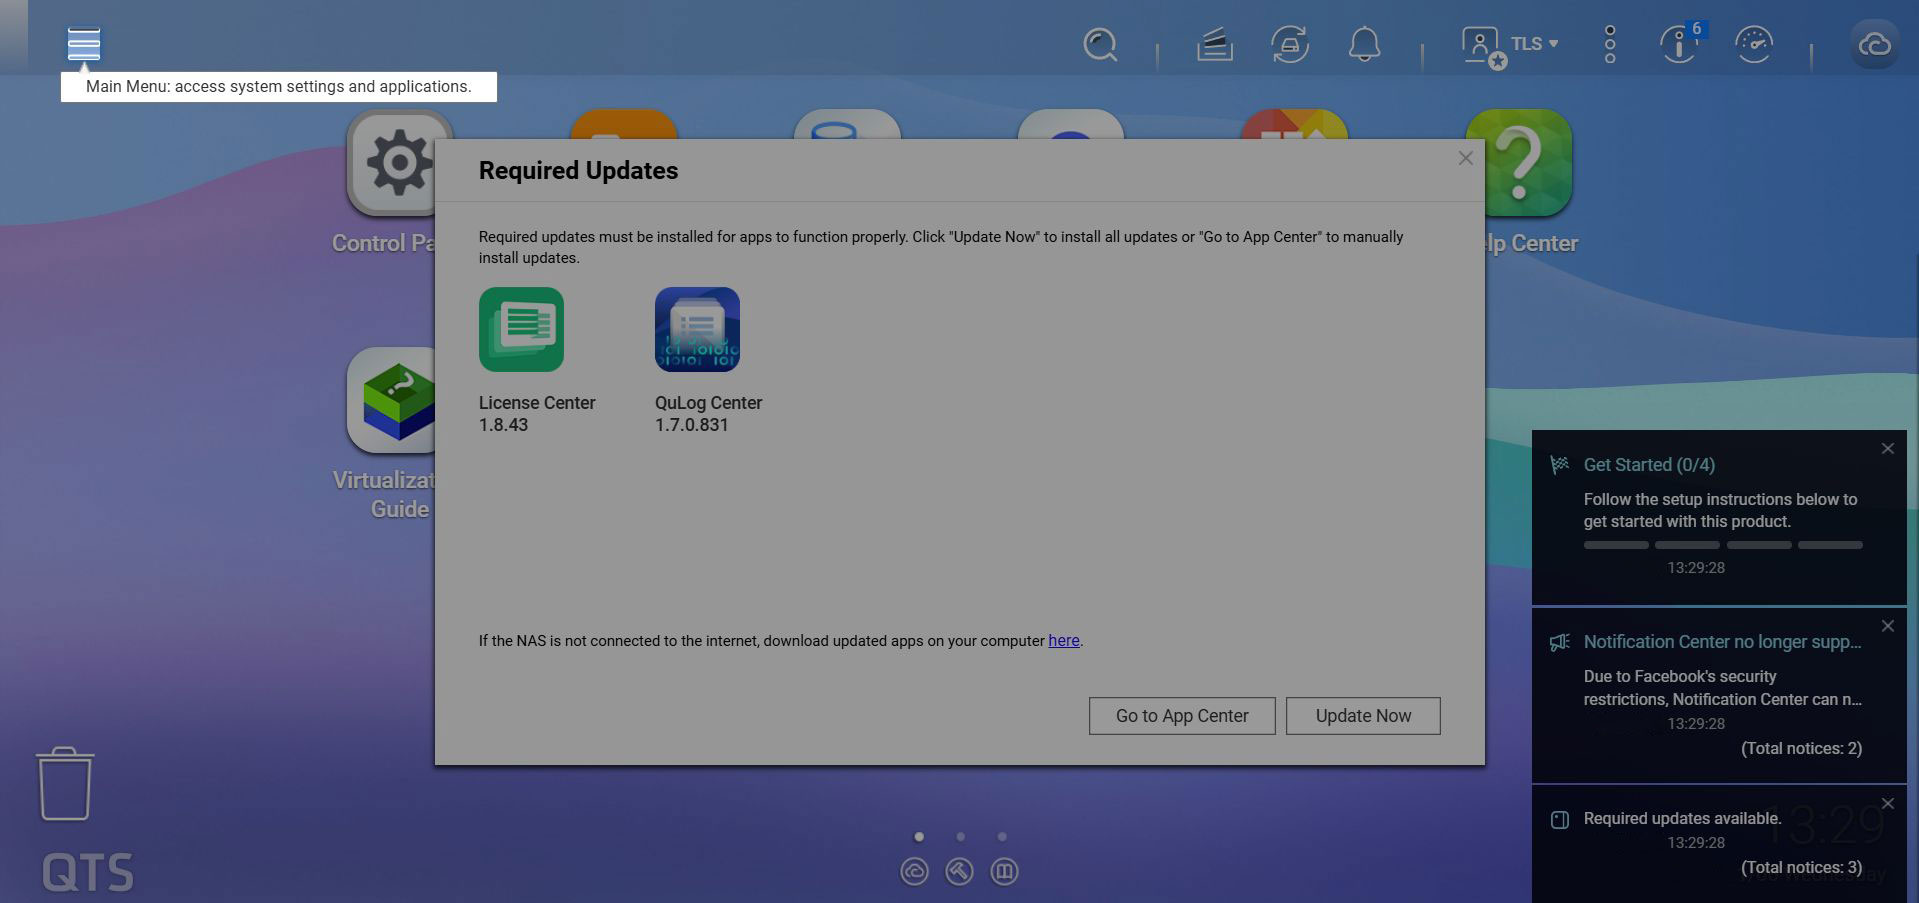
Once it's rebooted you're met by the screen above, and you're almost at the point where you're ready to start using your NAS. First a few updates.
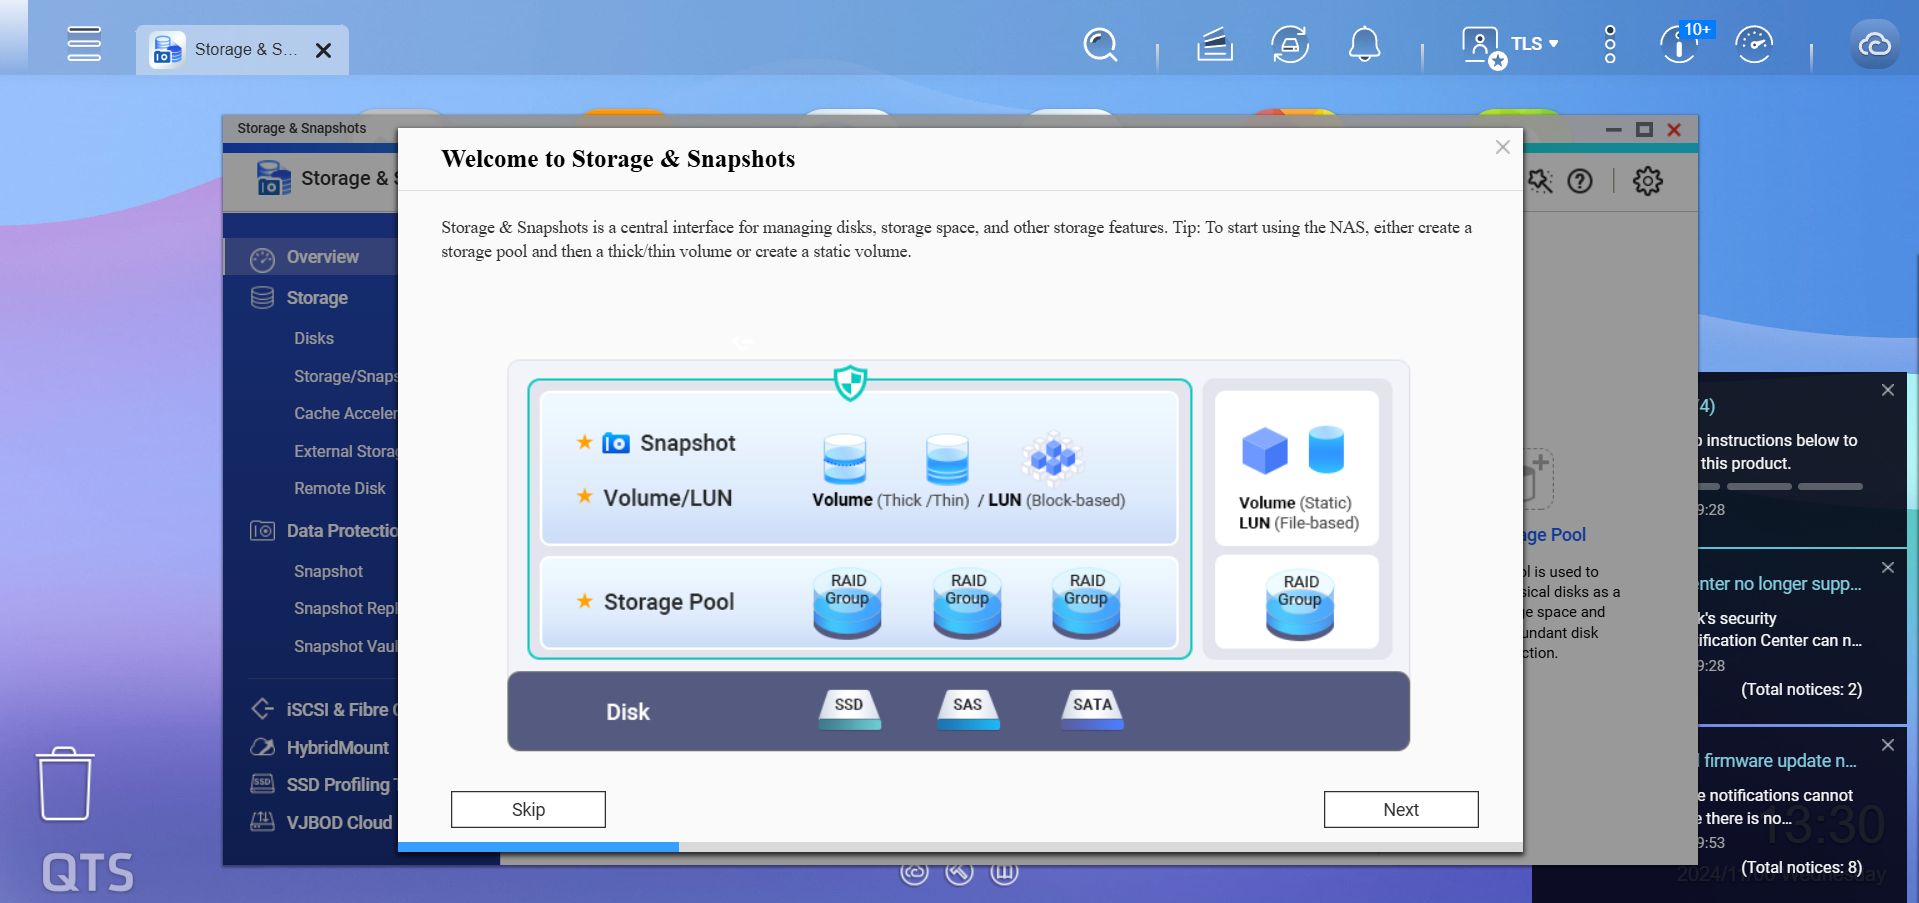
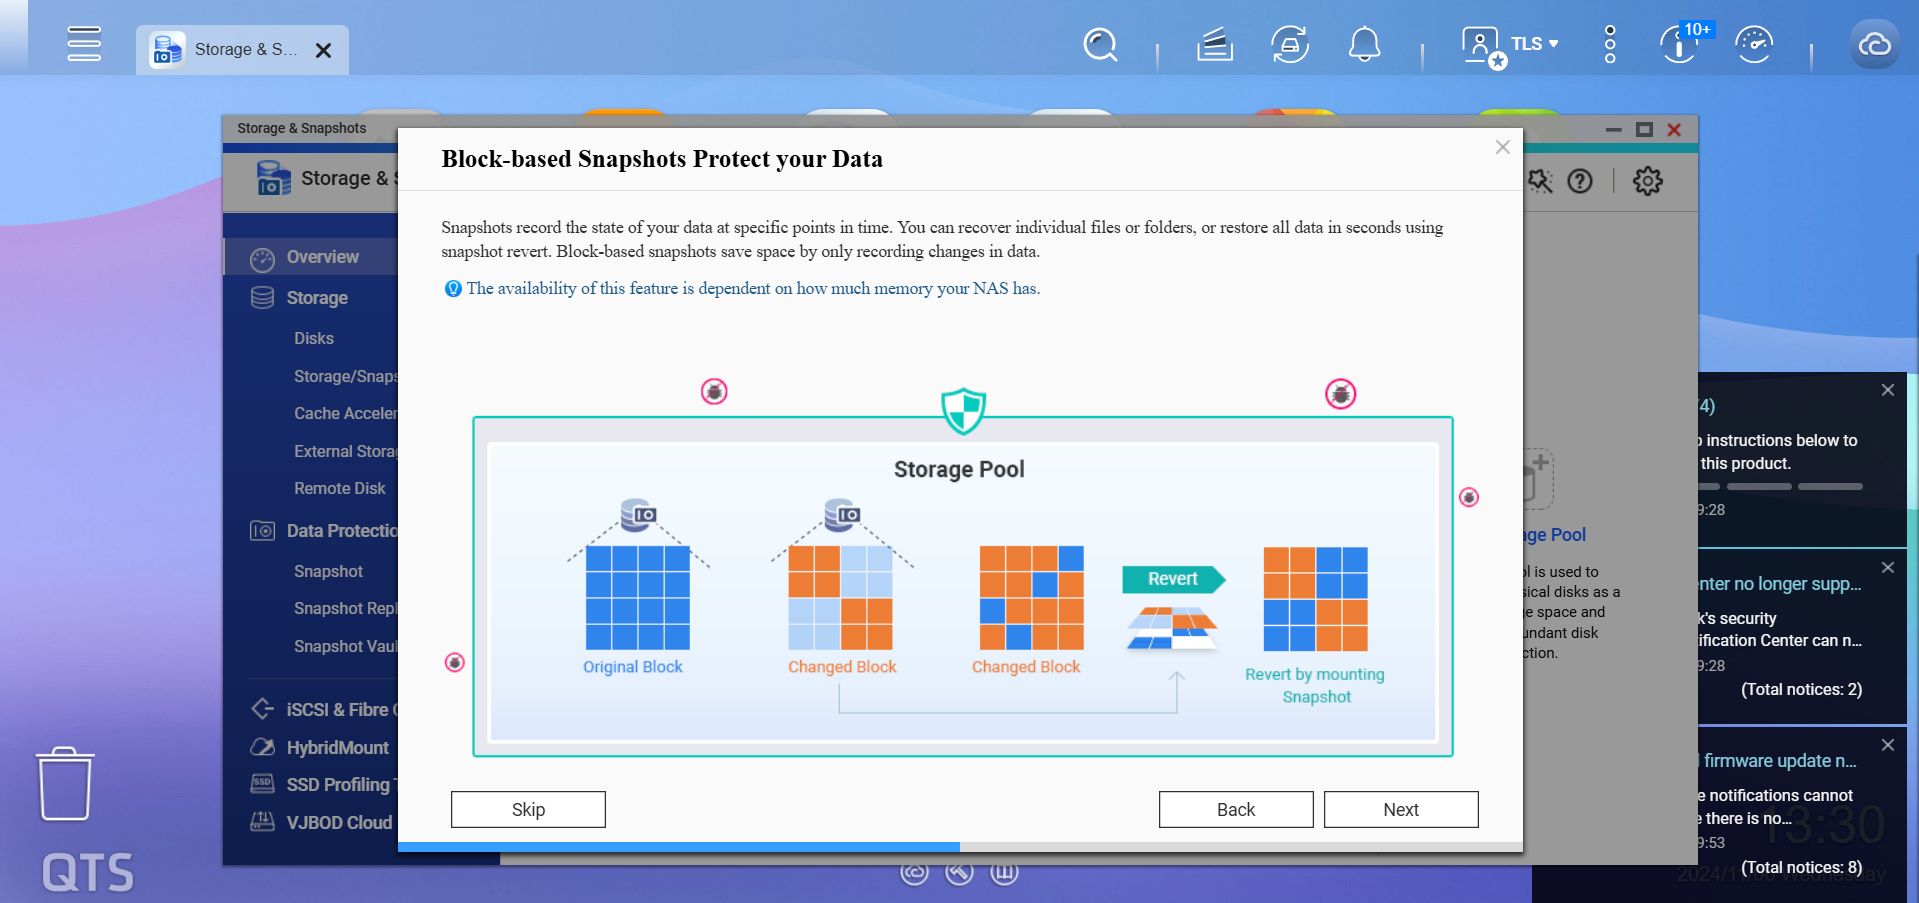
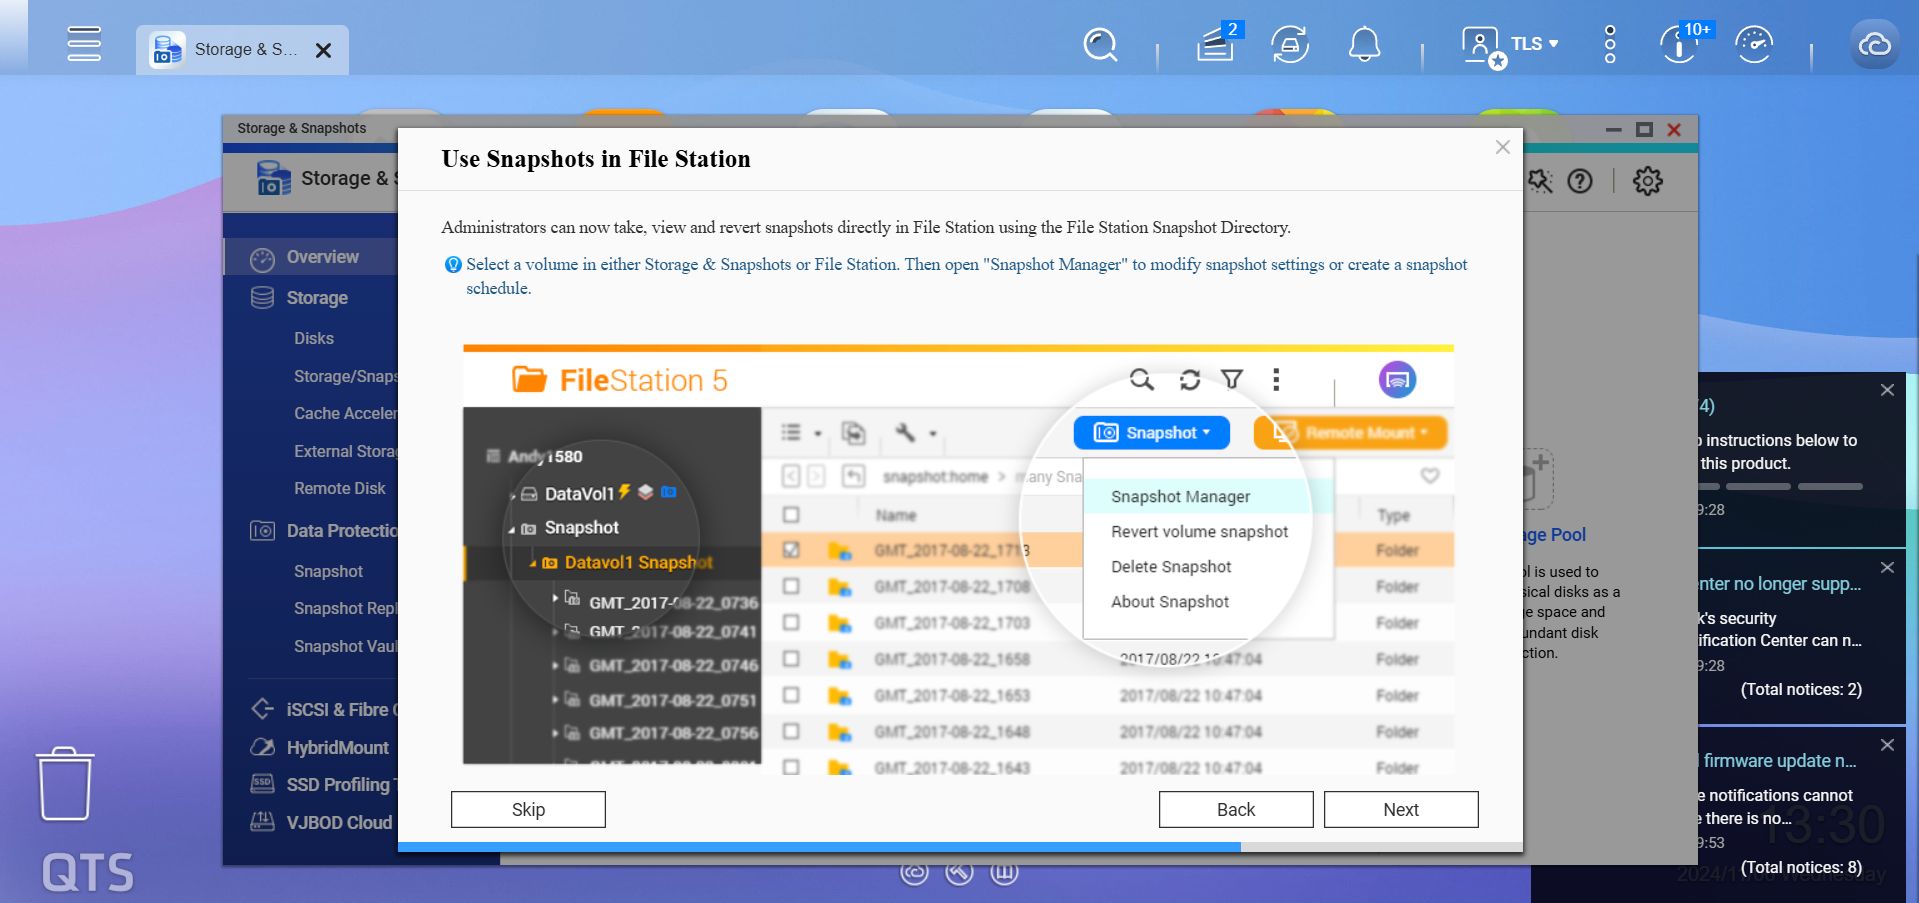

After which you're greeted by several screens you have to click through, to make sure you understand that you have to set up a storage pool before you can use your NAS for its intended purpose.
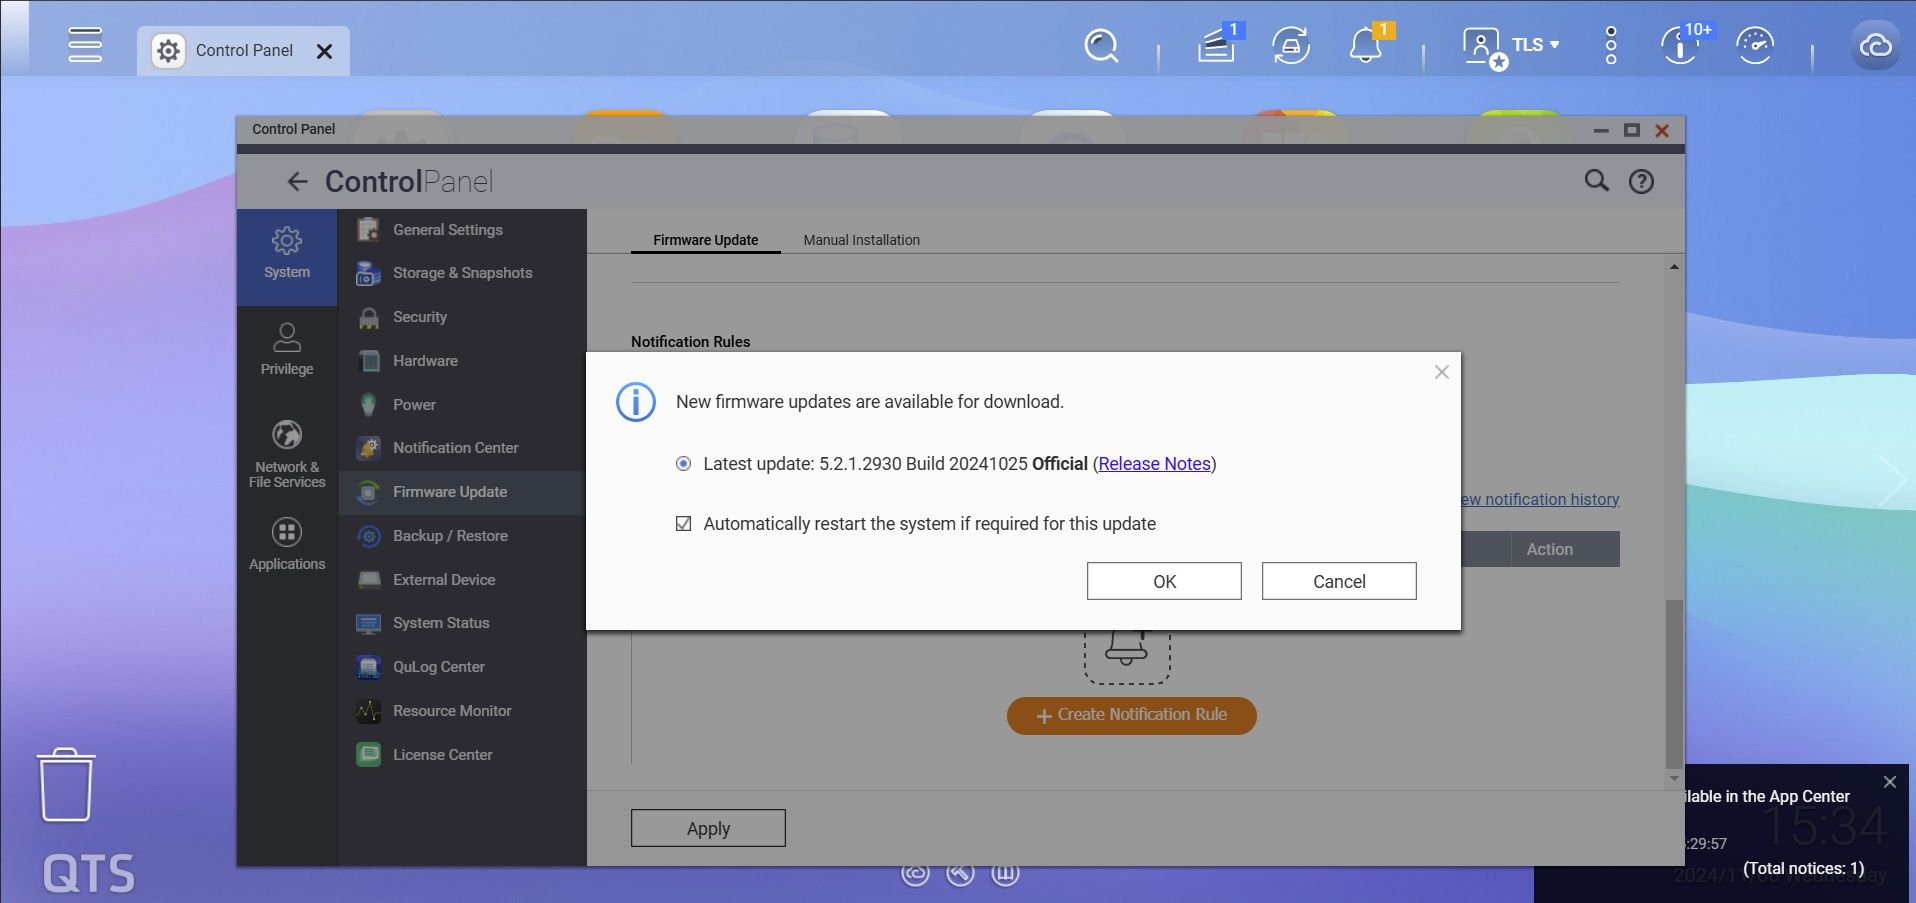
As mentioned, we had a small glitch with regards to the firmware update during the setup wizard, but it seems like QNAP has a fail-safe, and we were asked to install the latest firmware as soon as we'd click our way through the information screens above. This meant another reboot before we could use the NAS, but at least we were on the most recent build of the OS at the time. Kudos to QNAP for having added this small, but useful addition for when the setup process doesn't go smoothly.
Nov 14th, 2026 01:04 CST
change timezone
Latest GPU Drivers
New Forum Posts
- Tell me about your favourite graphics card (36)
- Requesting original VBIOS for Gigabyte RX 5700 XT GAMING OC 8G Rev 2.0 (Micron) (1)
- What are you playing? (26216)
- no "PhysX" workable (9)
- AI generated images... (224)
- Crimson Desert (31)
- RenoDX HDR - how to view the differnce Before&After in game? (0)
- Displayport DP80 3M (10ft) cable that can achieve 80gbps stable? (5)
- I'll flash a ASUS ROG Strix RX480 O8G in Cause of Code 43, as a Newbie (1)
- Opinion on Monitor Replacement (6)
Popular Reviews
- AMD Zen 6 Technical Deep Dive
- Corsair HX1000i Shift Crystal Review
- NZXT C1200 Platinum Review
- ASUS ROG Strix B850-I Gaming Wi-Fi7 W Review
- Upcoming Hardware Launches 2027 (Updated Nov 2026)
- Montech King 95 3D PRO Review
- NZXT H7 RGB+ Review
- NZXT H5 Review
- Phantom Blade Zero Performance Benchmark Review - 35 GPUs Tested
- XPG NIMBUS PLUS Review - Mid-range Chair With Strong Competitors
TPU on YouTube
Controversial News Posts
- NVIDIA Co-Founder and CEO Jensen Huang Officially Resigns (381)
- OpenAI CEO Argues Home PCs Waste the World's Limited DRAM Supply (152)
- NVIDIA Launches Investigation Into Jensen Huang's Relationship With Suspected Chinese Spy (136)
- Intel "Raptor Lake Next" 16-Core and 20-Core CPUs Surface (130)
- Legendary Game Studio BioWare Shuts Down Following EA Layoffs (104)
- Dell CEO Says the Memory Shortage Will Get Worse in 2027 (95)
- NVIDIA GeForce RTX 50-Series Scheduled for up to $500 Price Hike This Week (89)
- Modder Fits RTX 5090 With Four 8-Pin Connectors, Halving Current per Wire (80)